Lavender Vanilla Bean Ice Cream

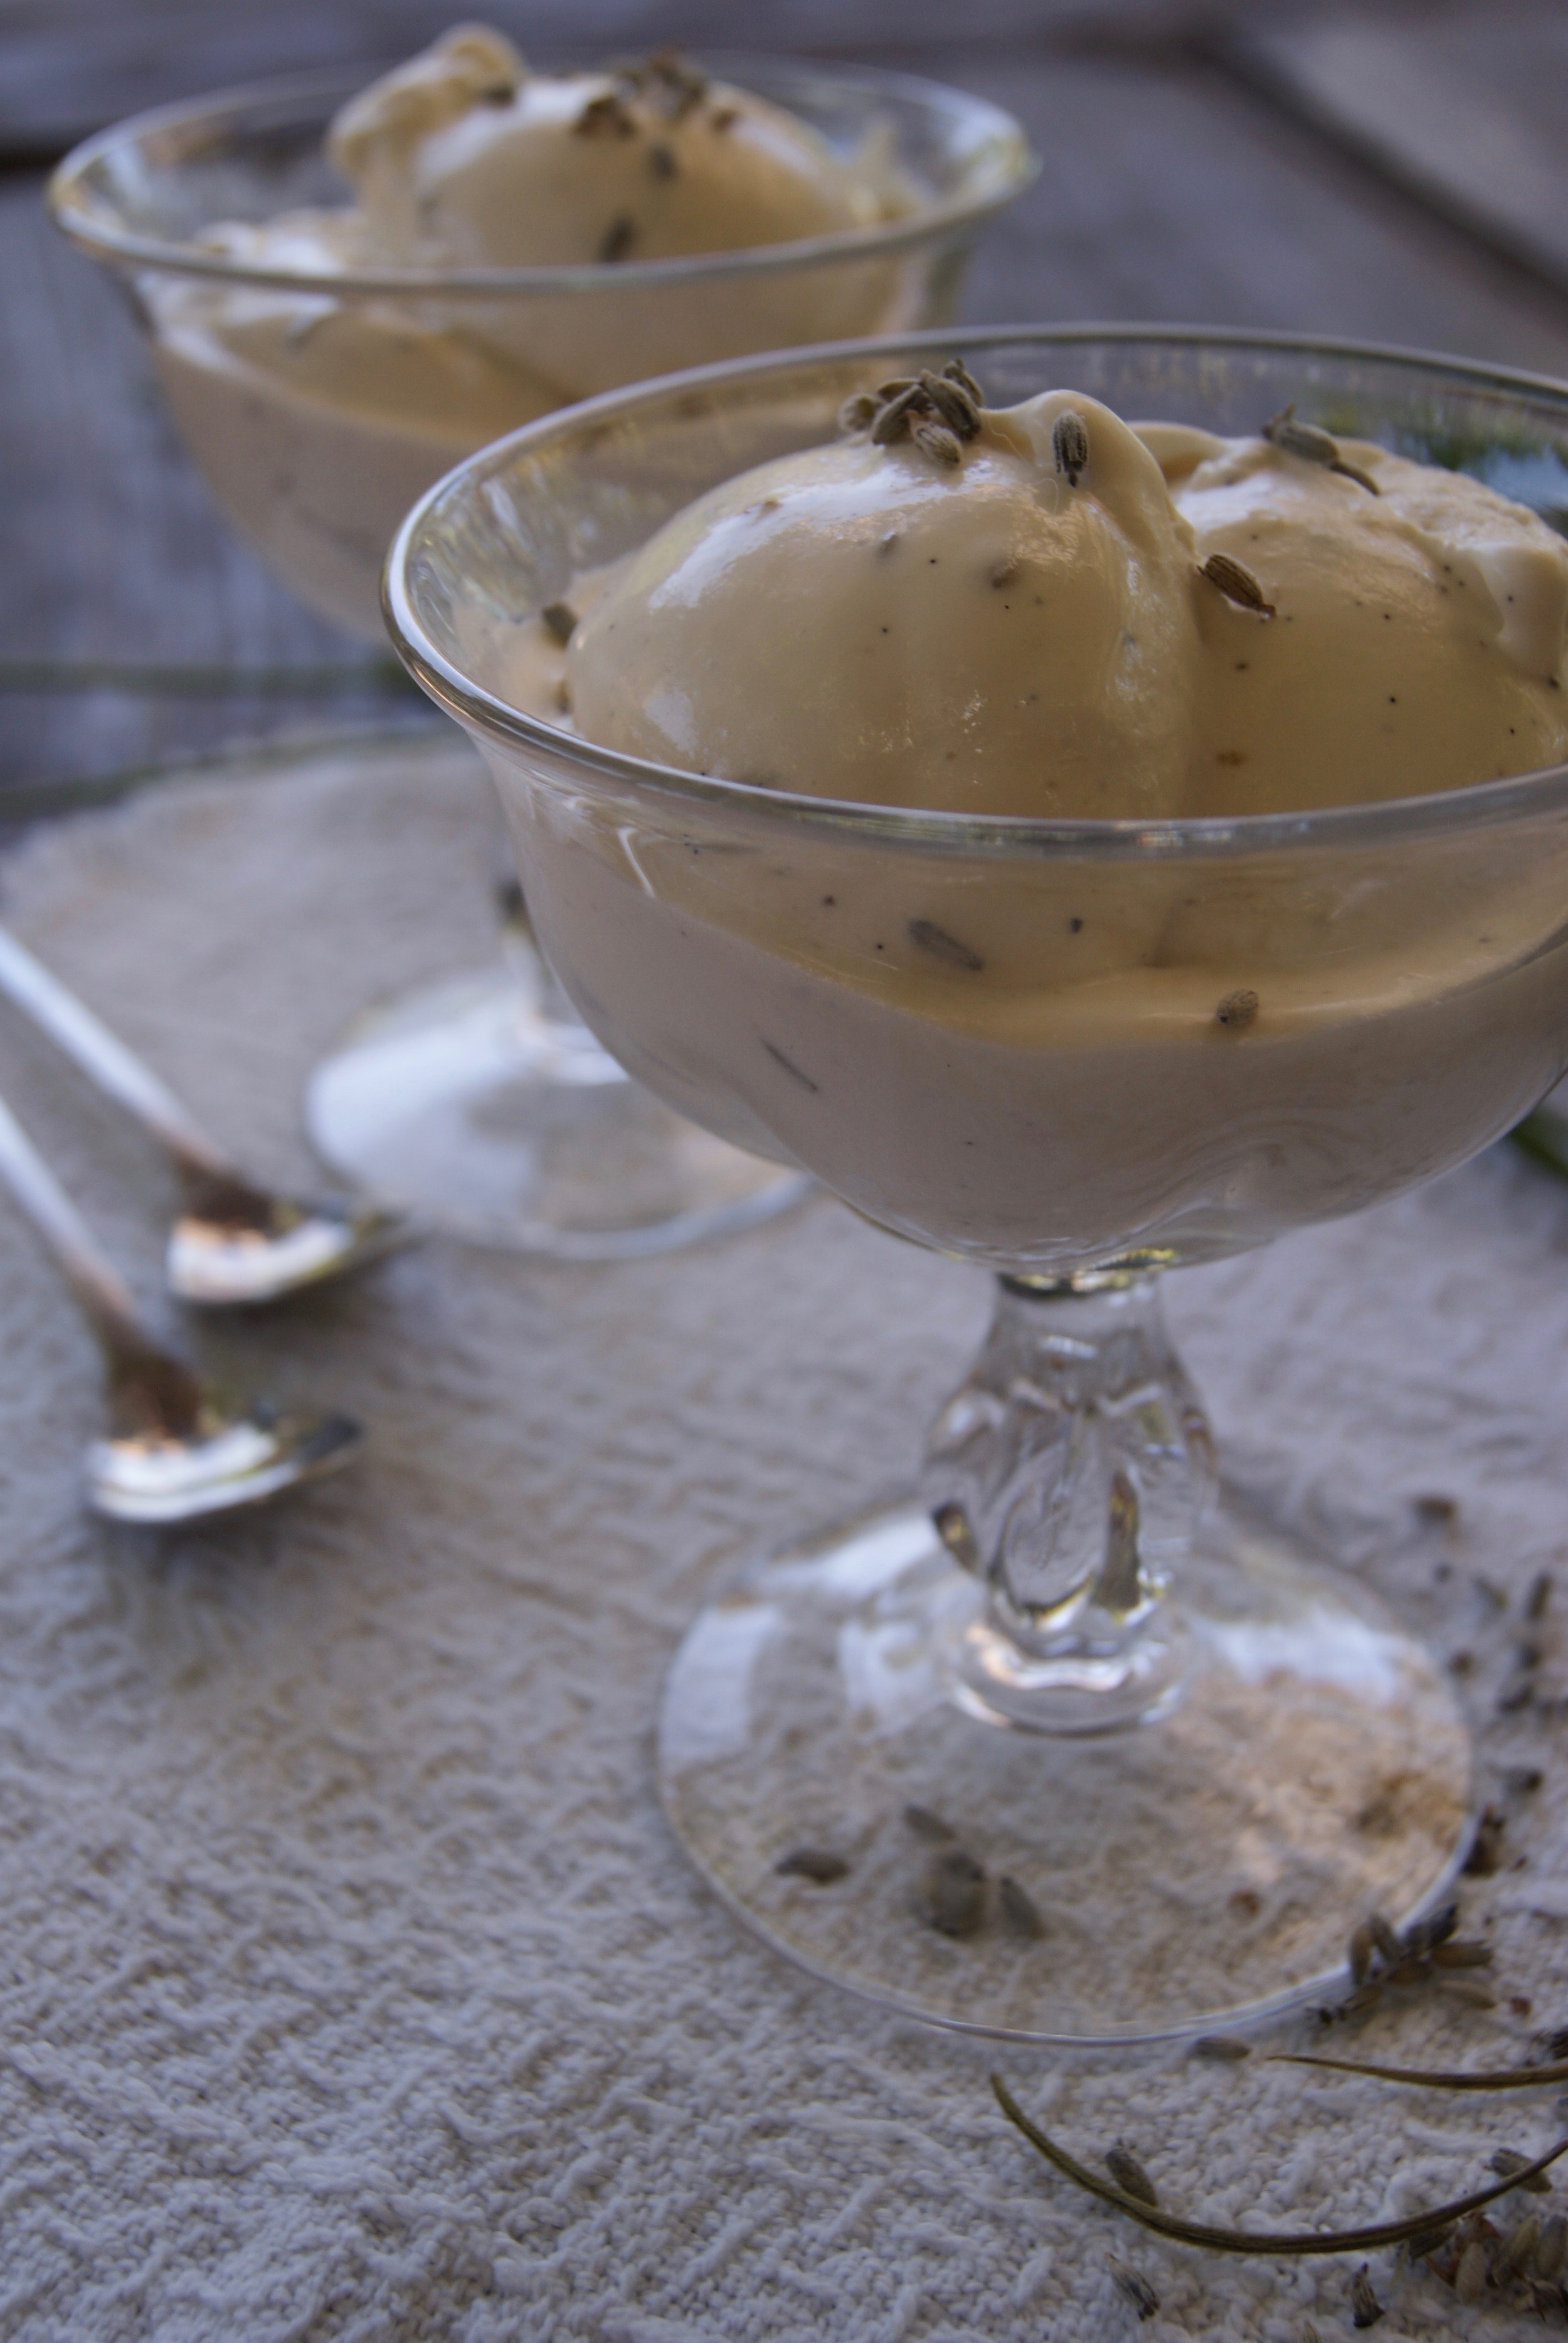
Lavender is one of our favorite flowers. We love the way it looks, we love how it smells, and we LOVE to eat anything with lavender. As kids, one of our favorite restaurants, Corkscrew Cafe in Carmel Valley, used to serve up the most delicious lavender ice cream for dessert. It was eventually taken off the menu (if you hear us, PLEASE bring it back!), but we never forgot the deliciously floral flavor of this dessert. Lavender is in full bloom in Carmel Valley right now, so we were reminded of our long lost favorite dessert and decided to try to make it ourselves! If we do say so, we think this even more delicious than the original. We added vanilla bean to complement the lavender, and we believe it is just perfect! The ice cream base is adapted from Jeni's Splendid Ice Cream recipe book. Eve went to undergrad in Ohio, where she first tasted flavors like roasted strawberry buttermilk and goat cheese and cherry ice cream. Jeni's ice cream base is unbelievably creamy. You won't be able to eat just one scoop!

xxx Ivy & Eve

We use the Cuisinart Classic Ice Cream Maker for our ice cream adventures. The machine is super easy, and there is no need for ice and salt like the old machines!

Makes one quart of ice cream.

Ingredients 

  • 2 cups whole milk

  • 1 tbsp plus 1 tsp cornstarch

  • 3 tbsp cream cheese, softened

  • 1/8 tsp fine sea salt

  • 1 1/4 cups heavy cream

  • 2/3 cup sugar

  • 2 tbsp light corn syrup

  • 1/2 vanilla bean

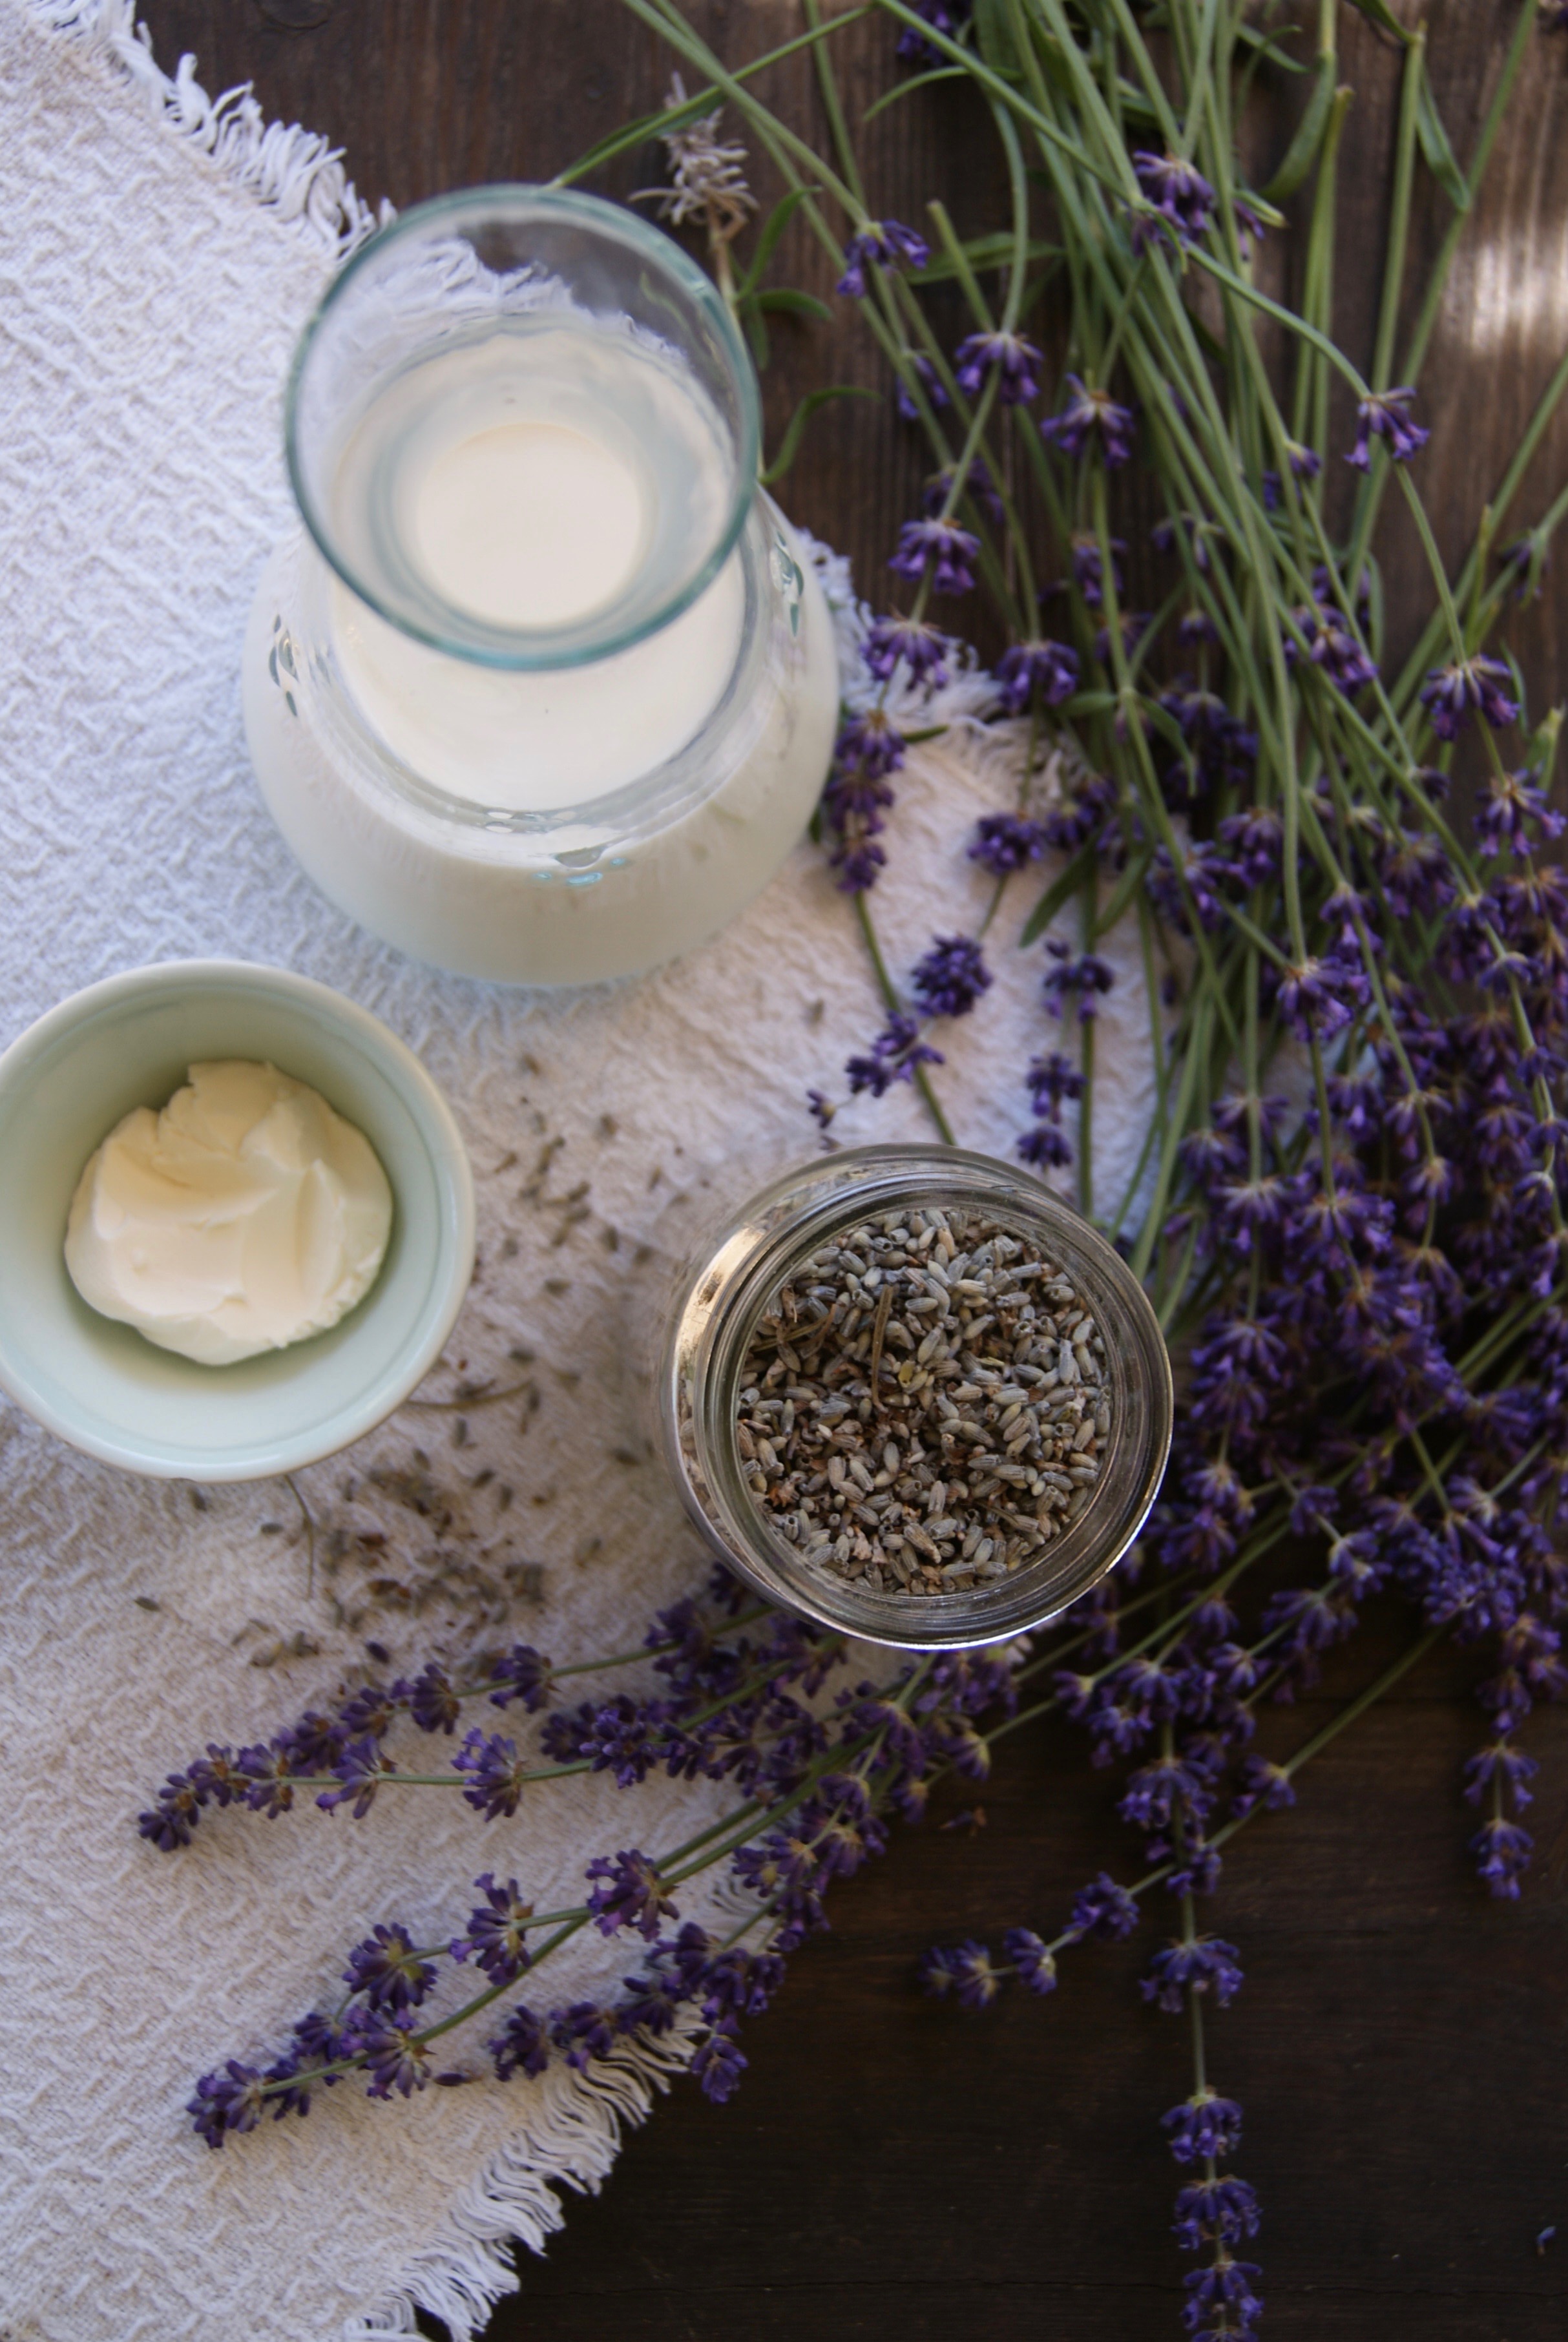
  • 2 heaping tbsp culinary lavender

Directions

  1. Combine 1 3/4 cup milk (minus 2 tbsp), 2/3 cup cream, 2 tbsp lavender, and 1/2 vanilla bean sliced open, into a saucepan. Bring to a boil over medium-high heat. remove from heat and let the mixture steep until the desired flavor. (you can steep the lavender in a cheesecloth or strain after this step if you want a smoother texture. We like the lavender left in)

  2. While waiting, mix the remaining 2 tablespoons milk with the cornstarch in a small bowl to make a smooth slurry.

  3. Then whisk the cream cheese and salt into the slurry until smooth.

  4. Fill a large bowl with ice water.

  5. Combine the lavender vanilla bean milk mixture with sugar and corn syrup in a 4-quart saucepan and bring it to a boil again for 4 minutes. Remove from the heat and gradually whisk in the cornstarch/cream cheese slurry. Bring the mixture back to a boil over medium-high heat and cook, stirring with a heatproof spatula, until slightly thickened, about 1 minute. Remove from the heat.

  6. Pour the mixture into a 1-gallon resealable plastic freezer bag and submerge the sealed bag in the ice bath. Let stand, adding more ice as necessary, until cold, about 30 minutes.

  7. Pour the ice cream base into the ice cream machine canister and process according to your ice cream maker's directions.

  8. Pack the ice cream into a storage container. Place the ice cream in the freezer until firm, at least 4 hours.

  9. Bon Appétit!

Raspberries Romanoff

Ever since we can remember, our Dad has been whipping up Raspberries Romanoff for dessert. We loved it when our Dad made this because it looked and sounded so fancy! Now that we are older, we are surprised how easy it is to make this delicious dessert!

xxx Ivy & Eve 

Serves two. 

Ingredients

  • 1/2 cup whipping cream

  • 1/2 cup (about 3 scoops) vanilla ice cream

  • 1 six-ounce carton of Raspberries

  • 1 tablespoon powdered sugar

  • 1 tablespoon Grand Marnier 

Directions

  1. Chill a mixing bowl in the freezer for at least 10 minutes. 

  2. Pour whipping cream into the chilled bowl and mix on high until it begins to thicken. 

  3. Add the sugar and mix till the cream starts creating peaks. 

  4. Gradually add the ice cream in small scoops. Mix until the ice cream is incorporated but still has chunks of ice cream (you want a bit of texture to your topping). 

  5. Finally, add the Grand Marnier and fold into the mixture. 

  6. Place half the raspberries into two serving glasses and the whipped topping on top. 

  7. Add a few raspberries and mint on top for garnish. 

  8. Enjoy!

TIP: If you like your dessert to have a bit more kick, add some more Grand Marnier! You can also mix it up and try it with strawberries, blueberries, or blackberries! 


The Mighty Cherry Margarita

In the spirit of Cinco de Mayo, we wanted to share one of our favorite margarita recipes! These cherry margaritas combine Ivy's need for sweetness and Eve's preference for fresh flavors. We like to make these when cherries are in season, and we can buy them at our local farmers market, but we have also used thawed frozen cherries with equally tasty results. These margs are perfect for warm summer days by the pool or at your next backyard bbq. ¡Salud!

xxx Ivy & Eve

Makes one cocktail.

Ingredients

  • 12 fresh sweet cherries, pitted

  • 1/4 cup tequila

  • 2 tbsp. fresh lime juice

  • 2 tbsp. blue agave syrup

  • 1 tbsp. Triple Sec

  • Sparkling water (optional)

  • 1 lime slice, for garnish

Directions

  1. Place cherries in a cocktail shaker (or whatever you have on hand) and muddle them with a muddler or a wooden spoon until they are mashed and juicy. 

  2. Add tequila, Triple Sec, lime juice, agave syrup, and ice.

  3. Cover cocktail shaker tightly and shake well. 

  4. Pour and filter into a glass of ice. 

  5. ¡Salud!

TIP: If you would like to add a bit of bubble to your marg (or you like a more mellow cocktail), add a splash or two of sparkling water (or bubbly, we won't tell!)

Chocolate Covered Strawberries for Mother's Day & Free Printable Card!

With Mother's Day just around the corner, Eve and I were toying with ideas of what to give our Mom this year. After some time thinking, we decided we would make her chocolate-covered strawberries. We always buy these yummy morsels when we spot them in cafes and chocolate shops but had never really attempted to make any ourselves. It was SO simple, not to mention affordable! We recommend pairing these with a bottle of bubbly, naturally. We also designed a cute card to go with them for your Mom, because she really is the sweetest! Download the full-size card (we made a mini one to fit better in the pictures) for FREE by subscribing HERE! If you already subscribe, don't worry. We will be sending it to you shortly. Cheers to all our sweet Mothers! 

xxx Ivy & Eve

Ingredients & Supplies

  • High-quality white & dark melting chocolate 

  • Strawberries

  • Sprinkles, Nuts, and anything you want to top them with (optional)

  • Baking sheet

  • Parchment paper

 Directions

  1. Place melting chocolate in a microwave-safe bowl (you can also melt on the stove if you have more time).

  2. Set the microwave to 30-second increments and stir until just melted.

  3. Place parchment paper on baking sheet

  4. Simply dip the strawberry in chocolate

  5. Top with sprinkles or whatever your heart desires

  6. Let cool and set in the refrigerator before serving (they are best eaten the day of or next day).

Your Mom will LOVE them, we promise!


Death by Chocolate Guinness Cake

Happy St. Patrick’s Day! This cake is perfect for celebrating everything Irish. It is equally ideal for any beer or chocolate lover's celebration. The first time Eve encountered this densely delicious cake was during a college bake-off in England! It is so good, two of her friends used this recipe for their cake entries. One taste, and it'll be hard not to eat the whole thing!

xxx Ivy & Eve

Adapted from Nigella Lawson's recipe in Feast.

Makes one 9-inch cake.

Ingredients

For the Cake

  • 1 cup Guinness

  • 1 cup butter (two sticks)

  • ¾ cup unsweetened cocoa

  • 2 cups superfine sugar

  • ⅔ cup sour cream

  • 2 large eggs

  • 1 tablespoon vanilla extract

  • 2 cups all-purpose flour

  • 2½ teaspoons baking powder

For the Frosting

  • ½ cup cream cheese

  • 1¼ cups powdered sugar

  • ½ cup heavy cream (or whipping cream)

  • Smashed malt balls (preferably Maltesers)

Directions

  1. Preheat the oven to 350F

  2. Line the bottom of a 9-inch springform pan with parchment, butter or pam the pan

  3. In a large saucepan, pour in the Guinness and butter, turn heat onto Med/Low until butter is melted

  4. While the butter is melting, in a large bowl, whisk the eggs, sour cream, and vanilla together

  5. Once melted, take off the stove and whisk in the sugar and cocoa powder

  6. Pour and whisk in the egg/sour cream/vanilla mixture

  7. Lastly, add the flour and baking powder and mix well to get the lumps out

  8. Pour the mixture into the lined and buttered pan and bake for 45-50 minutes, or until a toothpick inserted in the center comes out clean (the cake may wobble a little when you move it)

  9. Leave the cake to cool in the pan on a cooling rack. It will be a very moist cake.

  10. Once it's cool, take the cake out of the pan and place on a cake stand or plate

  11. To make the frosting, whip the cream cheese in an electric mixer until smooth, add the sifted powdered sugar, and lastly, add the cream and whip well.

  12. Frost the top of the cake (so it looks like the foam on the top of a pint!) and add the crushed malt balls as decoration!

  13. Sláinte!

image2.JPG


Mad for Madeleines

Ever since we were little, we have loved all things pretty and sweet. We entirely blame our dear Grammy G for this trait, as she was known to skip dinner in anticipation of the dessert! Ever since Eve began baking, she has always had a particular love for French sweets. Naturally, one of the first things she mastered was the madeleine. These little shell-shaped cookies are a perfect accompaniment for tea time, and we find they go perfectly with a glass of bubbly! We suggest pairing madeleines with a bright and crisp sparkling wine with citrusy notes and a hint of toasty flavors such as Gruet Brut and the spurge worthy Perrier-Jouet's Gand Brut

Be sure to download our printable recipe card!

xxx Ivy & Eve

Adapted from the Patisserie Lerch in Paris (sadly now closed) via Paris Sweets

Makes two dozen madeleines.

Ingredients

  • 1 1/2 cups all-purpose flour

  • 1 teaspoon double-acting baking powder

  • 4 large eggs, at room temperature

  • 1 cup sugar

  • Grated zest of 1 lemon

  • 4 teaspoons vanilla extract

  • 10 tablespoons (5 oz) unsalted butter, melted and cooled

Directions

  1. Using a mixer with the whisk attachment, beat the eggs and sugar together on medium-high speed until they thicken and lighten in color (around 3 minutes).

  2. While the eggs and sugar are beating, sift together the flour and baking powder in a bowl.

  3. Beat in the lemon zest and vanilla. Switch to a large rubber spatula and gently fold in the dry ingredients, followed by the melted butter.

  4. Cover the batter with plastic wrap, pressing the wrap against the surface to create an airtight seal, and chill for at least 3 hours. The longer it chills. the better. We keep ours in the fridge overnight. The chilling helps create the characteristic humps on the back of the cookies.

  5. When you are ready to bake the cookies, preheat the oven to 400 degrees F (200 degrees C).

  6. Generously butter it, dust the insides with flour and tap out the excess. If the pan is nonstick, better to be safe than sorry and butter and flour it. We use Pam for Baking whenever a recipe calls to butter and flour the pan. It’s so much easier and less messy and hasn’t failed us yet! Then place the pan on a baking sheet for easy transport to the oven. 

  7. Spoon the batter into the molds, filling them almost to the top. One heaping spoonful is about right. Don’t worry about smoothing the batter. It will even out as it bakes. 

  8. Bake large madeleines for 11 to 13 minutes, small ones for 8 to 10 minutes, or until the cookies are puffed and golden and spring back when touched.

  9. Remove the cookies by either rapping the pan against the counter (the madeleines should drop out) or gently running a knife around the edges of the cookies. Allow the madeleines to cool on a cooling rack.

  10. Sprinkle powdered sugar on top and serve warm or at room temperature.

  11. Enjoy!

Madeleines are best eaten the day they are made. Honestly, It is hard to wait until they are even cooled before devouring them! ENJOY!


Variations

  • Cut the vanilla in half and add 2 teaspoons of rose water. This reminds us of a fancy high tea!

  • Substitute the lemon zest for orange for a lively little kick.

  • We like to add a pinch or two of cinnamon and nutmeg to the batter in the winter.

Be sure to download our printable recipe card!