


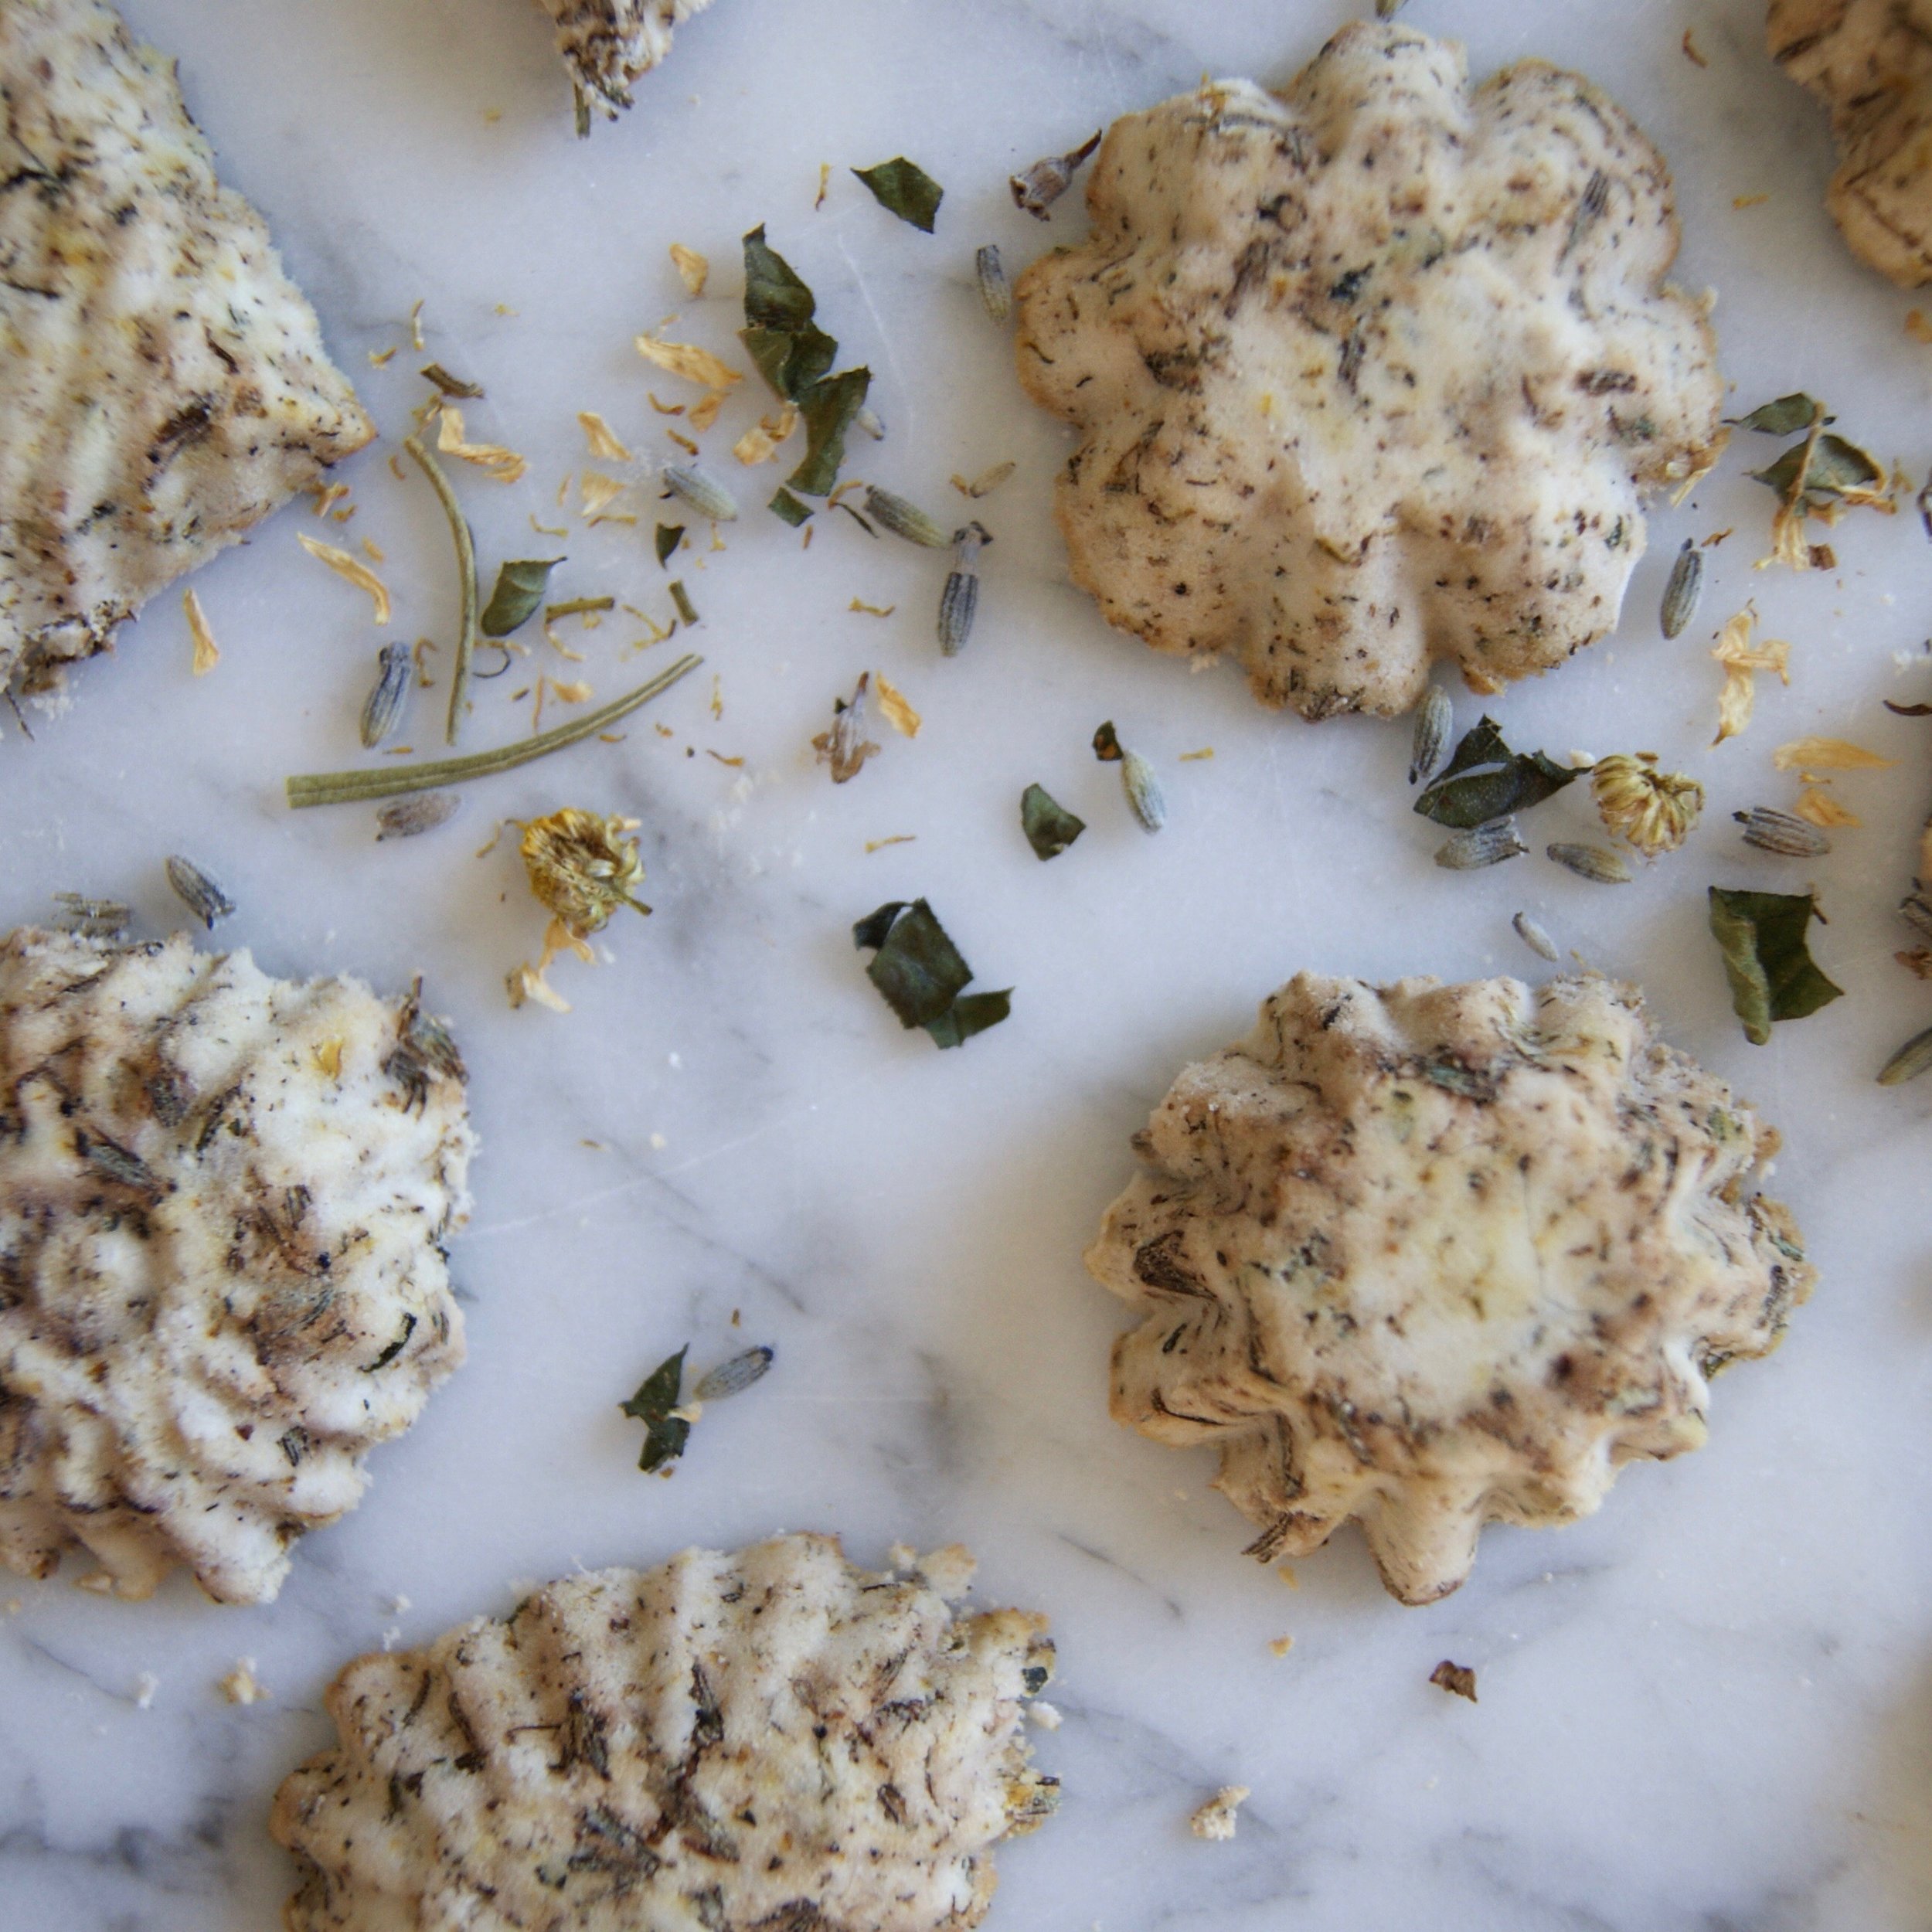
DIY De-stress Shower & Bath Tablets
It's that time of year again when kids go back to school, friends leave for college, and worst of all...summer vacations have ended. With all of these changes comes a little stress. Whether it be making sure your kids get to school on time, starting new college courses, or no vacation days till Thanksgiving, this time of year can stress you anyone out. Take a deep breath and relax...it's all going to be okay!
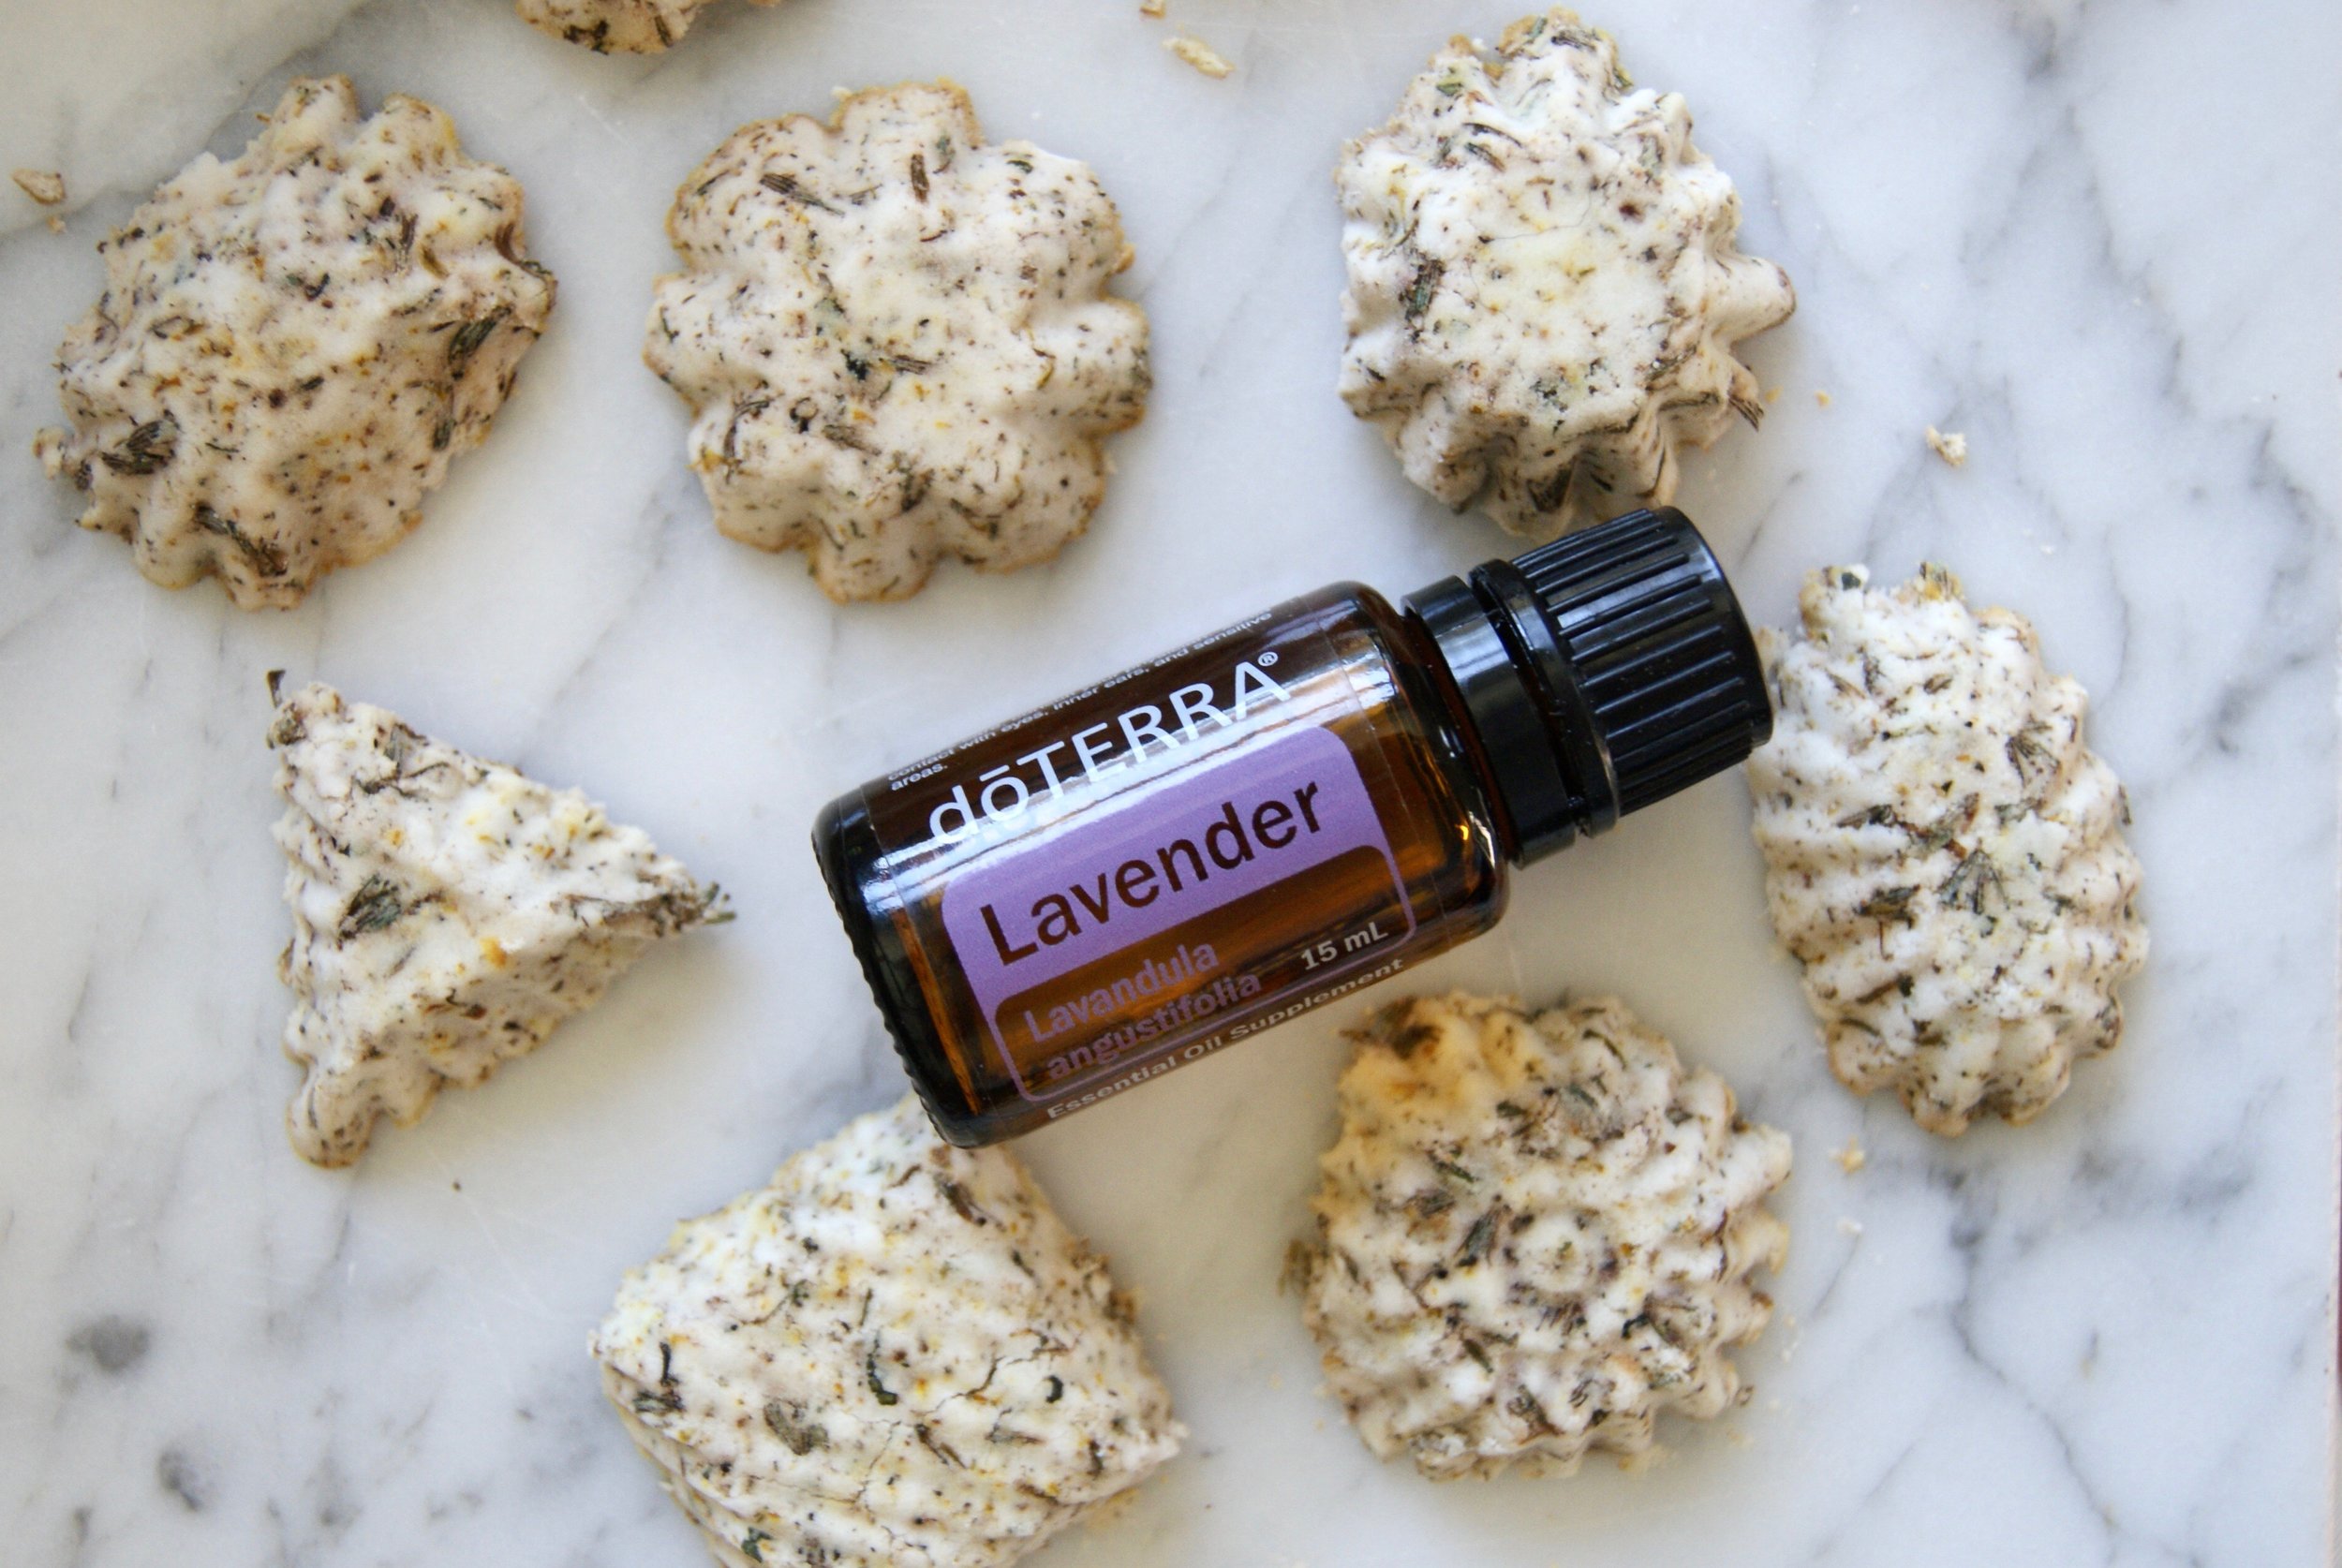
We started feeling this a few weeks ago when everything, work, events, and even planning blog posts started building up. So we decided to make some de-stress shower & bath tablets do help us decompress after each day. These little (but potent) lavender tablets smell amazing and help us remember to relax while showering or soaking in a nice warm bath. Just plop one or two in the bottom of the shower or tub when you get in and breathe in the calming lavender & chamomile essence.
xxx Ivy & Eve

Ingredients:
- 1/2 tbsp dried chamomile flowers & leaves or chamomile tea bags
- 1 tablespoon dried lavender
- 1 cup baking soda
- 1/4 cup water (may use less)
- 10 or so mini baking tins (ice cube trays work well too)
- Lavender essential oil (you will only need a few drops to your preference, we use doTerra)
Directions:
Preheat over to 350 F
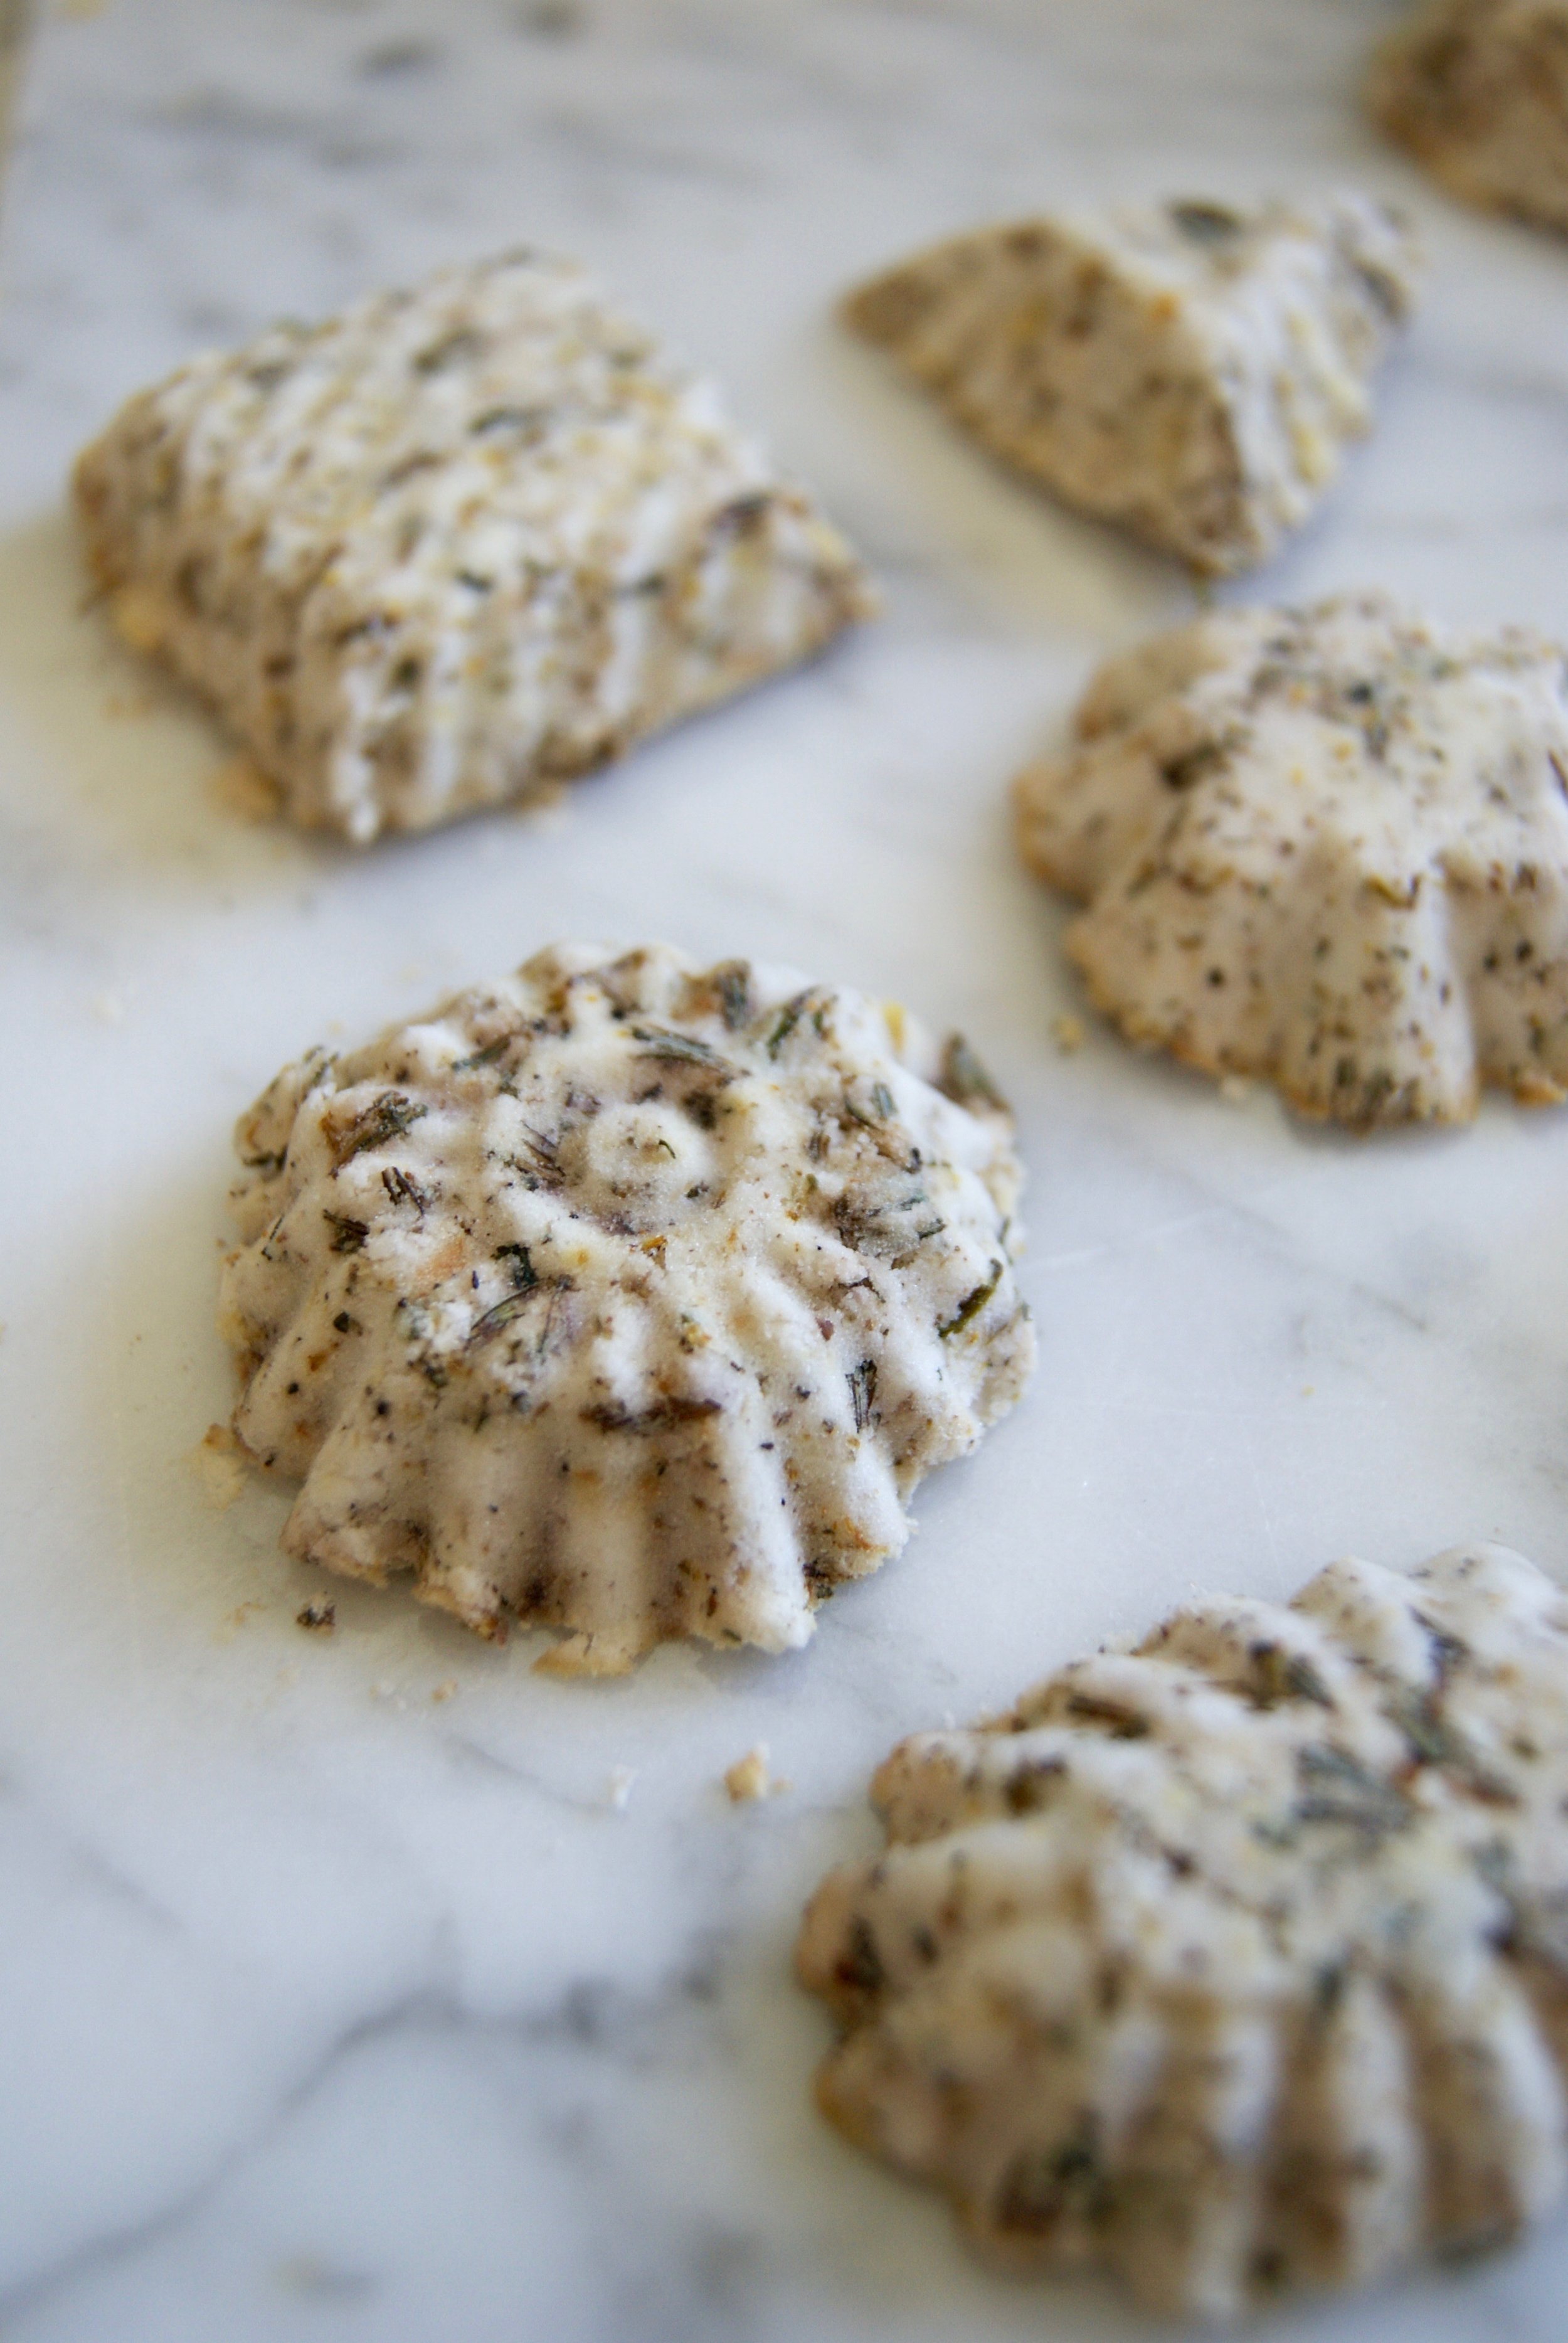
Take chamomile and lavender and grind together with a mortar and pestle.
Mix the lavender & chamomile with baking soda in a bowl.
Pour in water (add slowly, you want it just slightly moist so it will stick together but the consistency is not runny at all).
Bake in the oven for 2 minutes, they may be slightly damp still thats ok. (Our tins are tiny so depending on the size of tins you use you may need to bake longer. Don't bake too long or they brown on the tops & bottoms, which is okay just not as pretty).
Let cool they will continue to dry during this step.
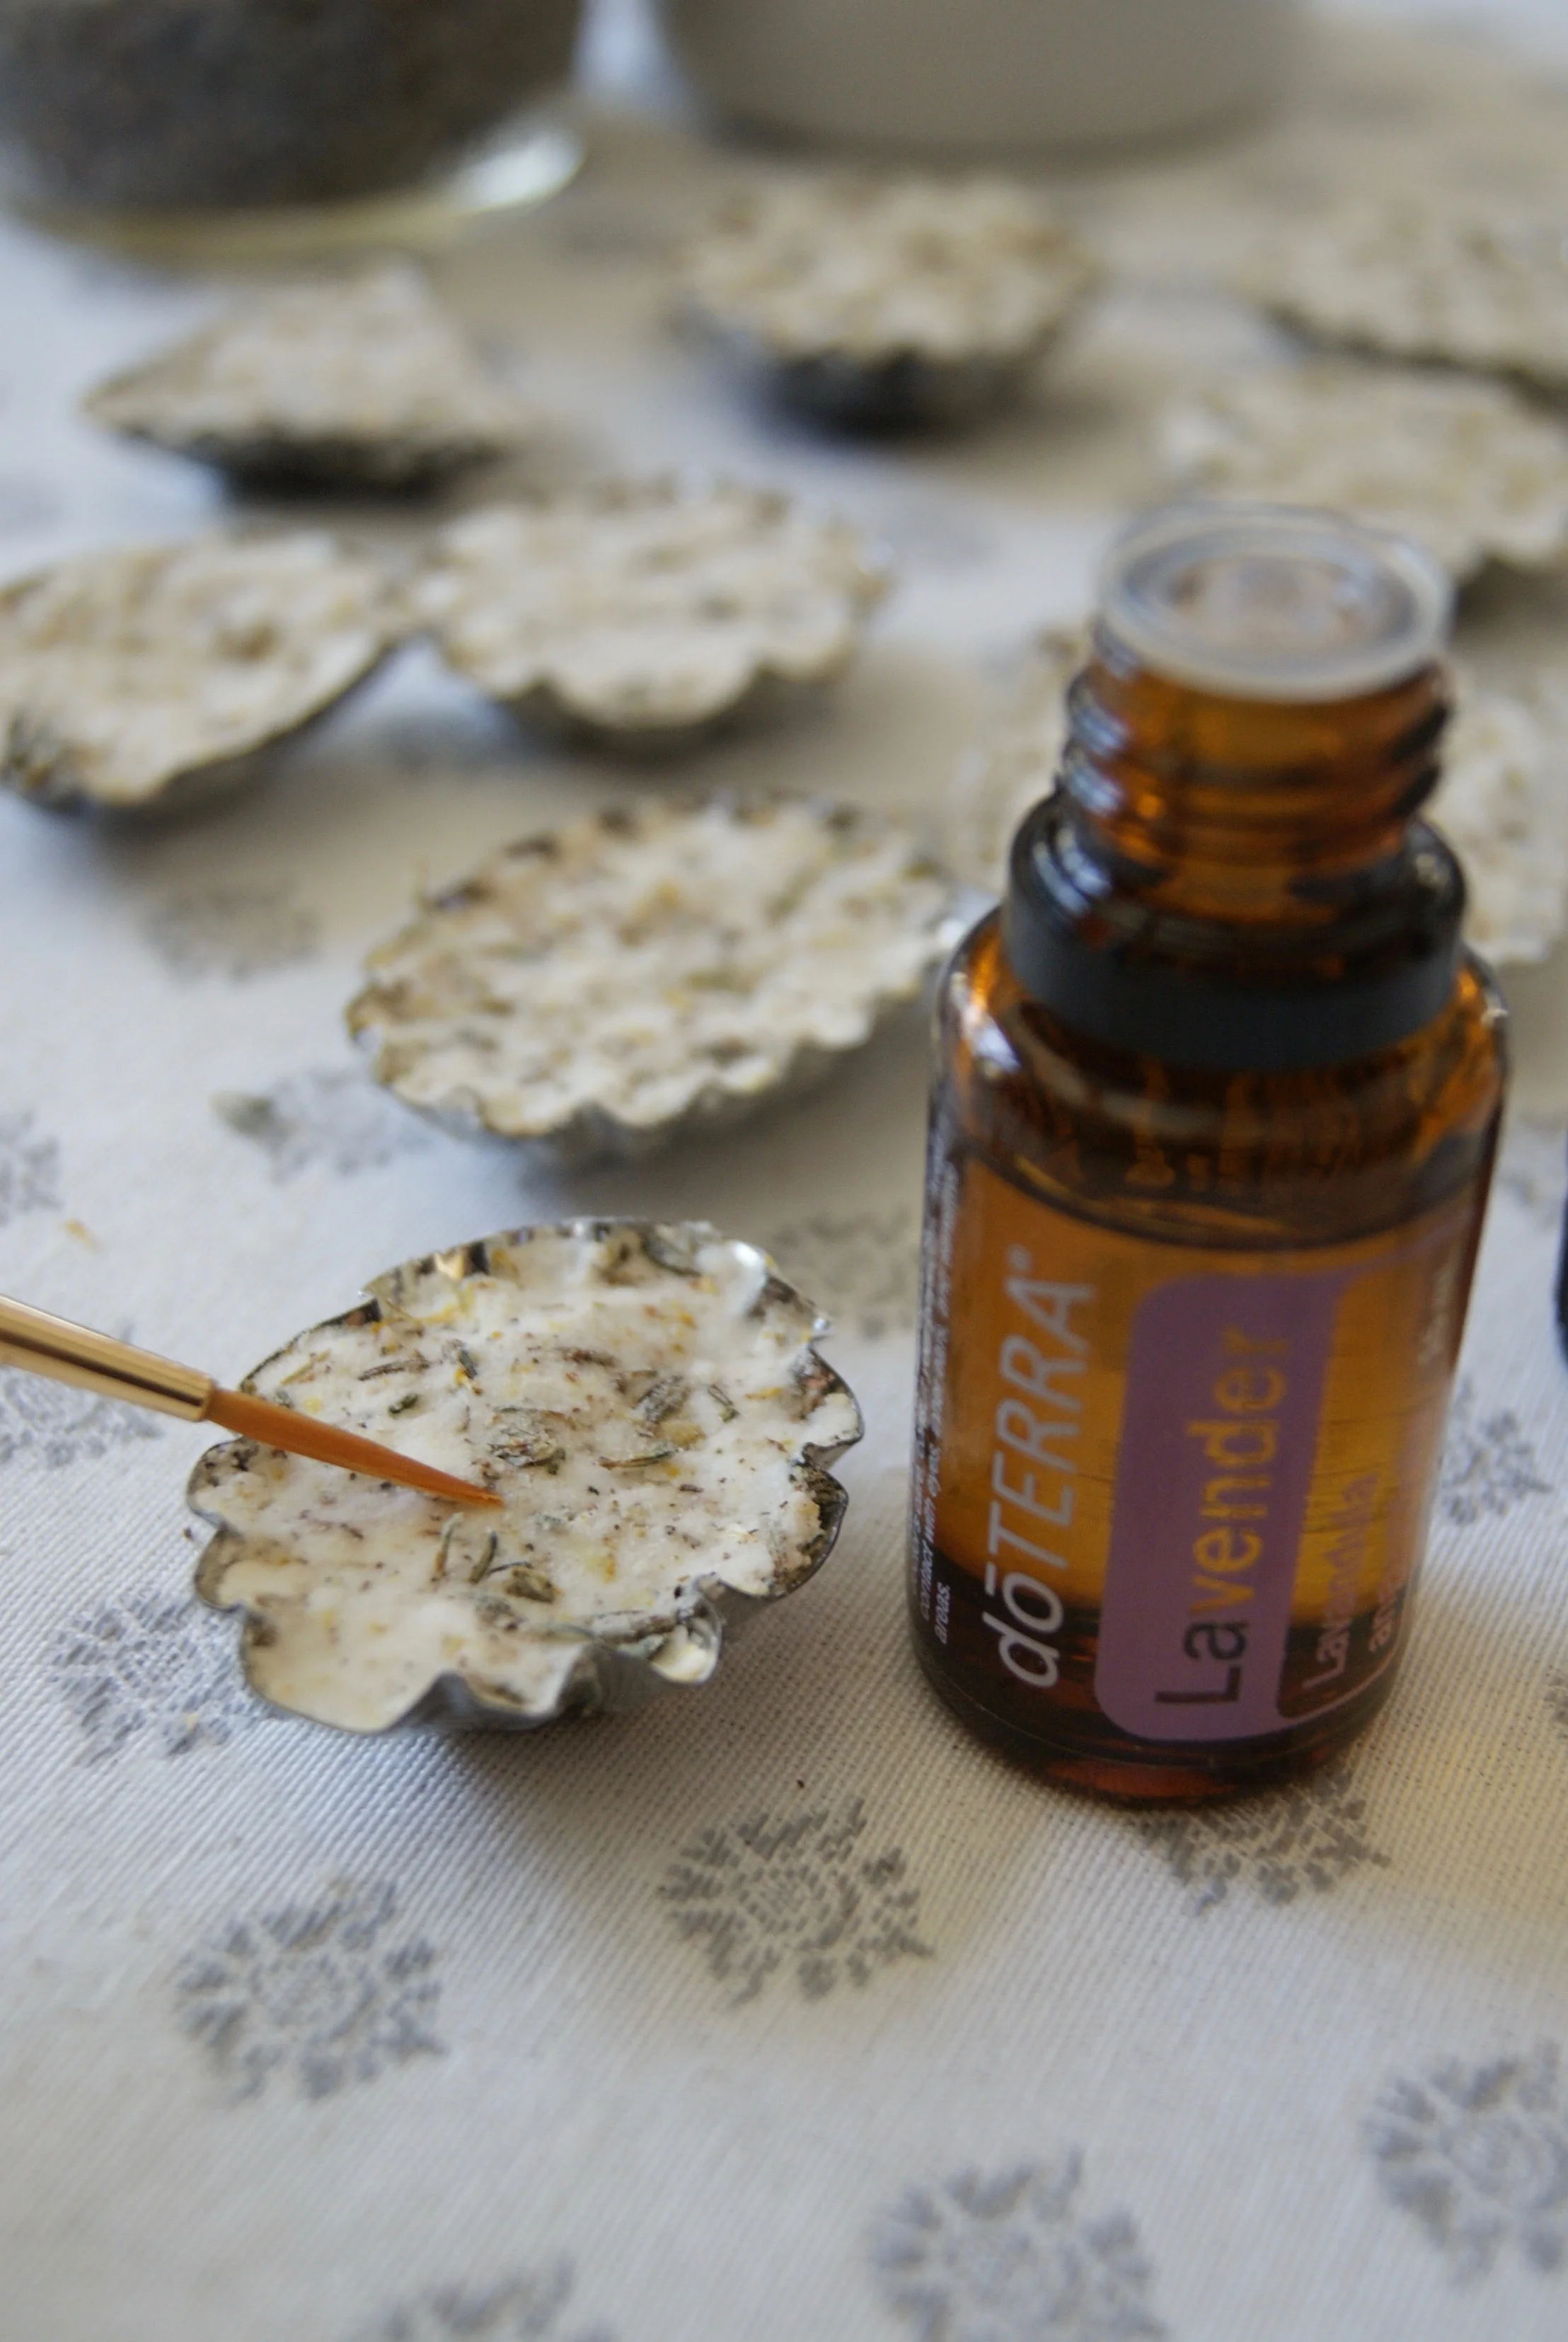
Once cooled, add the essential oil. (We dipped the paint brush into the essential oil and applied to the tablets since doTerra oils are very concentrated & come out quickly).
Let dry again before popping them out of the tins.


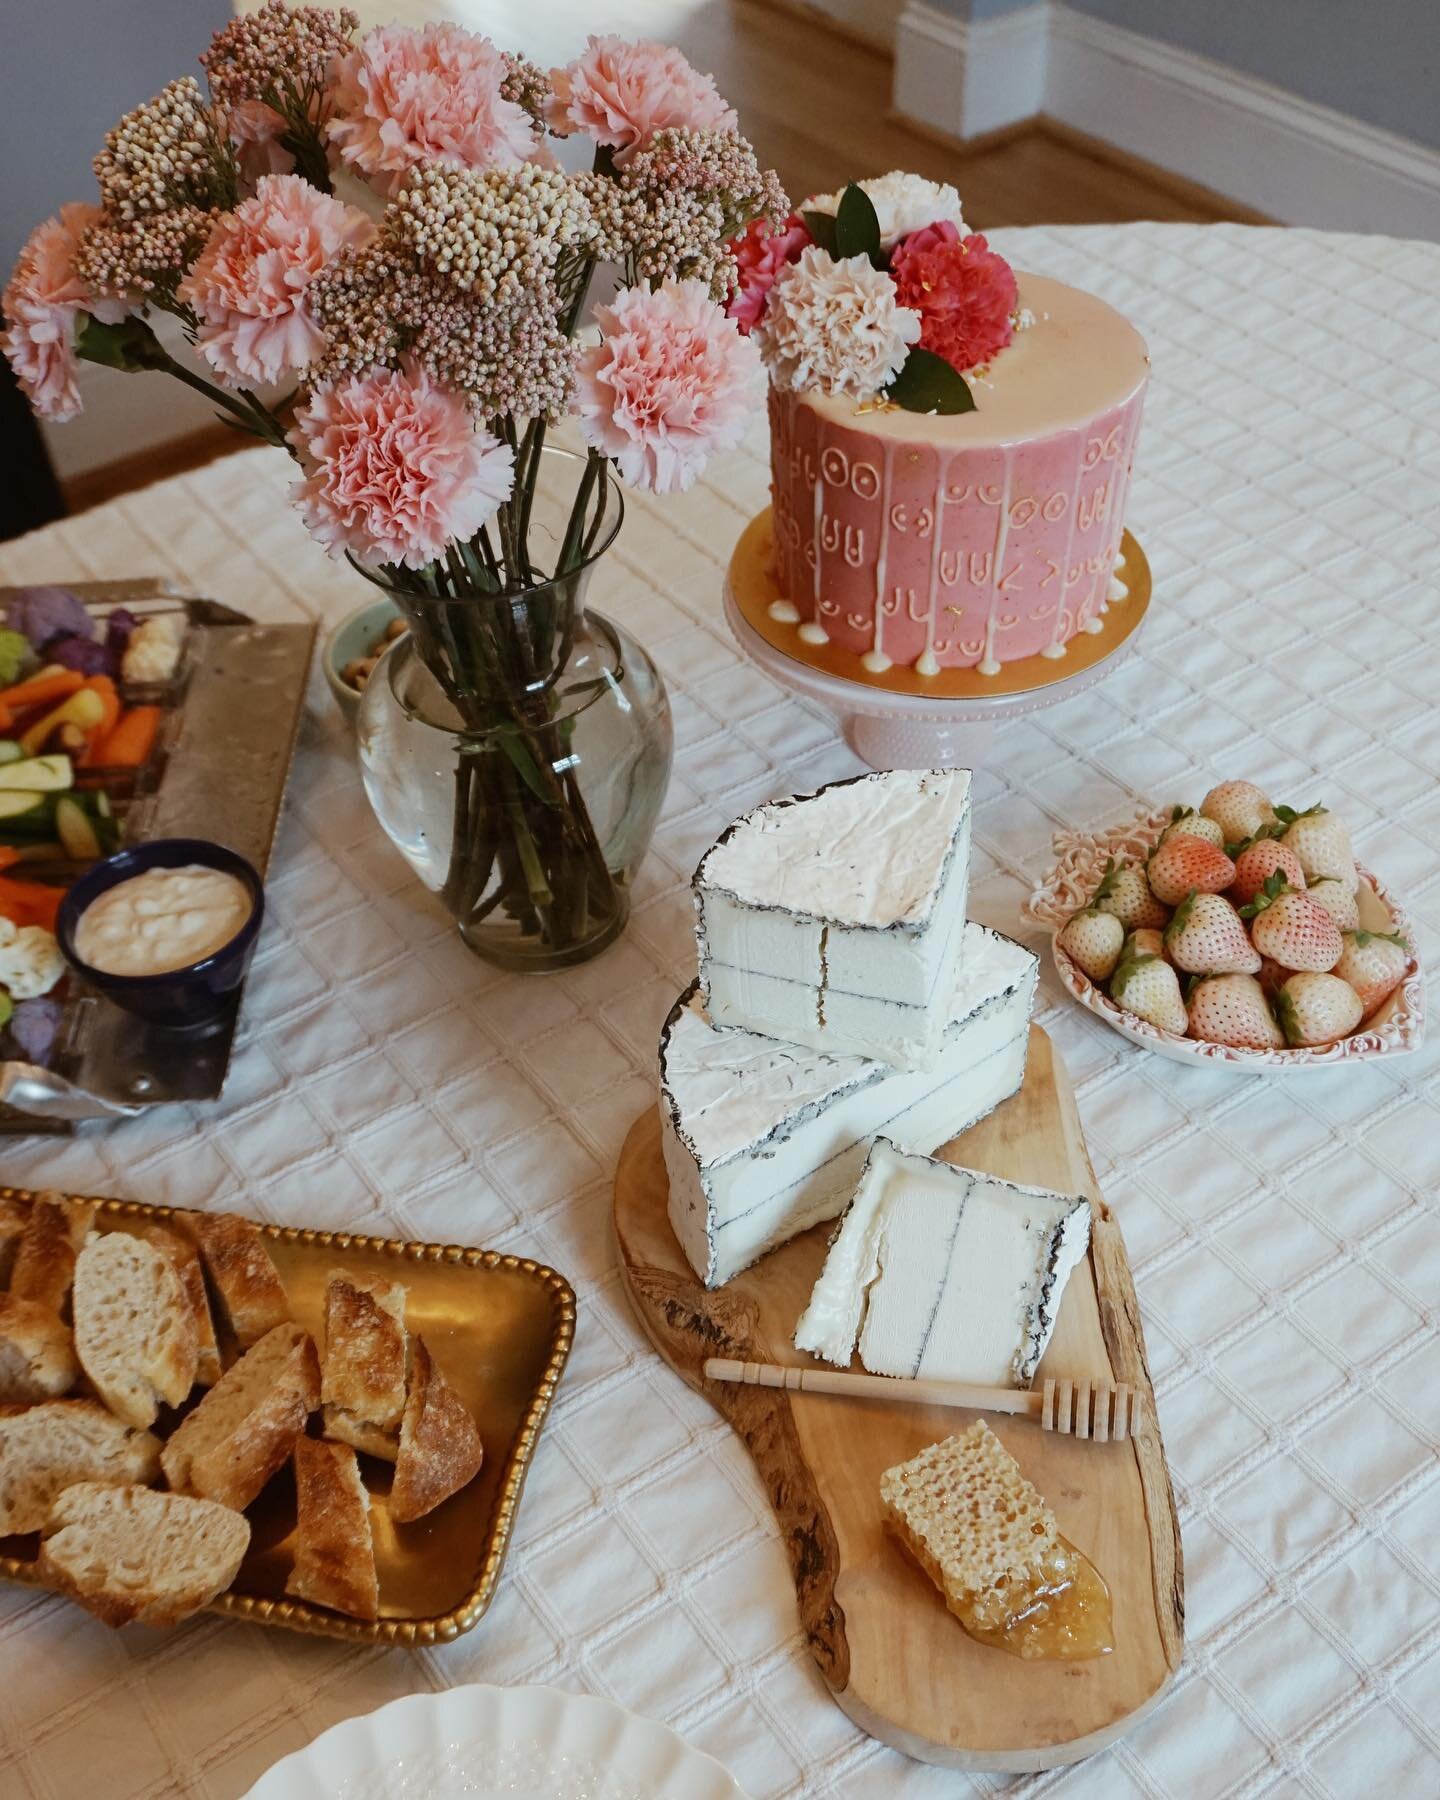
DIY Floral Box Arrangement
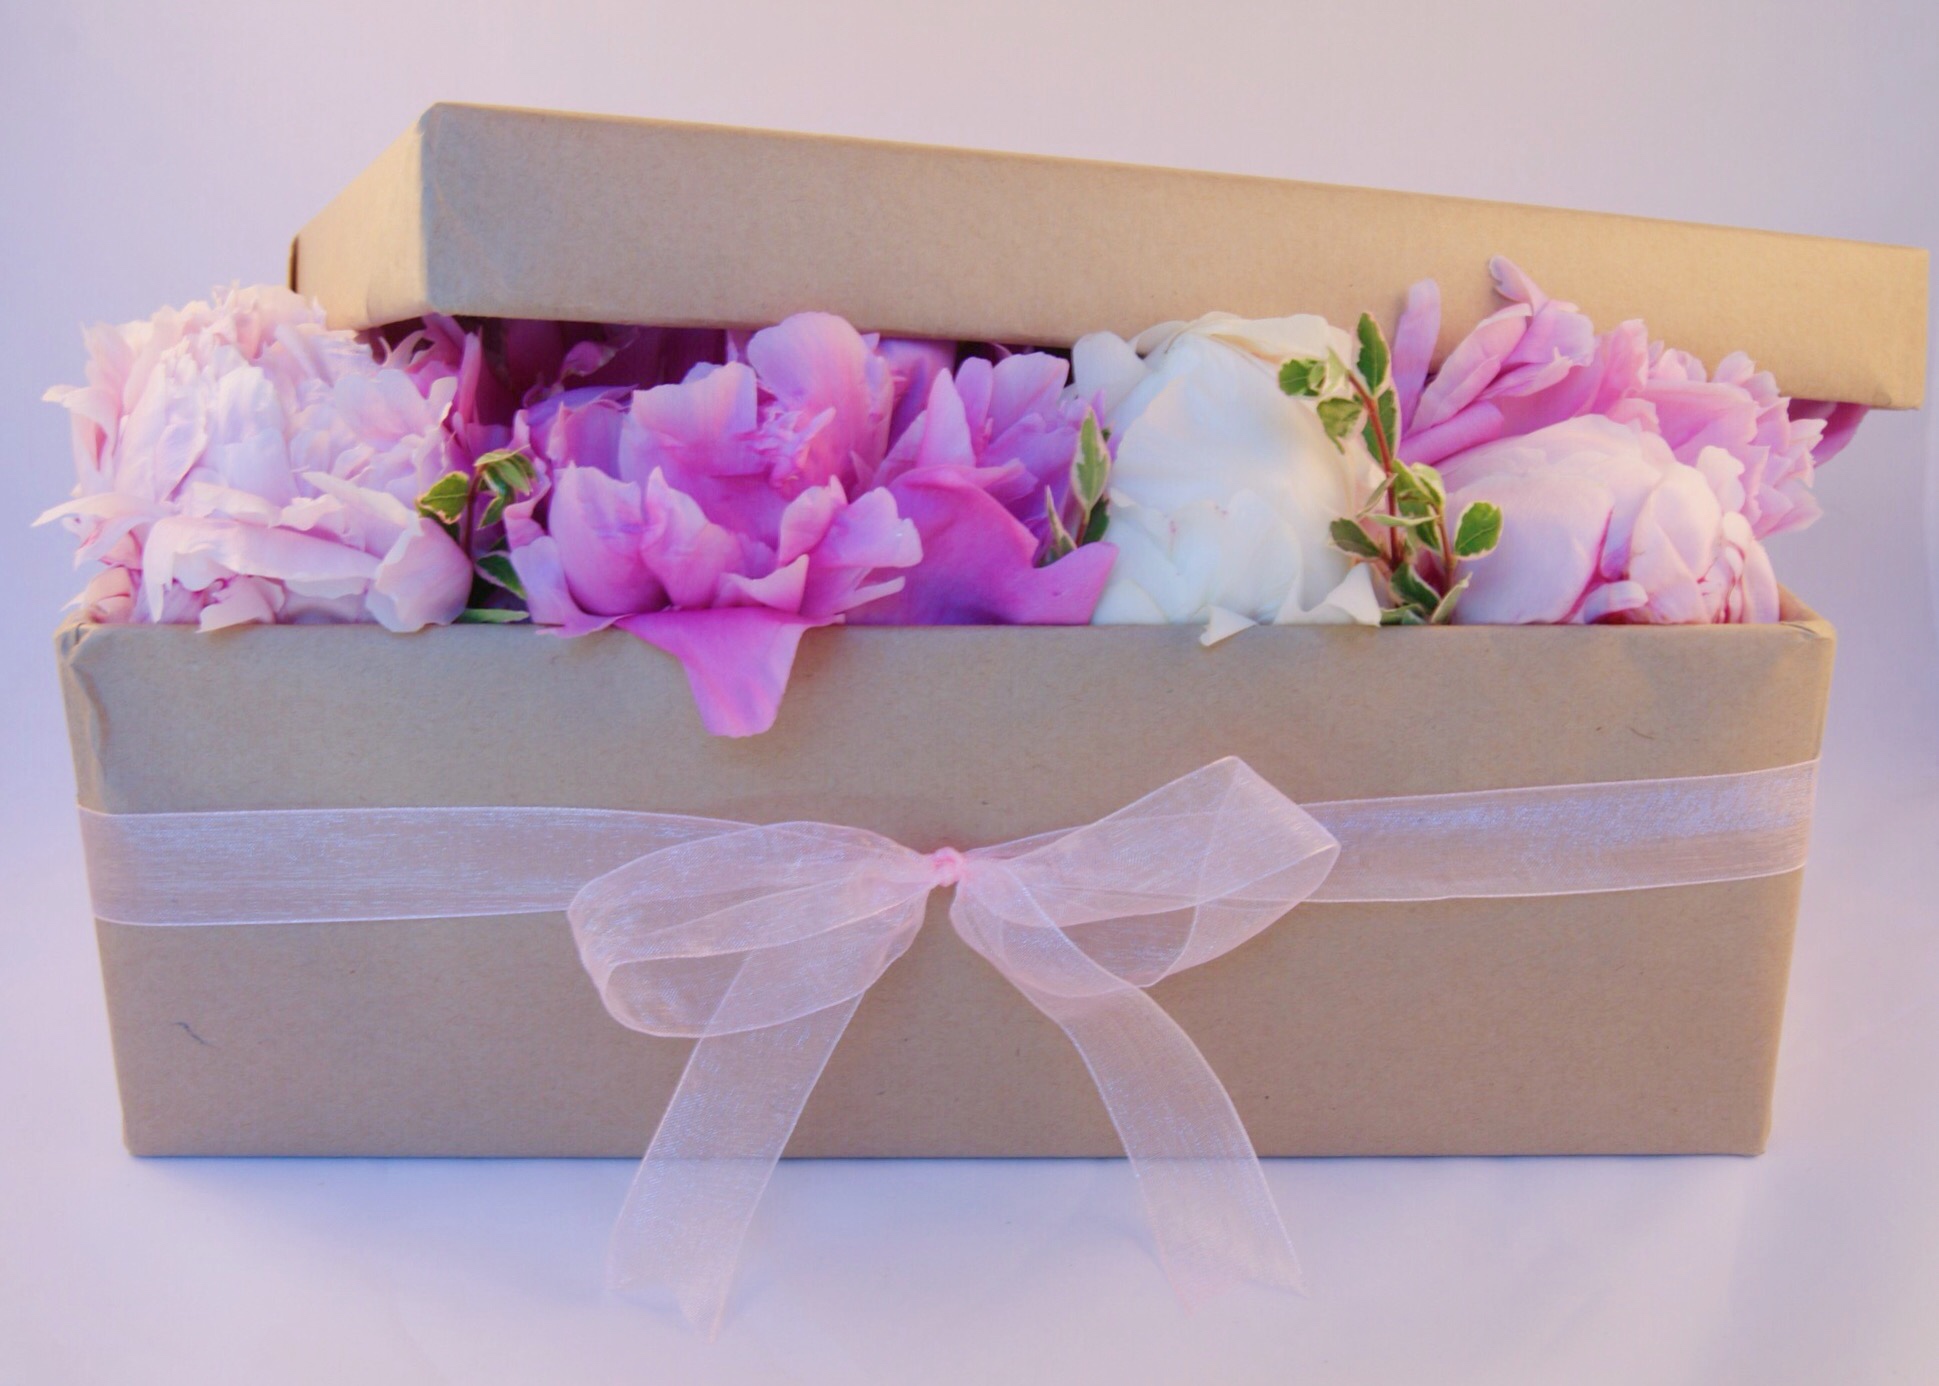
When Eve was searching for the perfect gift for Ivy's recent birthday, she came across a pretty marble and wood box. She wanted to find a cute way of presenting it to Ivy and remembered how Ivy loves Olive & Cocoa's boxed flower arrangements. Eve decided to DIY one for Ivy! It turns out, you only need a few materials (most of which you probably already own) and it is much more affordable doing it yourself than ordering one. For our DIY, we used a wrapped shoe box, however, feel free to use any type of container. We are planning to give these as graduation presents with small gifts, such as jewelry, nestled on top! This gift also goes great with glittered bottles of bubbly (DIY here). That way, not only is the gift great, but the box is a gift in itself!
Materials:
1 large bouquet of flowers (roses, peonies, tulips, there are so many options!)
1 bunch of floral greens (we cut ours from our yard)
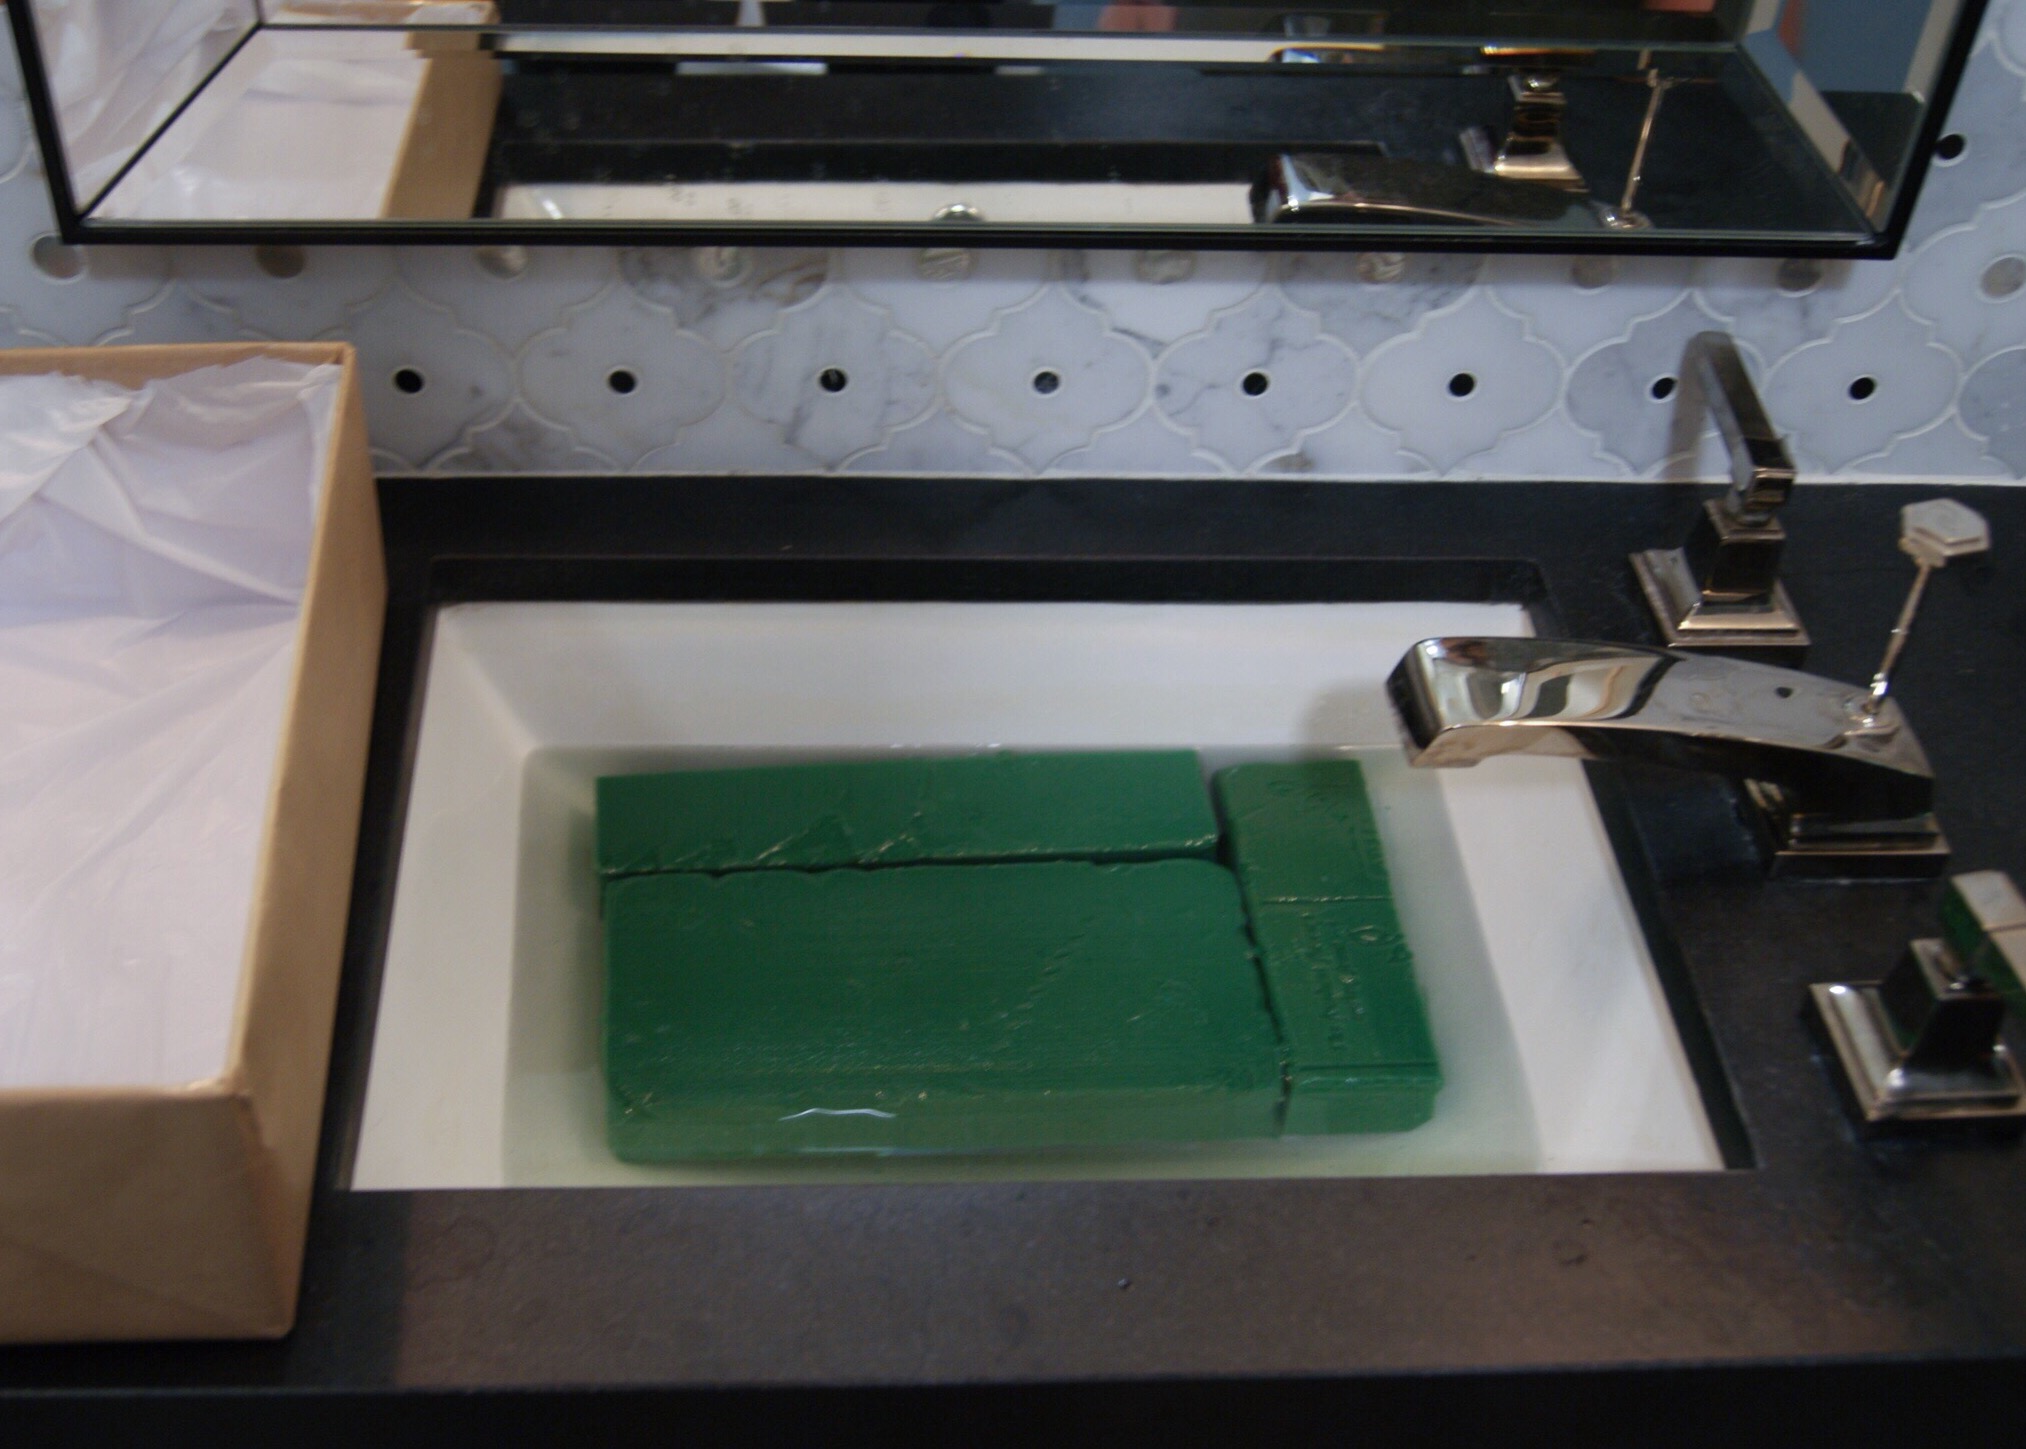
1 block of floral foam (you can buy it here)
1 box with lid (we used a shoe box for this DIY)
wrapping paper
tape
1 trash bag
scissors

Directions:
- Cut wrapping paper and wrap the outside of the shoebox lid and bottom. Secure with tape.
- Measure and cut the floral foam to fit snugly inside shoebox. Cut the block to about 1/2 the height of the box you are using.
- Soak foam in water, add flower food powder to water for longevity. Soak foam for 5-10 minutes, until heavy and fully saturated.
- While waiting for foam to saturate, line the inside of shoebox with a cut up trash bag and tape. Make sure the lining is secured because the box will fall apart if it gets wet!
- Place saturated foam back inside lined shoebox.
- Measure the flowers to the height you want them to stick out of the box. (we measured them tall because we did not want to use the lid, if you want the lid to fit cut shorter)
- Arrange flowers and greens as desired.
- Enjoy!