summer

Caprese Salad for Every Season

hie-1.jpg

We have sung praise and joy many times about the abundance of fresh fruit, veggies, and delights we have year-round in California. One thing we have had to adapt to since moving away is the idea of seasonal cooking. We're not saying we didn't cook seasonally back home, but we took advantage of the fact we could always find decent ripe tomatoes and other produce year-round. In Virginia, the tomato season is a HUGE deal. When the first Hanover tomatoes hit the grocery store and farmers markets, people practically run to buy them, and every restaurant's specials list includes some type of tomato dish. We took advantage of the tomato season this summer. With that wrapping up, we wanted to share our favorite recipe highlighting our beloved savory fruit: the Caprese Salad, with some tips and tricks to recreate this dish year-round. We recommend pairing Caprese Salad with unoaked or lightly oaked Chardonnay or nice crisp Sauvignon Blanc.

xxx Ivy & Eve

Tips:

Oil & Vinegar: 

Since this recipe is so simple, it's the perfect excuse to use your best olive oil and vinegar. We love playing with different oil and vinegar combinations from our favorite hometown producer of oils and vinegar: Quail & Olive. Some of our favorite combinations right now are Basil olive oil with Winter Ambrosia vinegar and Tuscan Blend olive oil with either Mission Fig or Raspberry Basil vinegar.

We use another of our favorite olive oils from Holman Ranch, which happens to make some of our favorite Pinot Noirs too! 
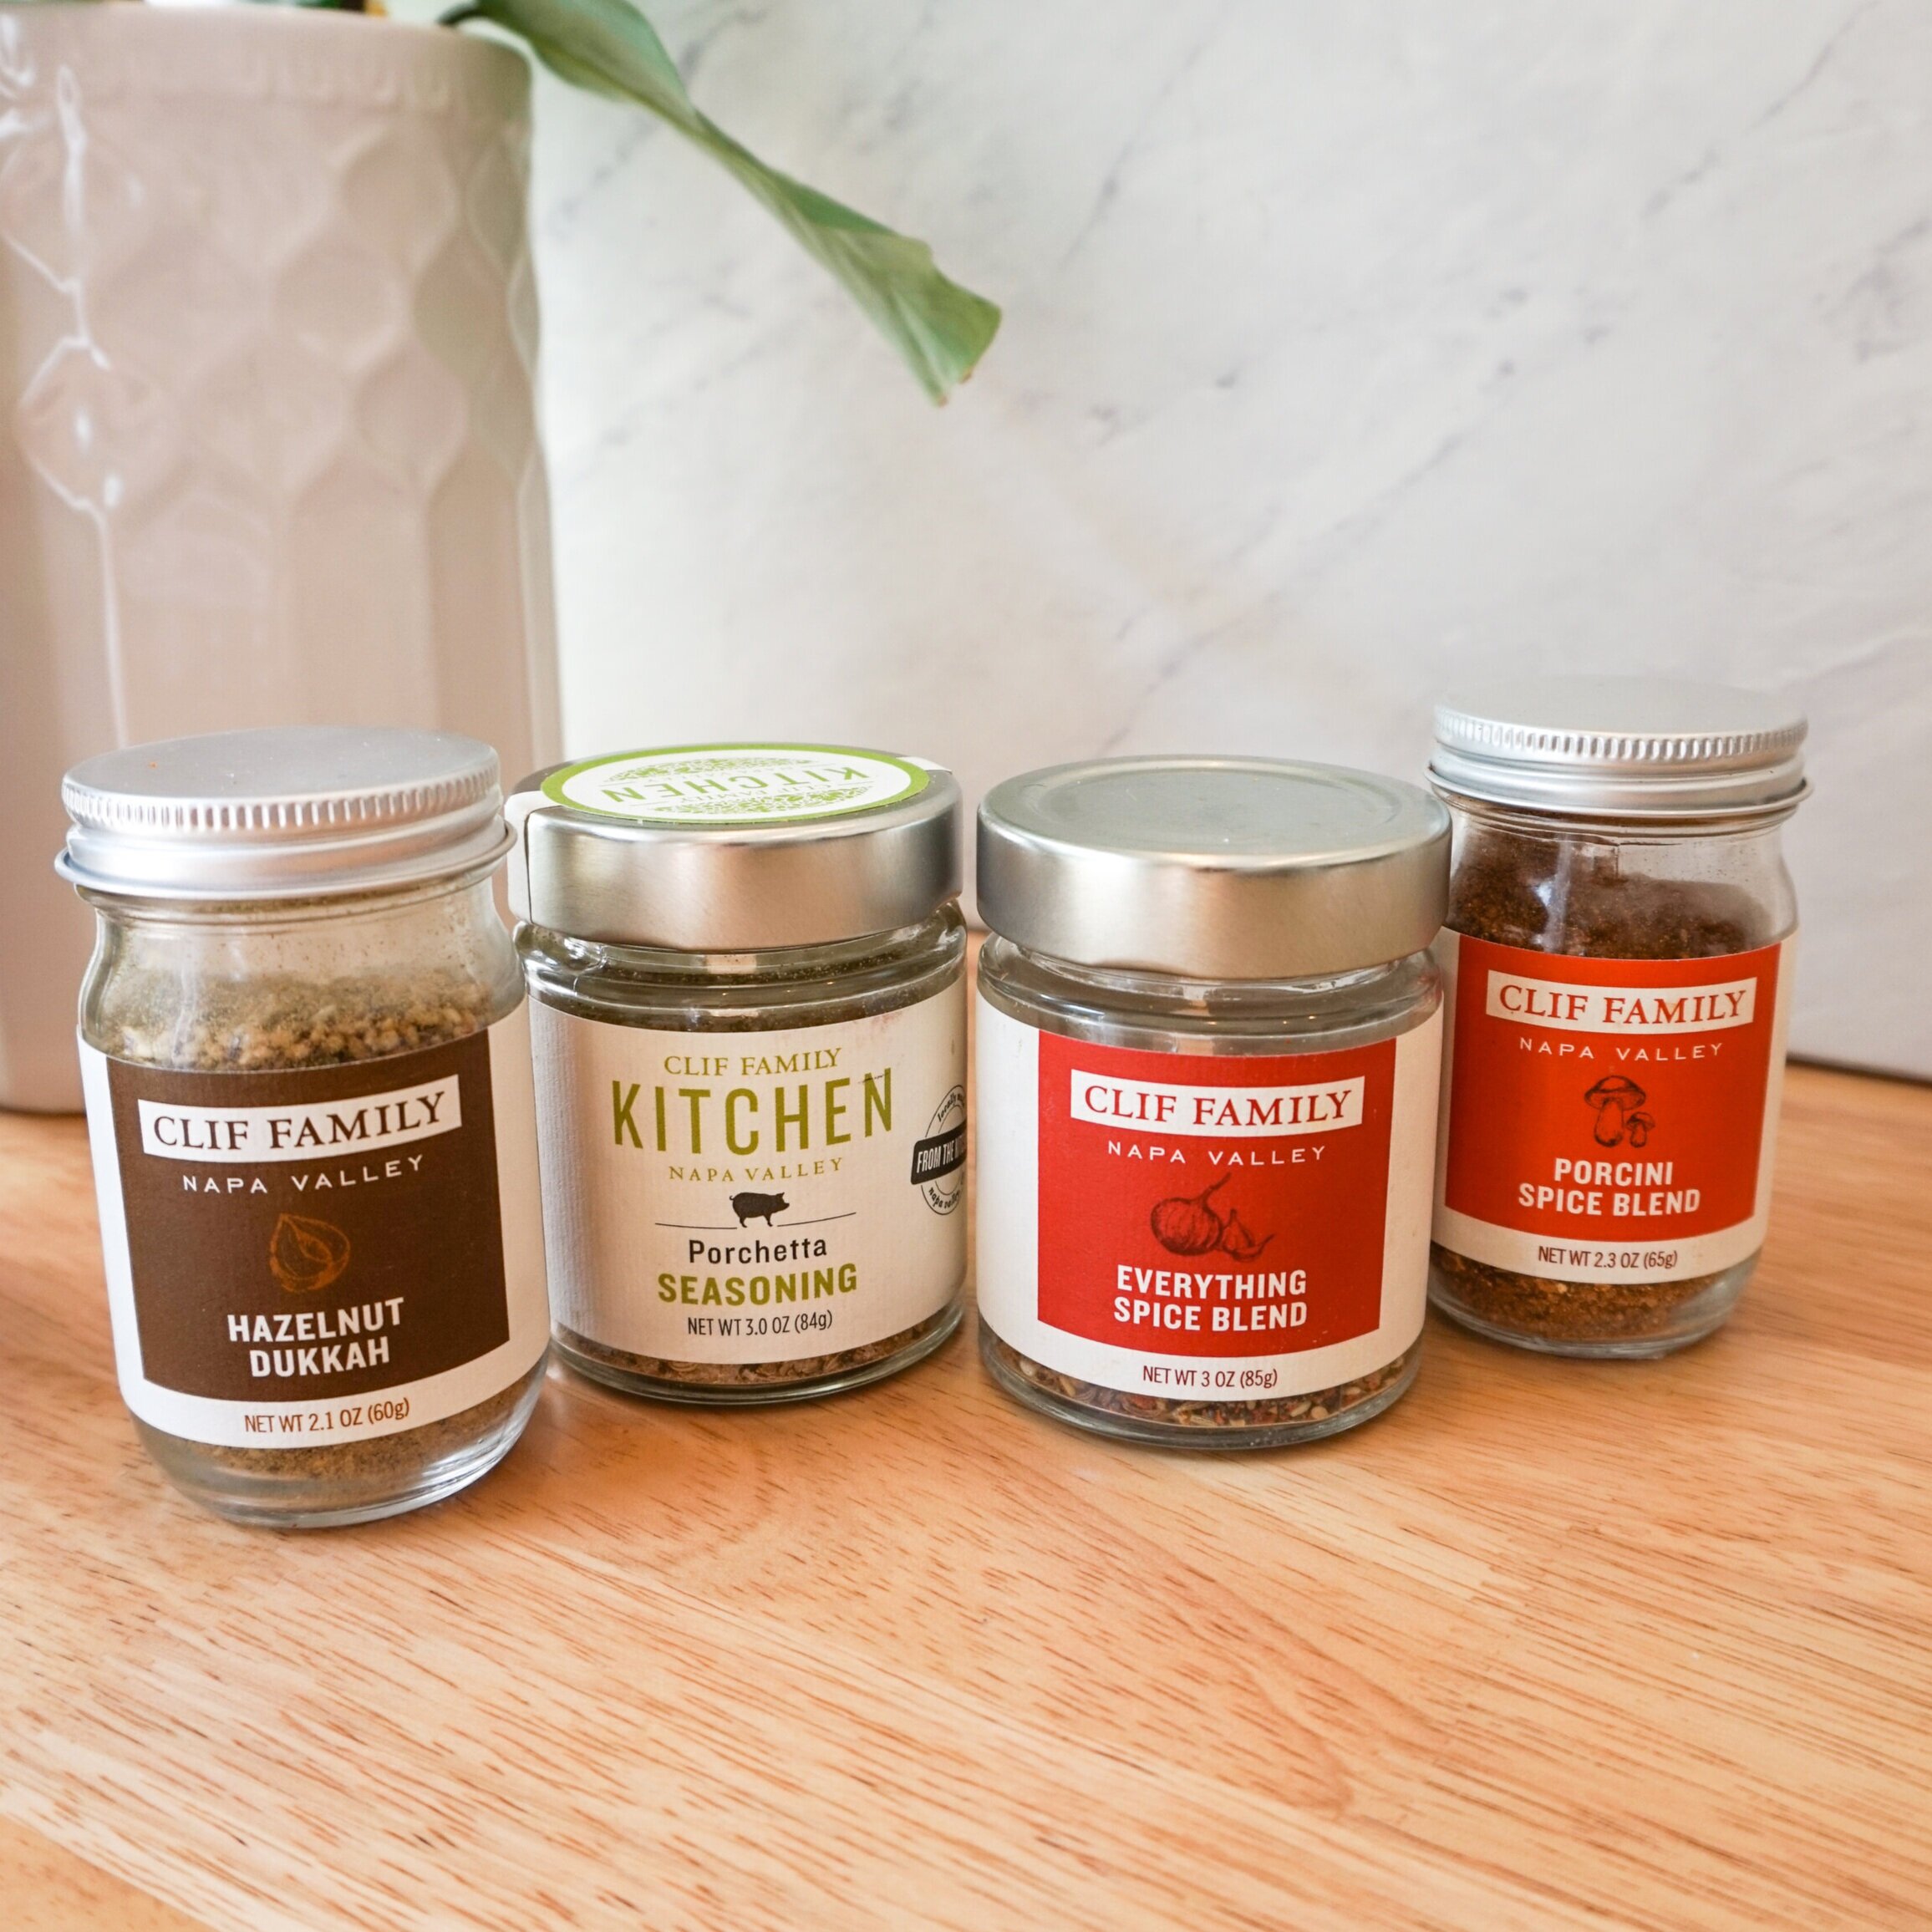
hie-4.jpg
hie-5.jpg

Seasoning:

This is also a perfect recipe to use fancy salts and fresh cracked pepper or swap them with those fancy seasonings you might have lurking in our spice drawer. We've been loving Clif Family's spice blends, Everything Spice Blend and Porchetta Spice Blend. For salt, we use Maldon or Hawk Head Whisky Smoked Chili Salt that we picked up the last time we were in Scotland.
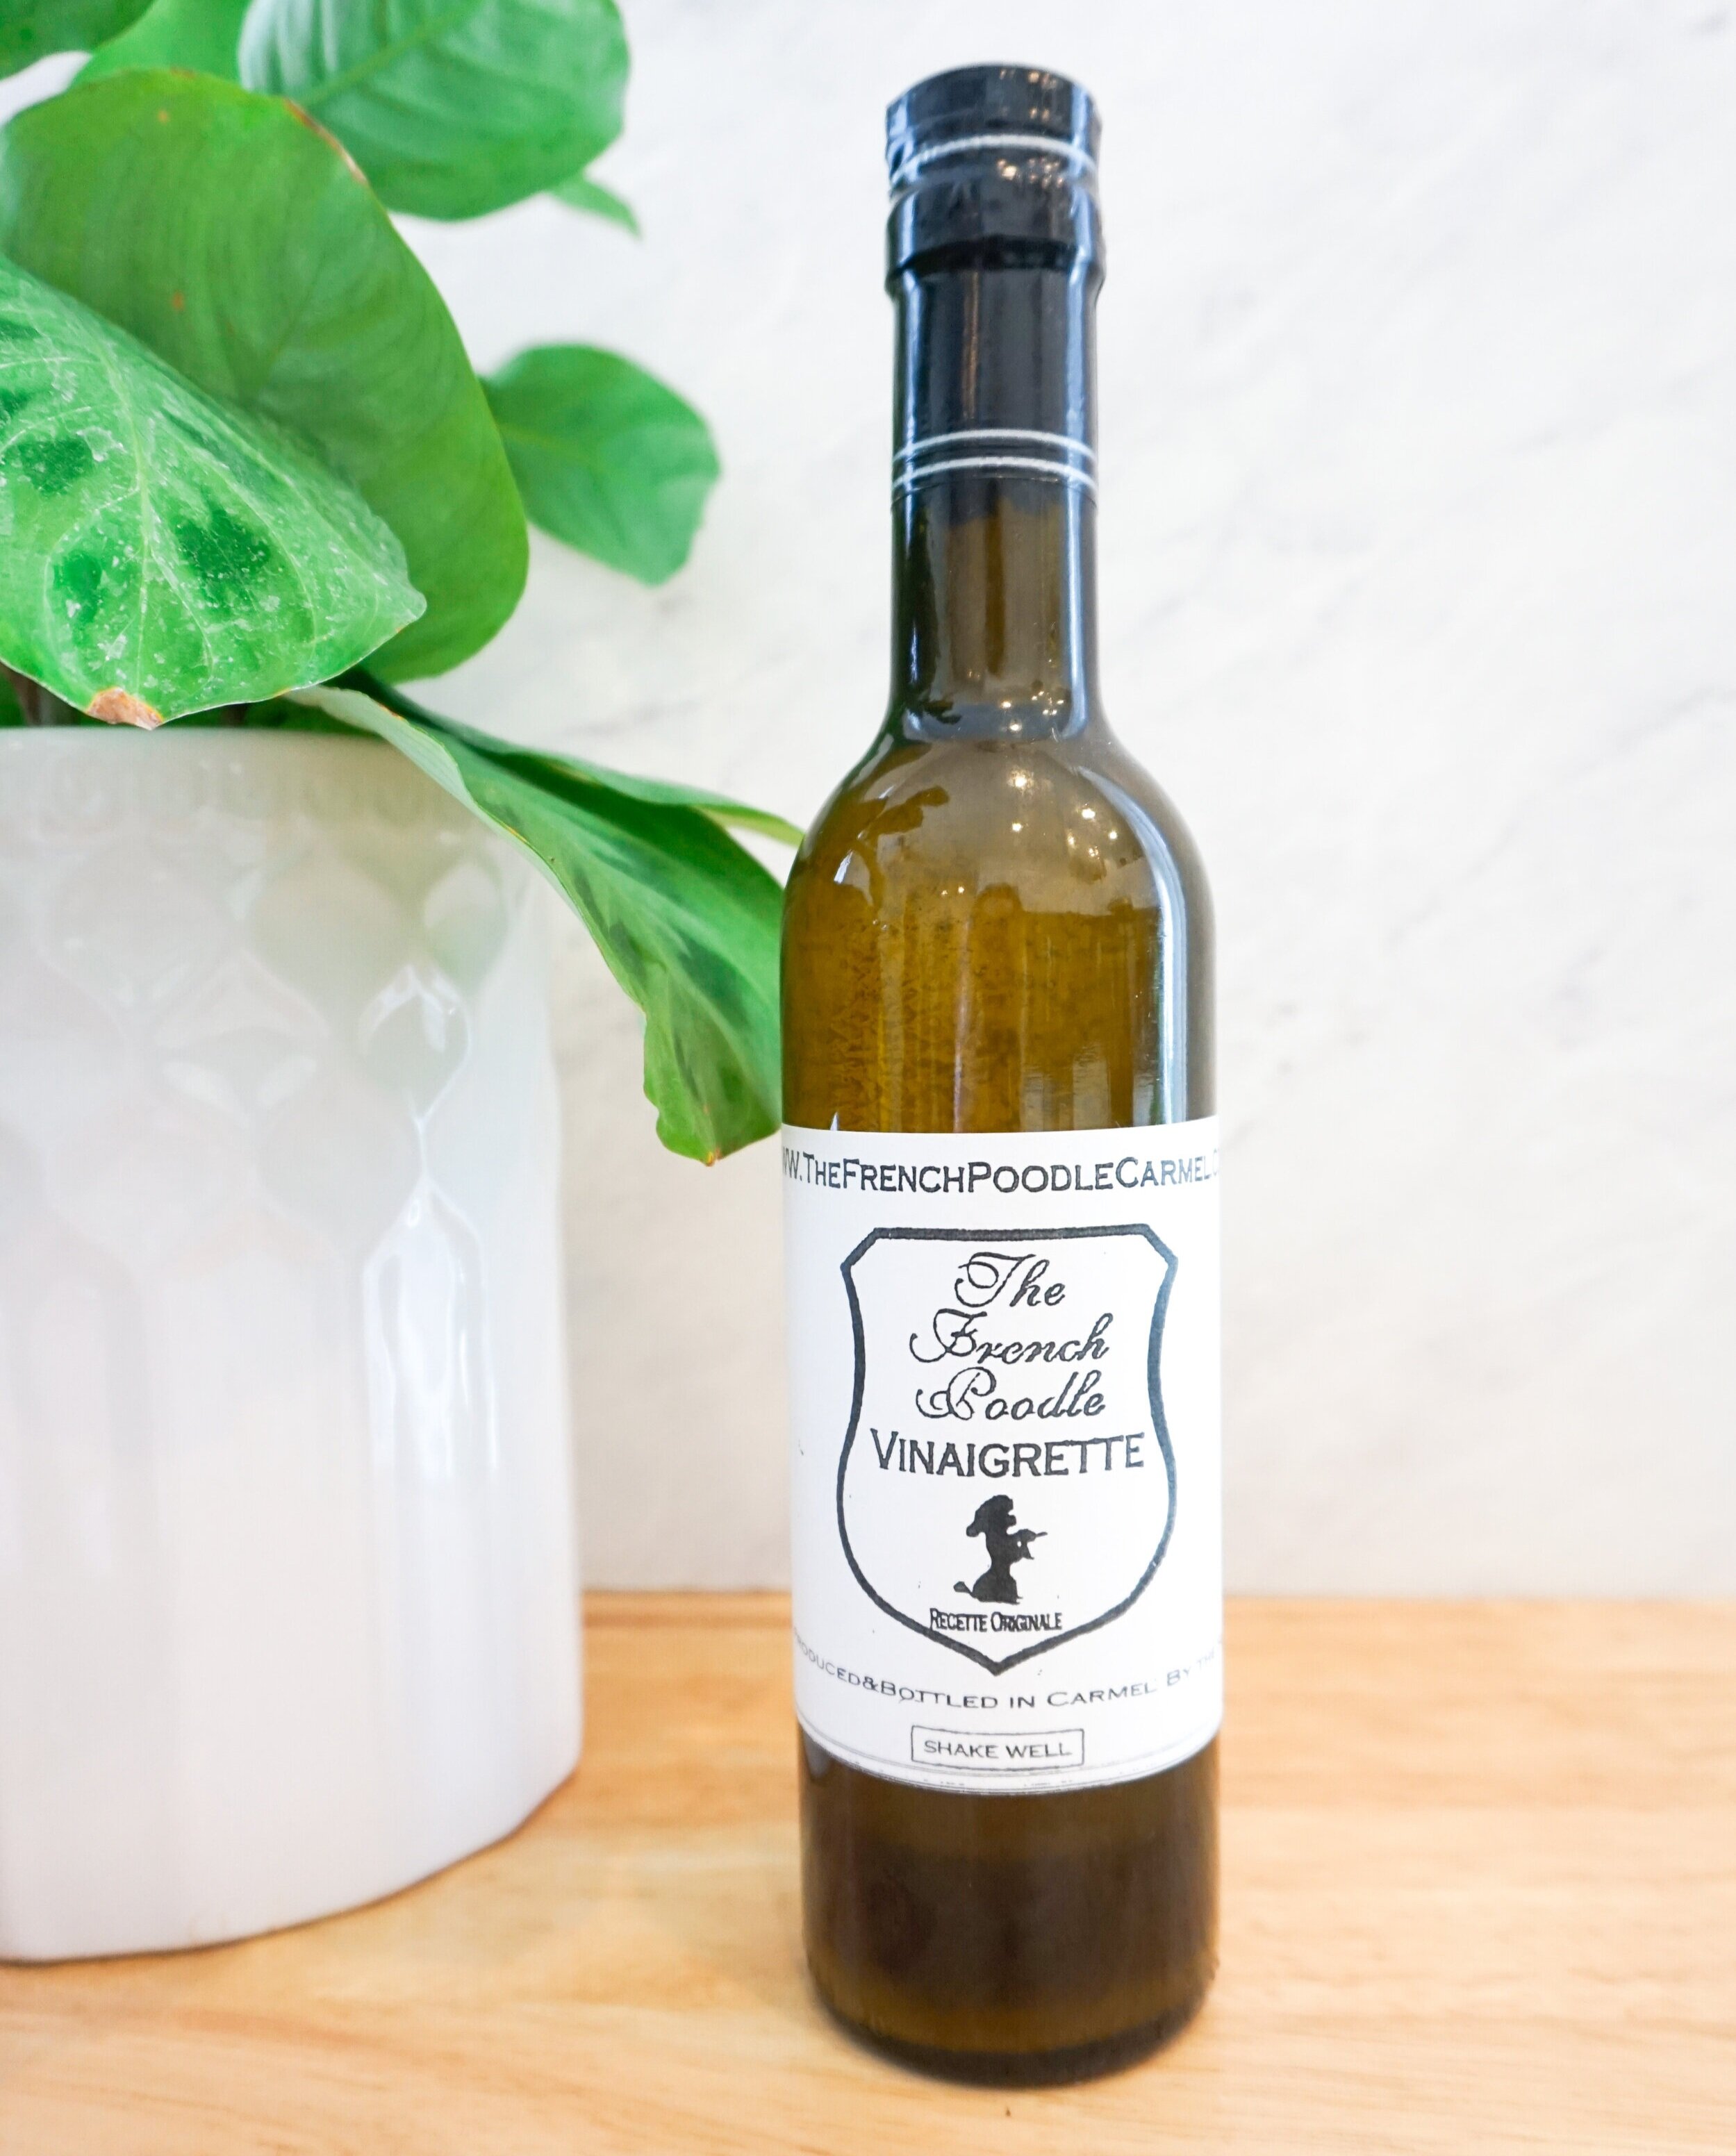
hie-7.jpg
hie-6.jpg

Dressings:

Another fun way to dress your Caprese salad is to use a bottled dressing. We tend to use lighter, vinaigrette type dressings, and our absolute favorite is French Poodle Vinaigrette. The recipe originated from Cote d'Azur in 1870 and made its way to our hometown in 1961 when Marienette and Jean Beacham opened The French Poodle restaurant in Carmel, CA. The recipe remains a secret, and now you can buy it online or in select shops. 

image0+%281%29.jpg

Seasonal Produce:

When tomatoes are out of season, we love to play with different produce. Here are a few of our favorite combinations: 

Spring/Summer:

  • Traditional Caprese - Tomato + Mozzarella + Holman Ranch Olive Oil + good balsamic

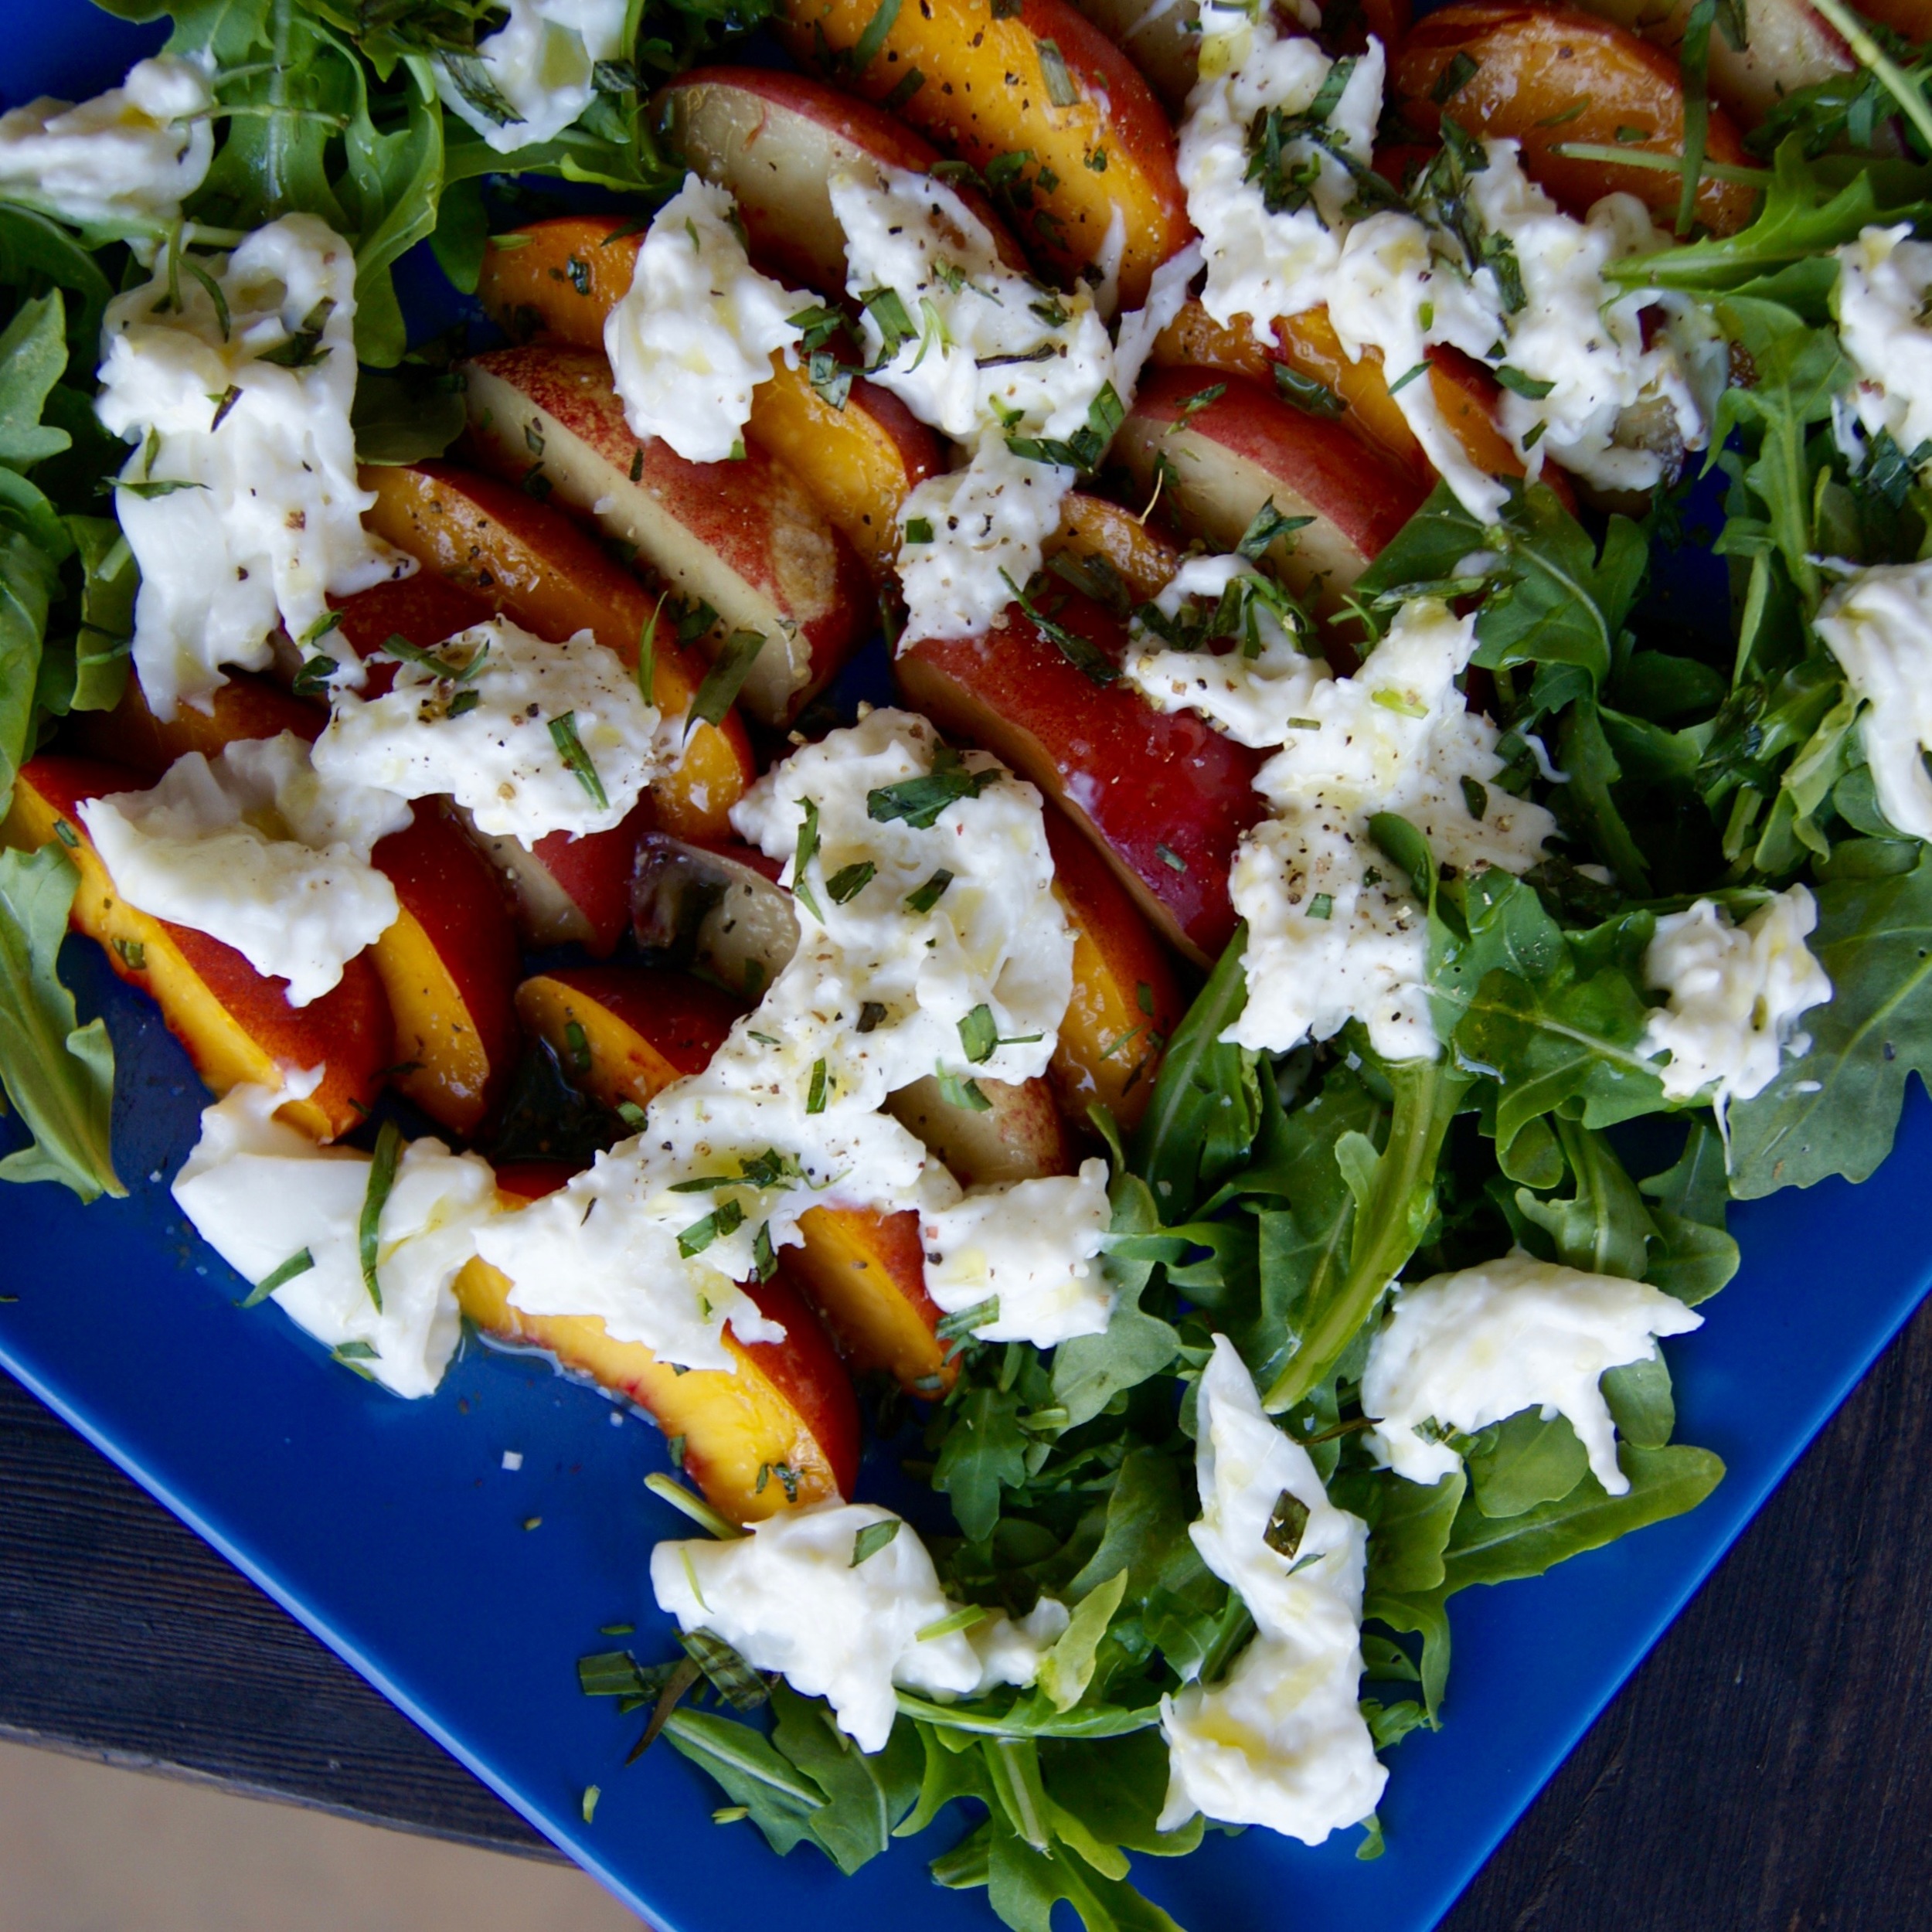
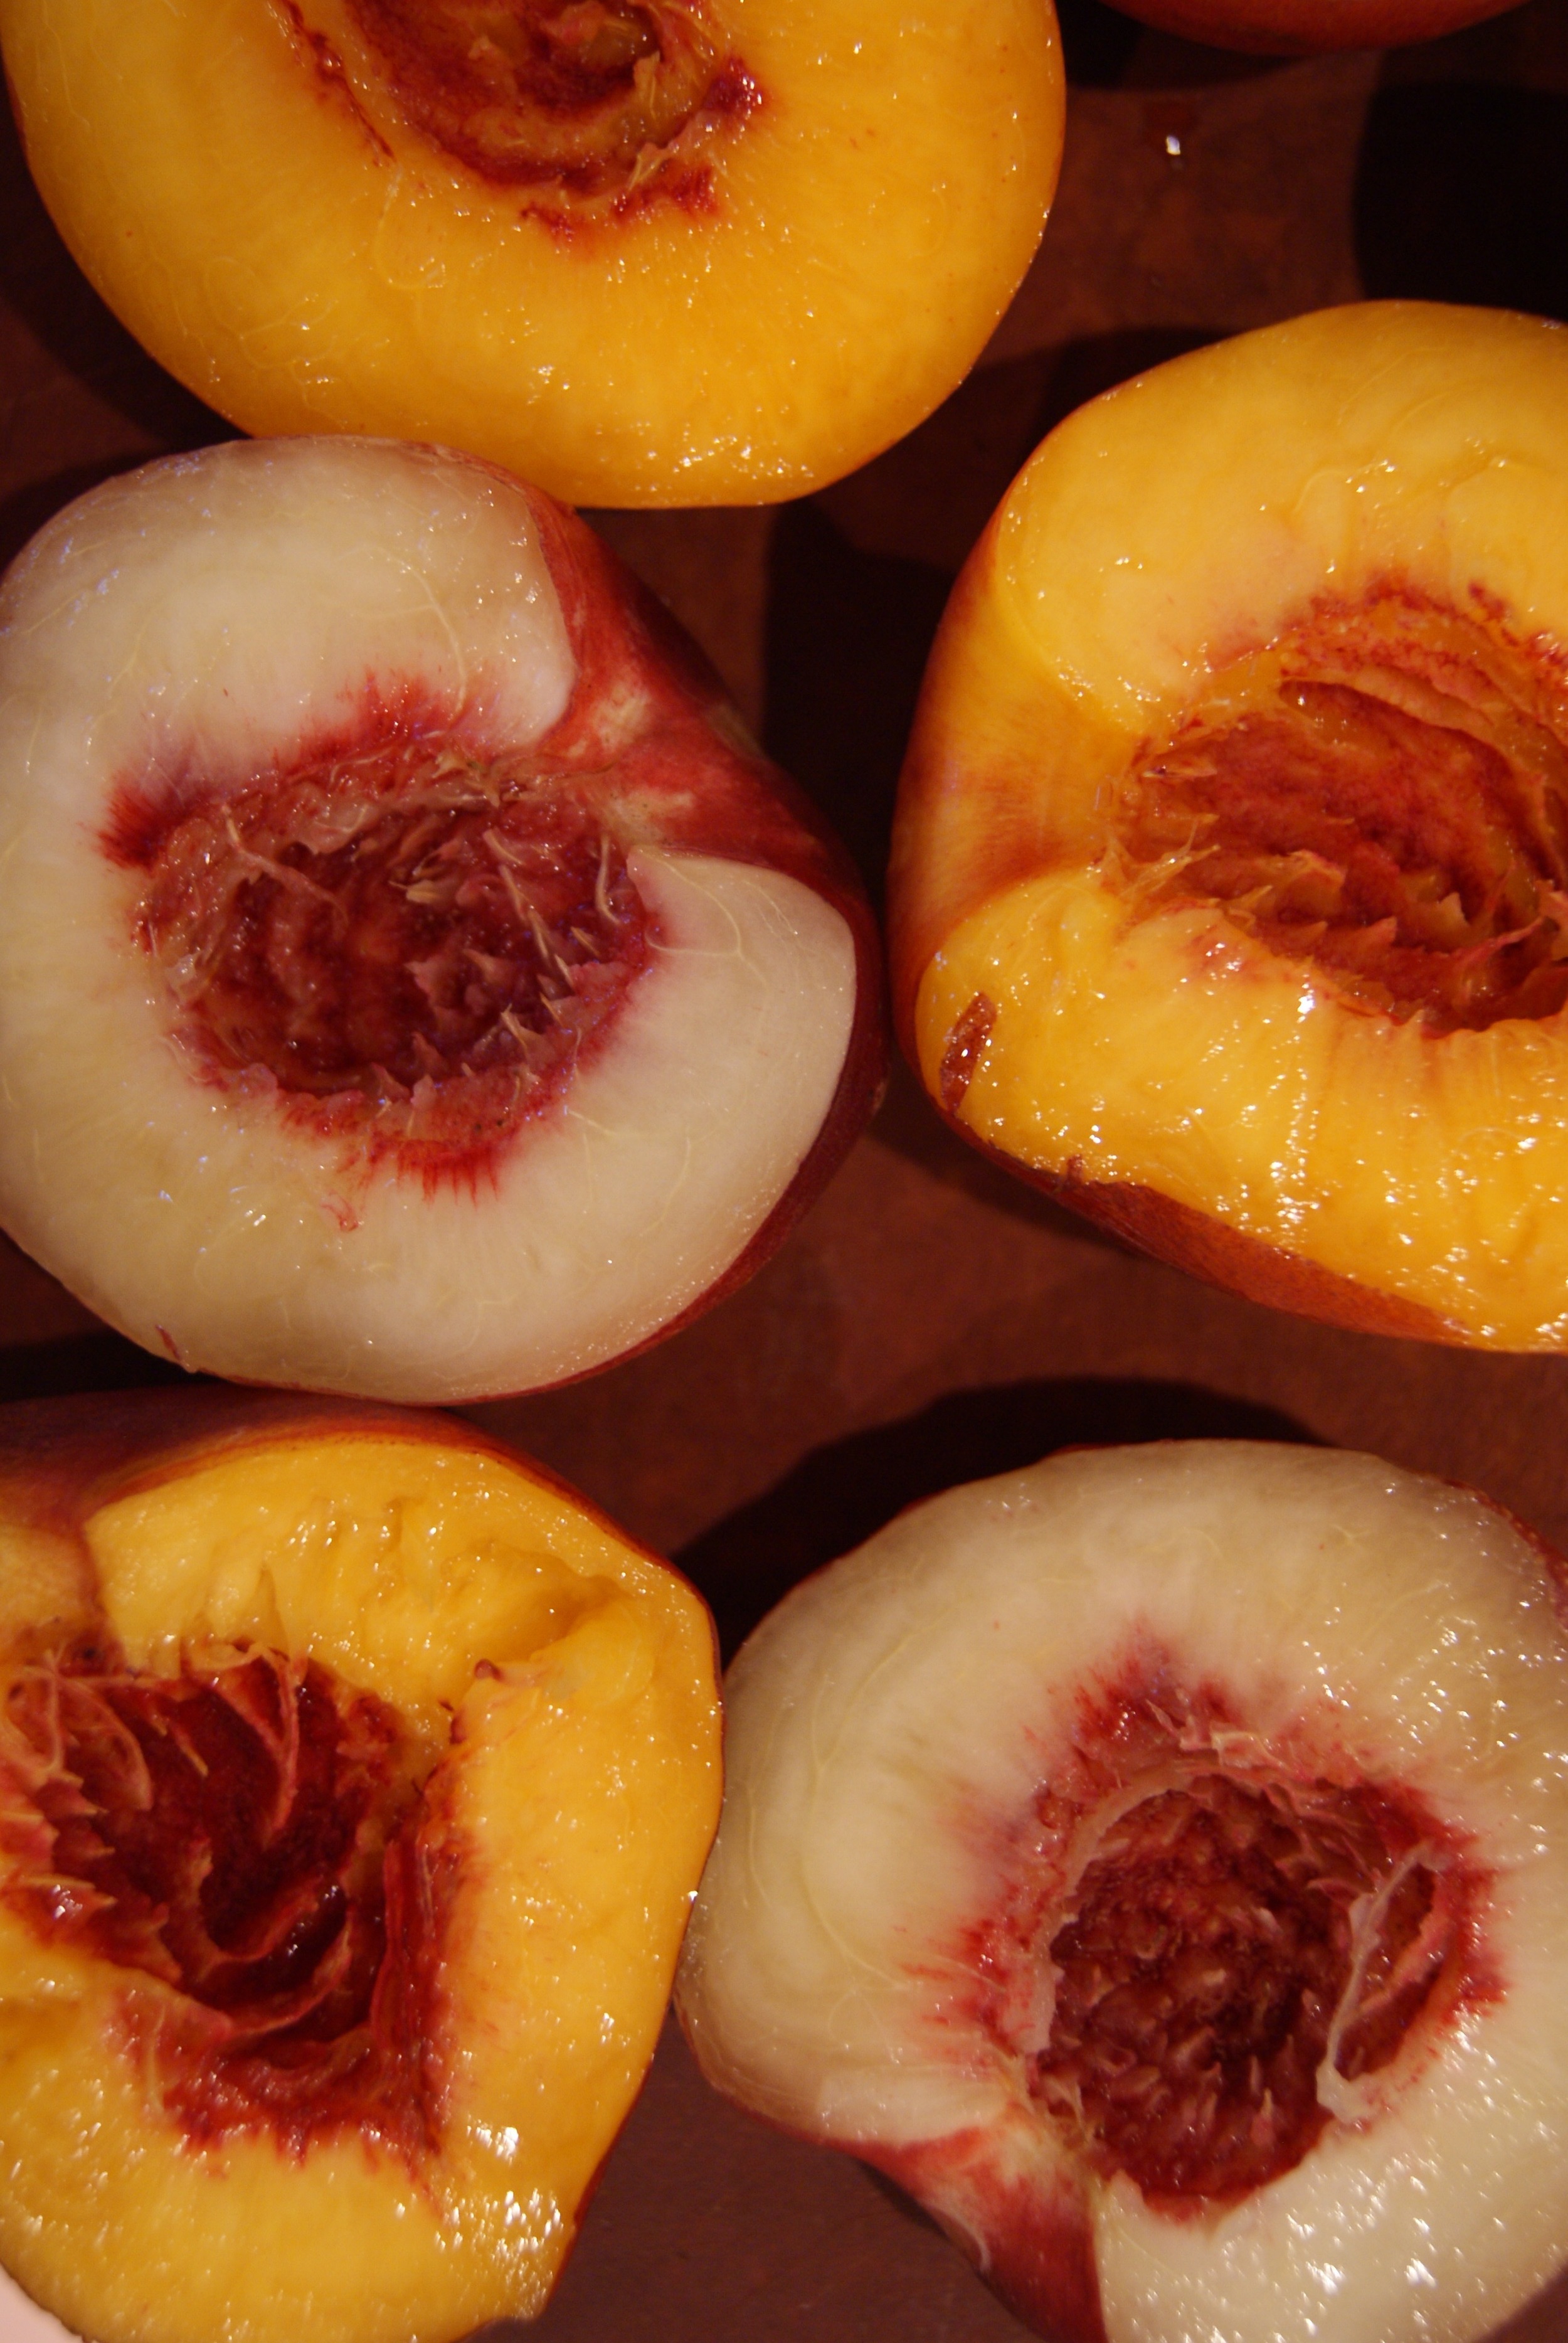
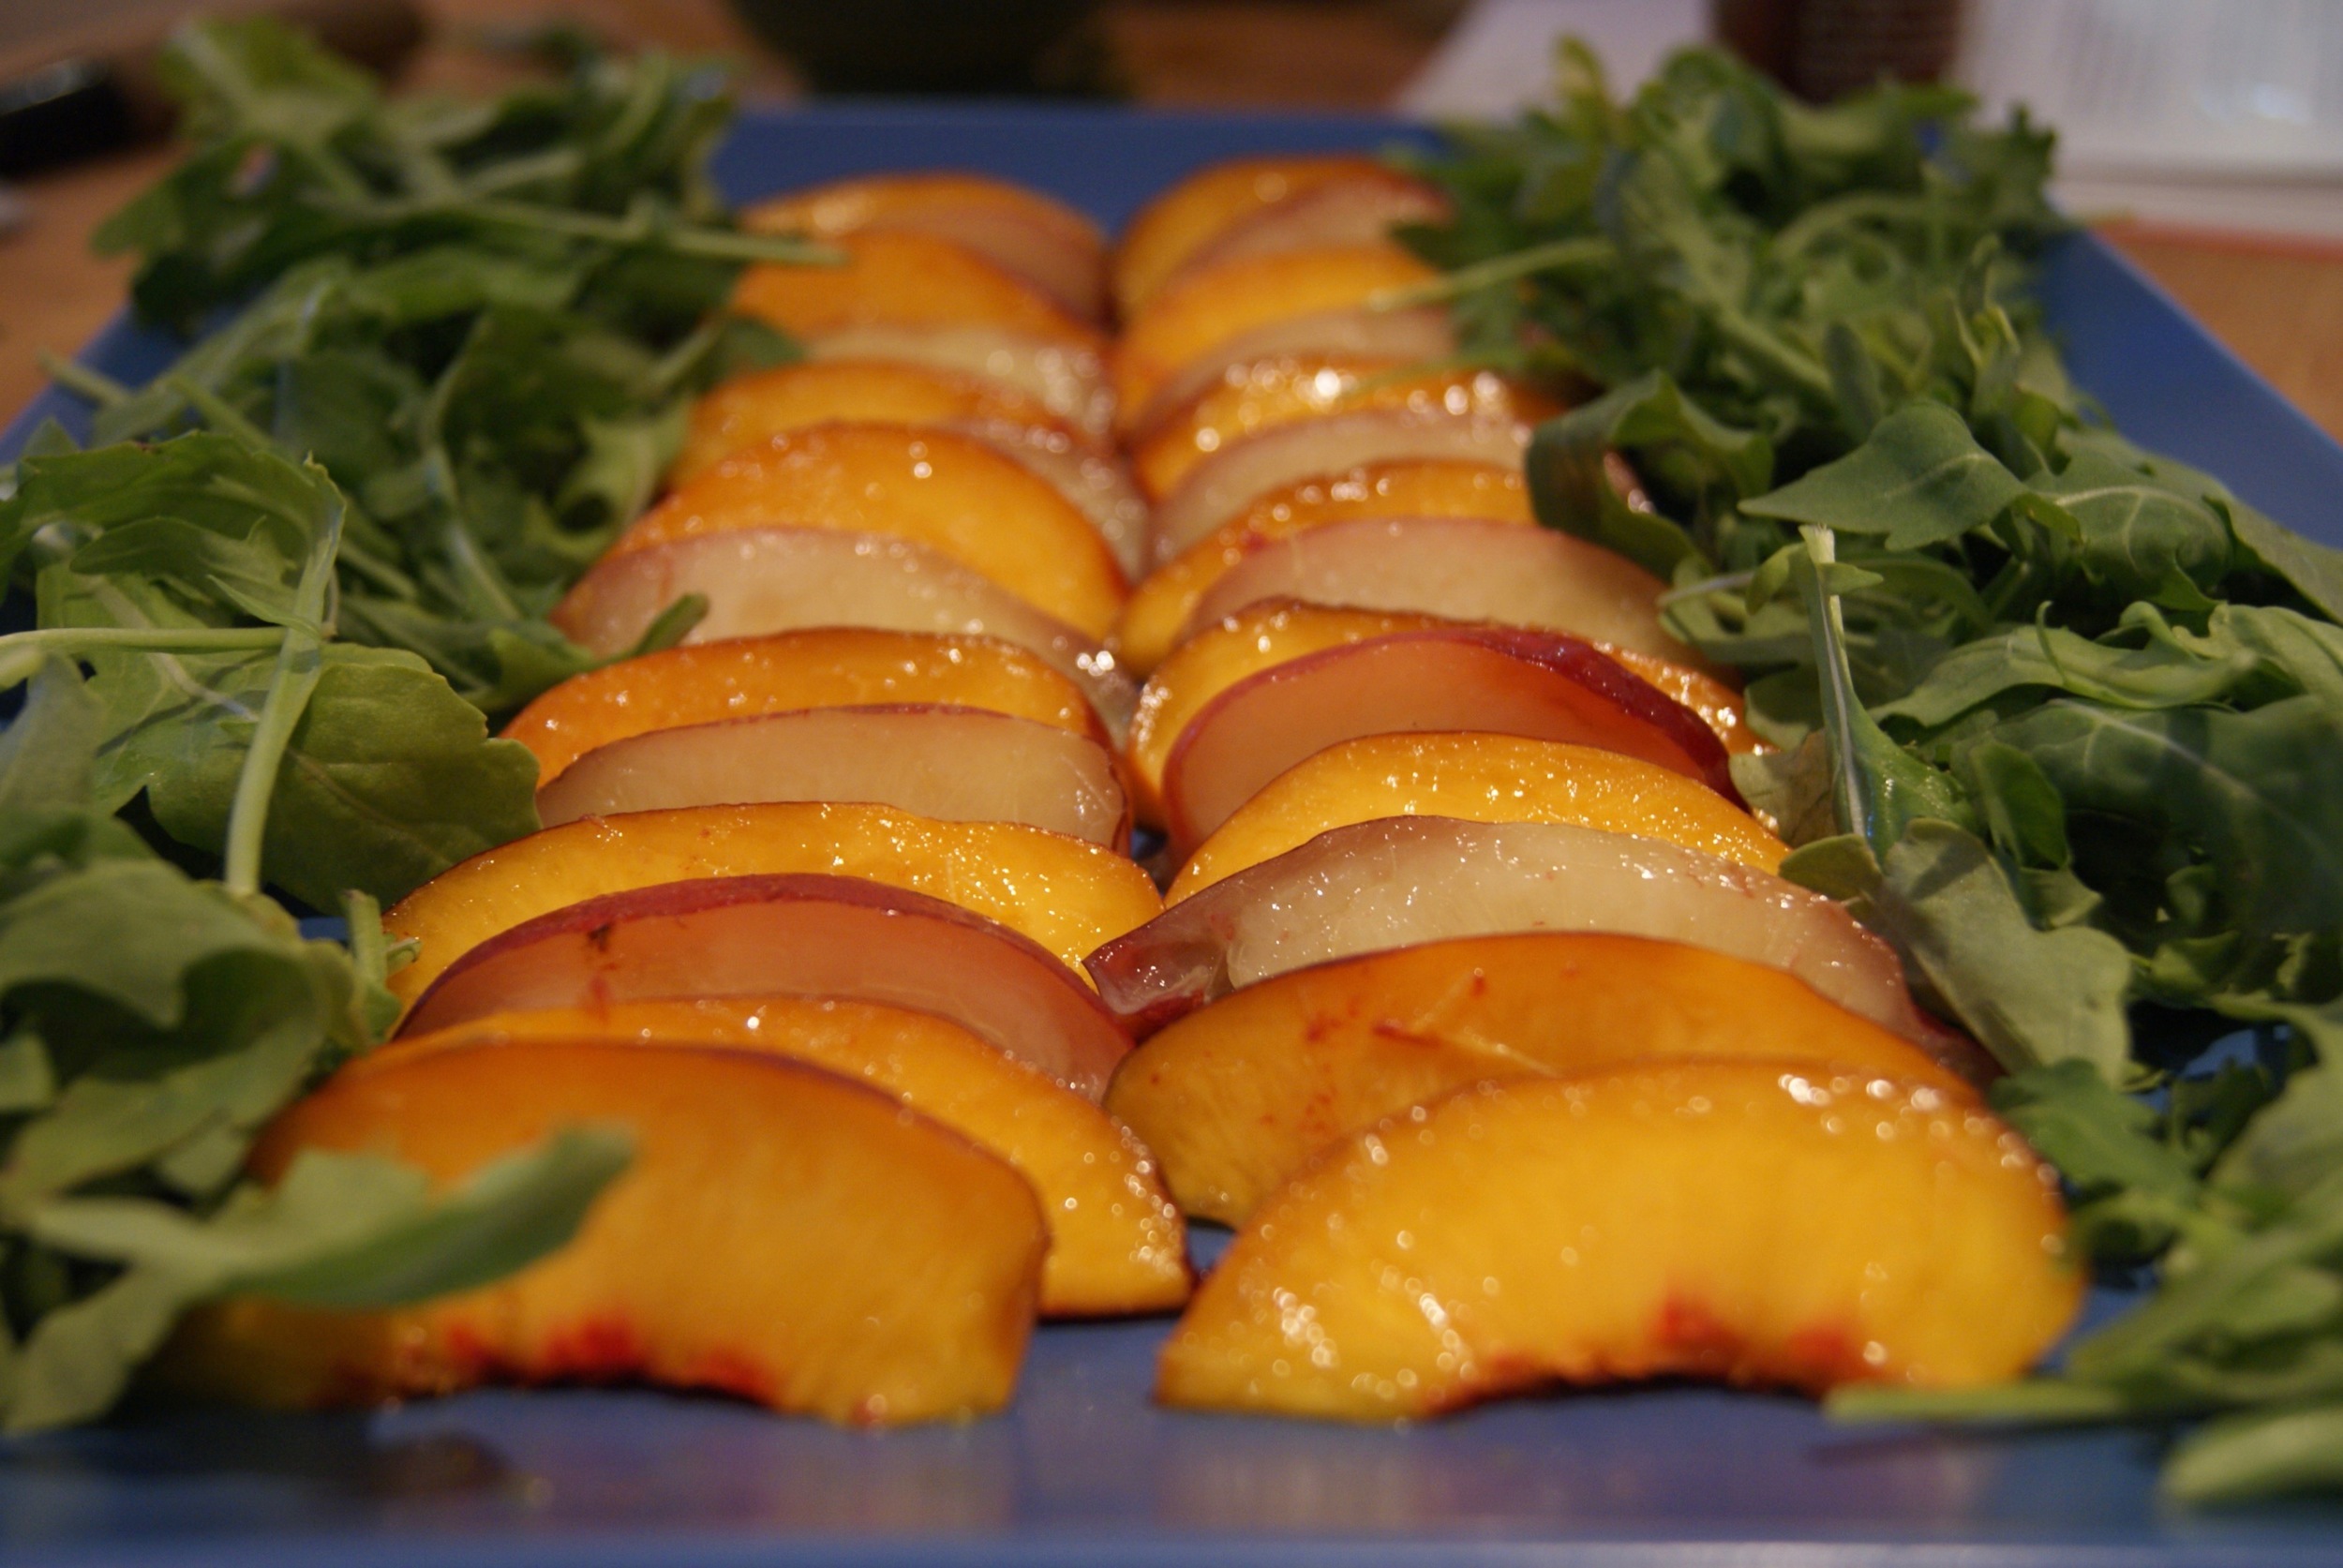
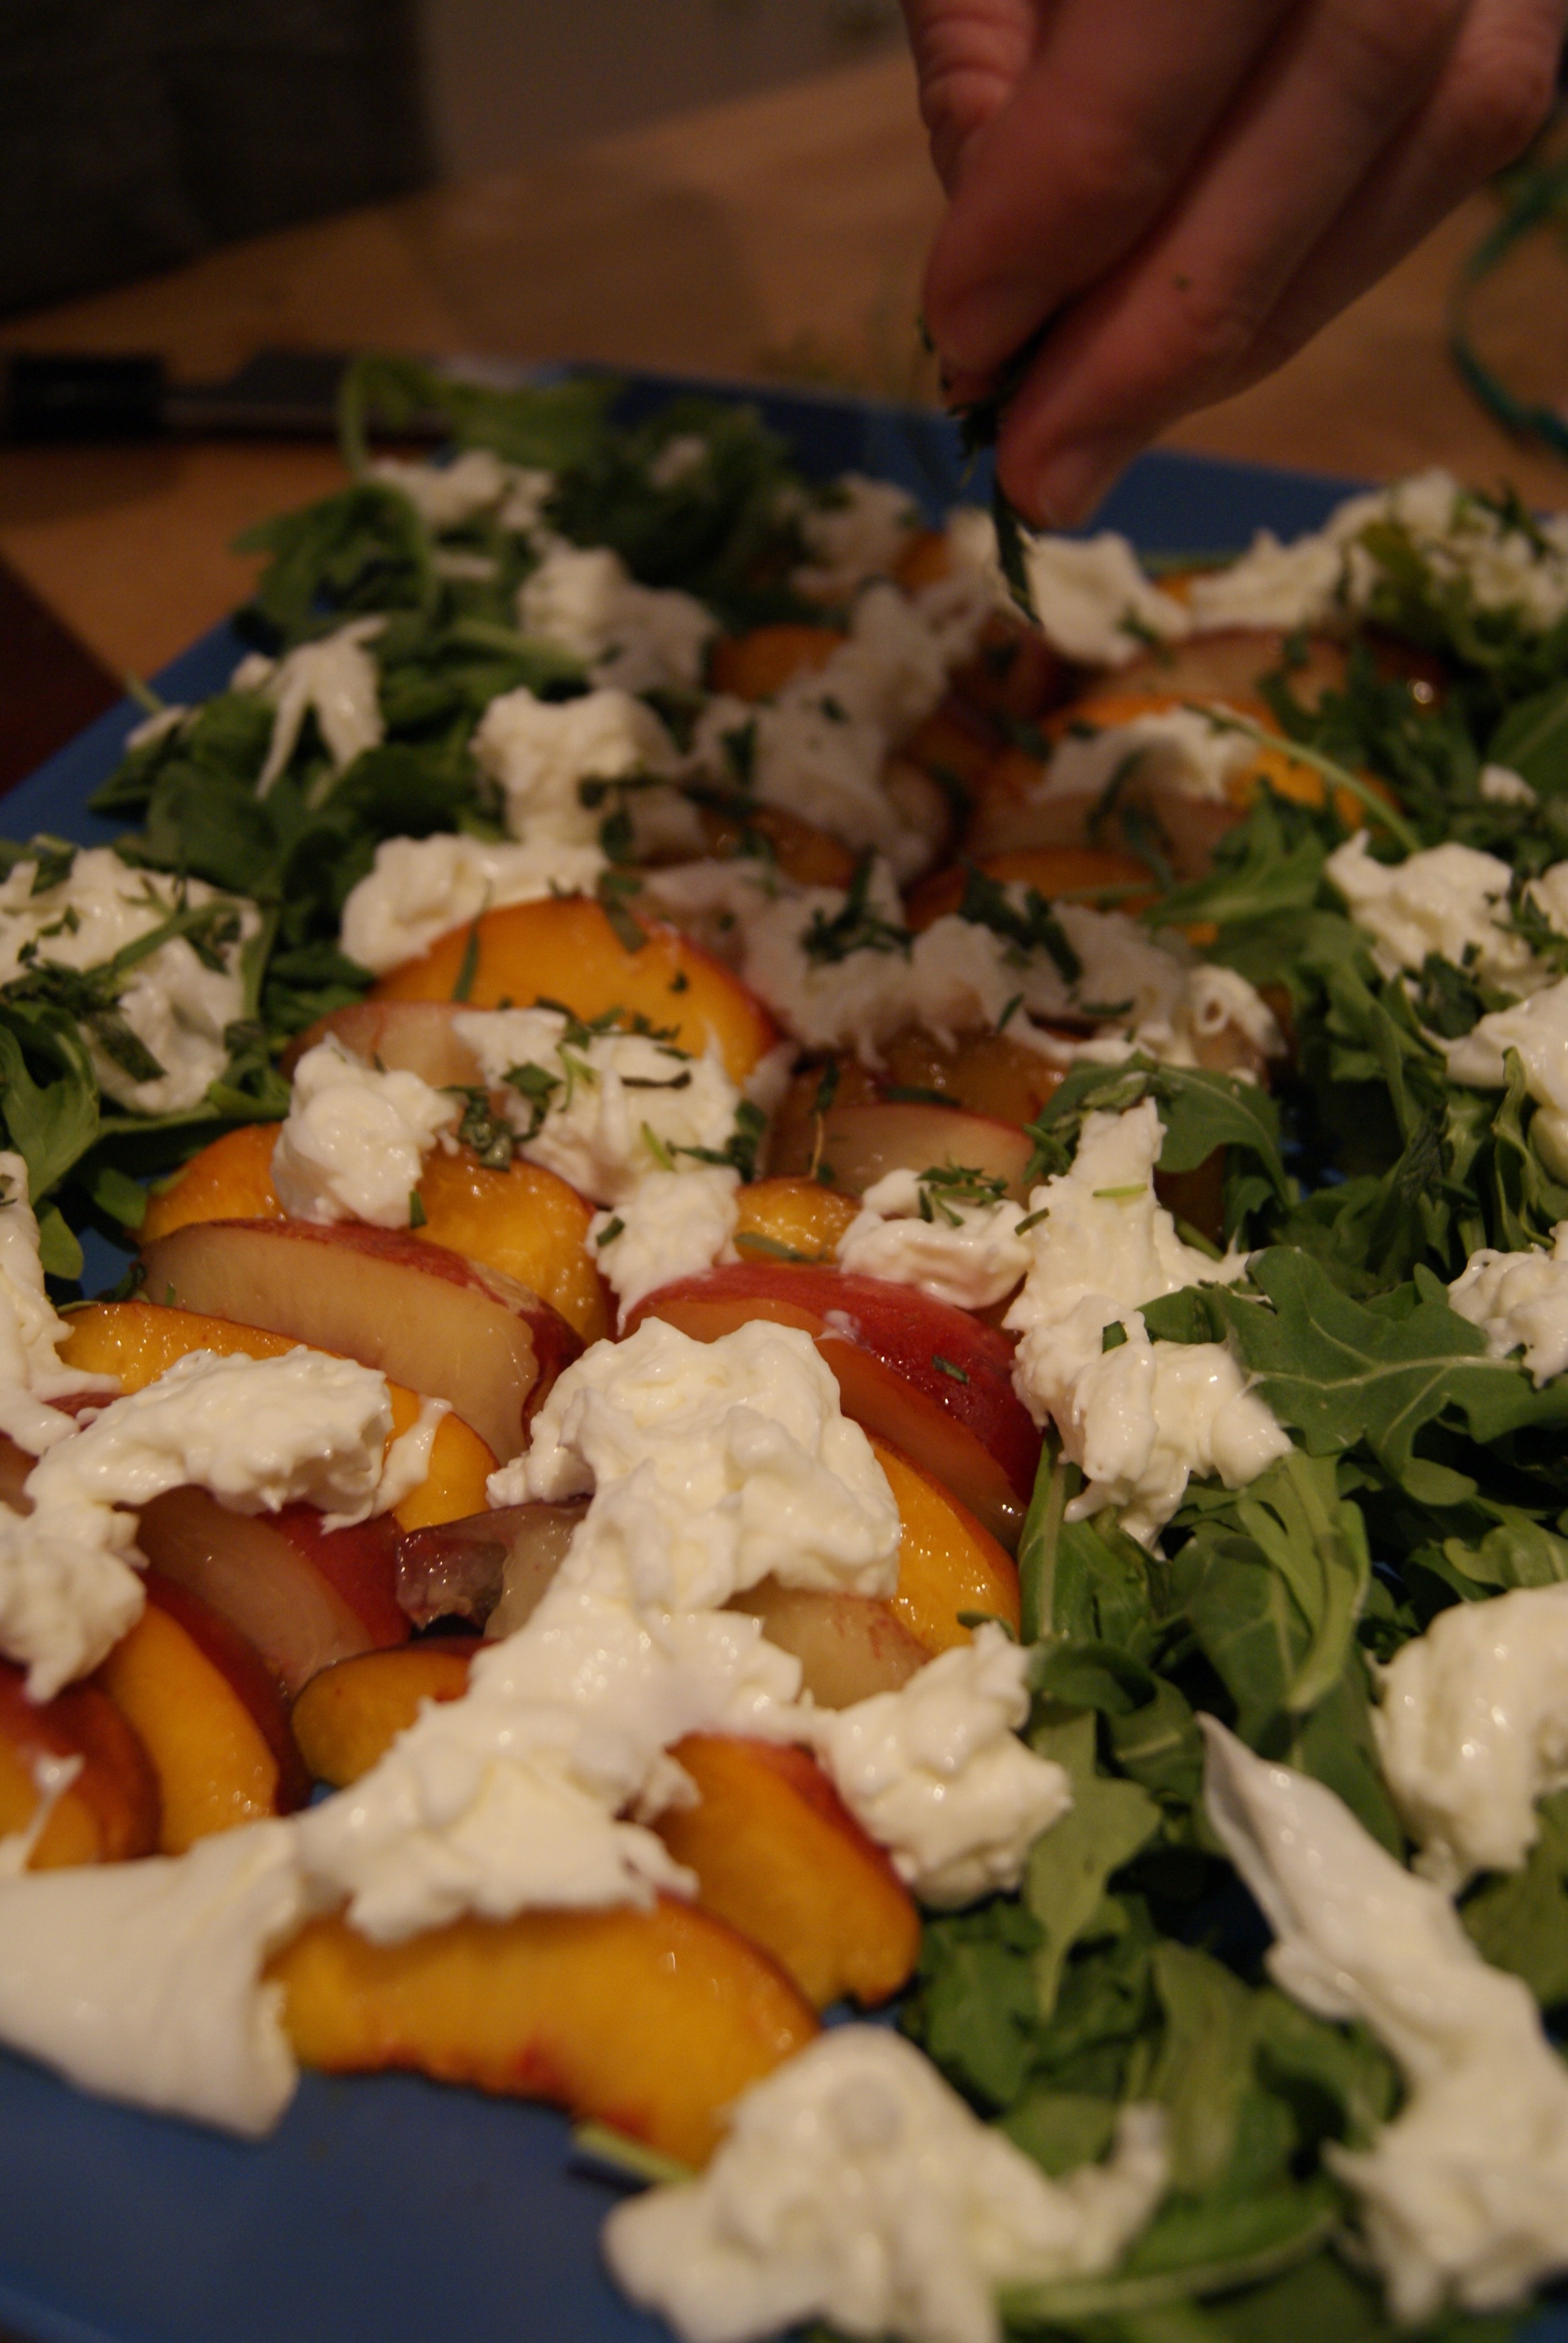
  • Nectarine or Peach + Burrata + Tarragon (Previously featured here)

Fall/Winter: 

  • Roasted Tomato + Burrata or Mozzarella torn into small chunks (we roast cherry tomatoes with fresh thyme tossed in olive oil at 400F for about 40 minutes)

  • Persimmon + Mozzarella + Quail & Olive Basil Olive Oil + Quail & Olive Winter Ambrosia Vinegar

Make it a Meal:

When we're serving this as a main dish and want to make it more substantial, we like to serve it on a bed of arugula, add shredded rotisserie chicken, and double the oil and vinegar. It would also be delicious with some homemade croutons to soak up a bit of the dressing!

image.jpg
hie-3.jpg

Here is our tried and true recipe for a classic (but delicious) Caprese Salad. Feel free to add or sub any of the ingredients with your own favorites!

Serves 2.

Ingredients:

  • 2-3 medium ripe tomatoes, sliced 1/4-inch thick

  • 1 ball of fresh mozzarella cheese, sliced into 1/4-inch-thick rounds

  • A handful of fresh basil leaves

  • Flaky salt

  • Freshly cracked pepper

  • 1 tablespoon extra-virgin olive oil

  • 1 tablespoon good quality balsamic vinegar (this is the time to break out the good stuff)

Directions:

  1. On two salad plates (or one large serving dish if serving family-style), arrange the tomato and mozzarella slices in an alternating pattern. 

  2. Tear and scatter basil leaves on top of the tomatoes and mozzarella. 

  3. Season with fresh cracked pepper and flaky salt. 

  4. Drizzle with olive oil first, then balsamic vinegar. 

  5. Enjoy! 

DSC00130.jpg

Zucchini Carpaccio

3A089CA0-6810-4832-8CC6-9CD9004B6799.JPG

Beef carpaccio is one of our Dad's favorite dishes. Whenever we go out to eat, if any kind of carpaccio is on the menu, he must try it. A few summer's ago, we came across a recipe in some magazine for Zucchini Carpaccio and tested it out. We have since forgotten where the recipe came from and just use the recipe we made up. This dish is a great summer starter for any meal. We like to serve it on a giant platter where everyone can grab what they want and go back for more. You could also make it on individual plates for a more formal dinner. You can swap out the mint for any fresh herb (we sometimes make it with tarragon). This dish is super versatile! 

xxx Ivy & Eve

Serves 4 as an appetizer or side dish

Ingredients:

2 large zucchini

2 tablespoons olive oil

1 lemon

1/3 cup parmesan cheese, grated (grate your own cheese, it is always better that way)

5-7 mint leaves

salt and pepper

mandoline slicer (We got ours from OXO)

Directions:

  1. Slice the zucchinis very thinly with the mandoline. 
  2. Arrange on a platter, overlapping the slices slightly in one layer.
  3. Stack the mint leaves on top of each other and cut into fine slivers.
  4. Drizzle with olive oil.
  5. Sprinkle with parmesan cheese.
  6. Season with salt and pepper.
  7. Squeeze the juice of 1/2 of a lemon on the top.
  8. Sprinkle the mint on top.
  9. Enjoy!
7C131161-5471-4025-B046-F4437D93C14D.JPG

Summer Spiced Iced Coffee with Jittery John's

Like many people, we love coffee...maybe too much...

While we enjoy a steaming hot cup of coffee most of the year, when the summer sun starts to shine, we love to celebrate with tall glasses of iced coffee! Adding orange slices to coffee may seem odd, but it adds a delicious and slightly sweet and summery taste. To us, this recipe is pretty much summer in a glass. You can customize it with sweetener and/or creamer -  Eve likes it black with just 1/2 tsp of agave to ever so slightly sweeten, while Ivy like hers with cream or coconut milk and 1 tbsp. of agave for a real treat.

We recently found Jittery John's in our local Target and LOVE their deliciously smooth cold brew coffee range. And we also love their cute packaging! You can find JJ's at many Target locations in Northern California, Washington, Oregon, Idaho, and Montana and in other retailers nationwide. Click here to find your closest retailer!

xxx Ivy & Eve

PS: Be sure to enter our Instagram Jittery John's Giveaway ending May 20th to receive $25 to Target and two free bottles of Jittery John's -ENTER HERE! (GIVEAWAY CLOSED)

Serves 1

Ingredients

  • 1 flask Jittery John's Cold Brew Espresso Blend

  • 1/8 tsp. cinnamon

  • 2-3 orange slices

  • 1/2tsp. -1 tbsp. agave syrup (or simple syrup)

  • Ice

  • Cream, milk, or other milk substitutes (optional)

  • Cocktail shaker (or something with a lid to shake the ingredients in like a mason jar)

Directions

  1. Add Jittery John's cold brew, cinnamon, orange slices, sweetener (optional), and ice into a cocktail shaker or the like. 
  2. Shake away!
  3. Pour into a tall glass with ice
  4. Add a bit of creamer (optional)
  5. Garnish with an orange slice, add a straw, sit back, sip, and relax!!!


Blueberry-Lavender Tart

Between the two of us, Eve has always been the baker. Ivy would always help Eve bake cupcakes and tarts but would never try to make something entirely on her own. However, once Eve was away at college Ivy had no one to bake sweets for her, so she had to take matters into her own hands. Ivy saw a recipe in Martha Stewart Living for mini blueberry-lavender cornmeal tarts. Not only did the photos look delicious, but it combined basically everything she loves...blueberries, lavender, and cream! Ivy decided to try and make the tart in a big tart pan instead of little mini pans to limit her chances of burning them (remember Ivy was not a skilled baker compared to Eve). The tart was pretty simple and it turned out perfect the first time! We recently tried it with gluten free crust to accommodate some of our friends diet restrictions and it tasted great! We have listed both the cornmeal and gluten free crust recipes below. Ever since, this recipe has been one of our go-to tarts to make for summer parties because it is light but still hits the sweet spot. 

xxx Ivy & Eve

Recipe adapted from Martha Stewart Living

Ingredients

Cream:

1 cup heavy whipping cream

1 1/2 to 2 tablespoon culinary lavender (depends on how strong you want the flavor)

1-2 tablespoons of sugar (optional)

Cornmeal Crust:

1 cup all-purpose flour, plus more for dusting

1/4 cup finely ground cornmeal

1 tablespoon plus 1 1/2 teaspoons sugar

1/2 teaspoon coarse salt

1 stick plus 2 tablespoons cold unsalted butter, cut into small pieces

1 large egg yolk

2 tablespoons ice water

Gluten Free Crust:

1 1/2 cups gluten free flour (we suggest Trader Joe's or Bob's Red Mill)

2 tablespoons sugar

1 pinch salt

7 tablespoons cold butter (sliced into pieces)

1-3 tablespoons cold water to bind

Filling:

2 tablespoons sugar

1/4 vanilla bean, seeds scraped

1 to 2 cups fresh wild or regular blueberries or huckleberries

Directions

  1. Cream: Place the cream and lavender in a sauce pan on the stove. Bring just to a boil (as if you were making tea) and remove from heat and cover. Let the cream and lavender "steep" till cool. Once cooled refrigerate.

  2. Two options Cornmeal or Gluten Free Crust

    1. Cornmeal: Combine sugar, cornmeal, flour, and salt in a food processor. Once mixed evenly add butter and pulse till the texture looks like coarse crumbs. Then add the yolk and ice water, pulse again till mixture is dough like. Knead dough until it is smooth. Then shape into a disk and wrap with plastic wrap and refrigerate at least 30 minutes. After 30 minutes or more take dough out and let it warm to room temperature. Roll it out with a little flour to around 1/8 inch thick. Then transfer to tart pan. Pressing dough to the sides and stab the dough with a fork along the bottom. Put back in the refrigerator for another 30 minutes.

    2. Gluten Free: Combine the flour, sugar, salt, and butter in a food processor. Pulse till the texture looks like coarse crumbs. Add a little bit of water while pulsing until the dough combines and looks like pebbles. Then shape into a disk and wrap with plastic wrap and refrigerate at least 30 minutes. Roll it out with a little flour to around 1/8 inch thick. Then transfer to tart pan. Pressing dough to the sides and stab the dough with a fork along the bottom. Put back in the refrigerator for another 30 minutes.

  3. Two options Cornmeal or Gluten Free Crust

    1. Cornmeal: Preheat oven to 350 degrees. Once you have waited 30 minutes, take the tart pan out of the fridge and place tart pan on baking sheet. Bake till golden brown, make sure to watch the bottom of the tart, sometimes it puffs up (press it down if it puffs up). It should bake around 25 minutes. Remove from oven and let cool.

    2. Gluten Free: Preheat the oven to 400 degrees. Once you have waited 30 minutes, take the tart pan out of the fridge and place tart pan on baking sheet. Bake for 20-30 minutes until the edges are starting to golden. Remove from oven and let cool. 

  4. Filling: Wait to do this until right before serving. Remove the cream/lavender from the fridge and use a mesh strainer to separate the lavender from the cream into a mixing bowl. Once sifted you should have lavender infused cream. Add sugar, and vanilla bean seeds to cream. Mix on medium till peaks start to appear. Pour onto cool tart crust, spread evenly. Top with berries and sprinkle a pinch or two dried lavender on top and serve.

Variations: If you choose to use small tart tins, decrease the time for baking the tart shells significantly! They should only take about 10-15 minutes max to bake. Keep an eye on them and never leave the kitchen while baking tart shells. 

Enjoy!

Watermelon Lime Basil Popsicles

Midsummer in the Valley brings high temps and if you're lucky, long days spent by the pool. This past weekend was no exception, and we decided to concoct a popsicle recipe for something tasty and refreshing. Watermelon was our choice for the base, light, refreshing, and crisp. We then picked a lime to add some zing, ending with a little basil. Summer fruits are naturally sweet so we didn't use any added sugar making them surprisingly healthy. We used our Zoku Quick Pop Maker which freezes popsicles in as little as 15 minutes! We ended up eating the whole batch before we even thought about cleaning up! We think these little pops turned out perfectly. They are refreshing and ready for a poolside staycation!

xxx Ivy & Eve


Makes 6 Zoku quick pops or 6 regular popsicles.

Ingredients:

  • Diced fresh seedless watermelon
  • 1 Lime (juice)
  • 2-3 Basil leaves

Directions:

  1. Dice watermelon into cubes, place in blender. Blend till you make around 2 cups liquid. 
  2. Squeeze 1 lime into watermelon slurry. blend for 30 seconds.
  3. Place 2-3 leaves of basil in blender. (amount depends on preference). Blend till pieces are small but not tiny. (size is also up to preference).
  4. Pour mixture into popsicle molds. We use the Zoku Quick Pop Maker.
  5. If you use the Zoku Quick Pop Maker let freeze according to directions, making 2 batches for a total of 6 pops. 
  6. If you use a regular popsicle mold, place in freezer for a few hours until frozen. 
  7. Serve or Store!

Nectarine and Burrata Salad

We are lucky that our hometown has fantastic farmers markets year-round. We try to shop them as often as possible, buying the seasons freshest produce and supporting the small local farmers. In the summer, we love to pick up nectarines and other summer stone fruits to use in recipes and to eat by themselves. Nectarine and burrata salad is one of our favorite summer dishes. You can use white or yellow nectarines, or some of each, which we like to do! It is perfect for serving as an appetizer or alongside something light like grilled chicken. To make this dish more substantial, you can serve it on a bed of arugula with fresh baguette on the side.

xxx Ivy & Eve

Serves 4 as a side dish, 2 as a main.

Ingredients

  • 3 large nectarines halved (4 if small), pitted, and sliced into 1/2 inch slices

  • One burrata cheese ball (we got ours at Whole Foods)

  • Olive oil for drizzling

  • 1 tablespoon of tarragon leaves, stems removed and roughly chopped

  • Flaky sea salt

  • Pepper

  • Arugula (optional)

  • Freshly sliced baguette (optional)

Directions

  1. If using arugula, arrange it on a large platter.

  2. Add the nectarine slices neatly - slightly overlapping the slices in the middle of the platter (or on the arugula)

  3. Slice the burrata in half and then tear the cheese into smaller pieces (it will be messy and gooey) onto the slices of nectarines. YUM!

  4. Sprinkle the tarragon leaves on the top.

  5. Season with salt and pepper.

  6. Drizzle with olive oil.

  7. Serve with sliced baguette. (optional)

  8. Enjoy!

The Mighty Cherry Margarita

In the spirit of Cinco de Mayo, we wanted to share one of our favorite margarita recipes! These cherry margaritas combine Ivy's need for sweetness and Eve's preference for fresh flavors. We like to make these when cherries are in season, and we can buy them at our local farmers market, but we have also used thawed frozen cherries with equally tasty results. These margs are perfect for warm summer days by the pool or at your next backyard bbq. ¡Salud!

xxx Ivy & Eve

Makes one cocktail.

Ingredients

  • 12 fresh sweet cherries, pitted

  • 1/4 cup tequila

  • 2 tbsp. fresh lime juice

  • 2 tbsp. blue agave syrup

  • 1 tbsp. Triple Sec

  • Sparkling water (optional)

  • 1 lime slice, for garnish

Directions

  1. Place cherries in a cocktail shaker (or whatever you have on hand) and muddle them with a muddler or a wooden spoon until they are mashed and juicy. 

  2. Add tequila, Triple Sec, lime juice, agave syrup, and ice.

  3. Cover cocktail shaker tightly and shake well. 

  4. Pour and filter into a glass of ice. 

  5. ¡Salud!

TIP: If you would like to add a bit of bubble to your marg (or you like a more mellow cocktail), add a splash or two of sparkling water (or bubbly, we won't tell!)