tasty

Goat Cheese and Sweet Potato Wontons

These little bundles of joy are perfect for making with friends and family. They are pretty simple to make, and fun to fill. You can make the filling ahead of time and have everyone pitch in to fill the wonton wrappers. These are a perfect and tasty vegetarian appetizer and pair perfectly with a glass of bubbly or mimosas. We will surely be serving them at our next get together!

xxx Ivy & Eve

TIP: This recipe calls for what we, in the US, call sweet potatoes (which are true sweet potatoes) but in most grocery stores, they are labeled yams. Very confusing, we know. Here is an article from The Kitchn that explains it.

Makes around 30 wontons and dipping sauce.

Ingredients

  • 1 large sweet potato

  • 2/3 cup goat cheese

  • Package of wonton wrappers

  • Vegetable oil

  • Salt & pepper

  • 1/2 cup fresh squeezed orange juice (or fresh store bought)

  • 2 tsp grated ginger

  • 1 heaping tsp honey

Directions

  1. Prick the sweet potato all over with a fork, and microwave on a plate for 7-10 minutes, or until soft. Set aside and let cool a bit.

  2. In a small bowl, mix the fresh squeezed orange juice (we juiced our own), ginger, and honey in a small bowl. Set aside until ready to serve.

  3. Scoop the cooked sweet potato into a large bowl and discard the skin. Mash until smooth.

  4. Add the 1/2 of the goat cheese to the bowl, season with salt and pepper, and mix until smooth.

  5. Add the other 1/2 of the goat cheese and mix lightly. You want some goat cheese chunks in the mix.

  6. Fill each square wonton wrapper with 1 tsp of the mix to the center of the wrapper.

  7. Lightly wet the edges of the wrapper with water (using your finger) and fold diagonally.

  8. Gently squeeze the air out of the pocket and seal the edges.

  9. Heat about 1 inch of vegetable oil in a pan on the stove.

  10. Once hot, drop 1 filled wonton into the oil. Flip once after about 5 seconds and take the wonton out once the edges of the wrapper begin to brown. Place on a paper towel. The wonton will continue to brown after you take it out of the oil.

  11. Repeat until all of the wontons are fried.

  12. Serve on a large plate with the orange ginger honey dipping sauce.

  13. Enjoy!

Pumpkin Chocolate Chip Cookies

Fall is one of our favorite seasons because we love comfy sweaters, the leaves changing color, and most of all...pumpkin recipes! There are so many different pumpkin recipes we love to make this time of year and we cannot wait to share some with you. Up first is the BEST pumpkin chocolate chip cookies. With the added pumpkin puree they stay more moist then your average chocolate chip cookie. These are seriously delicious and the flavor is exactly of how we imagine autumn to taste. You may want to make 2 batches as they disappear before your eyes!

Warning: We are not responsible for any cookie addictions this post may create!

xxx Ivy & Eve

Ingredients:

  • 15 oz. pumpkin puree
  • 1 egg
  • 1/2 cup vegetable oil
  • 1 cup sugar
  • 2 cups flour
  • 2 tsp baking powder
  • 1/2 tbsp ground cinnamon
  • 1/2 tsp salt
  • 1 tsp baking soda
  • 1 tsp milk
  • 1 tbsp vanilla extract
  • 16 oz. semi-sweet chocolate chips

Directions:

  1. Preheat oven to 350 F.
  2. Combine pumpkin, vegetable oil, egg, and sugar in a mixing bowl. In a separate bowl mix together the flour, cinnamon, baking powder, and salt.
  3. Dissolve the baking soda into the milk. Mix this into the bowl of wet ingredients.
  4. Add the dry mixture to the wet mixture.
  5. Add the vanilla and chocolate chips. Mix well.
  6. Drop heaping spoonfuls of the dough onto a cookie sheet lined with parchment paper.
  7. Bake for 8-12 minutes (depending on the size it may be more, we make ours BIG).
  8. Remove from oven, let cool on baking sheet for 3 minutes.
  9. Place on cooling rack.

Enjoy!

Blueberry-Lavender Tart

Between the two of us, Eve has always been the baker. Ivy would always help Eve bake cupcakes and tarts but would never try to make something entirely on her own. However, once Eve was away at college Ivy had no one to bake sweets for her, so she had to take matters into her own hands. Ivy saw a recipe in Martha Stewart Living for mini blueberry-lavender cornmeal tarts. Not only did the photos look delicious, but it combined basically everything she loves...blueberries, lavender, and cream! Ivy decided to try and make the tart in a big tart pan instead of little mini pans to limit her chances of burning them (remember Ivy was not a skilled baker compared to Eve). The tart was pretty simple and it turned out perfect the first time! We recently tried it with gluten free crust to accommodate some of our friends diet restrictions and it tasted great! We have listed both the cornmeal and gluten free crust recipes below. Ever since, this recipe has been one of our go-to tarts to make for summer parties because it is light but still hits the sweet spot. 

xxx Ivy & Eve

Recipe adapted from Martha Stewart Living

Ingredients

Cream:

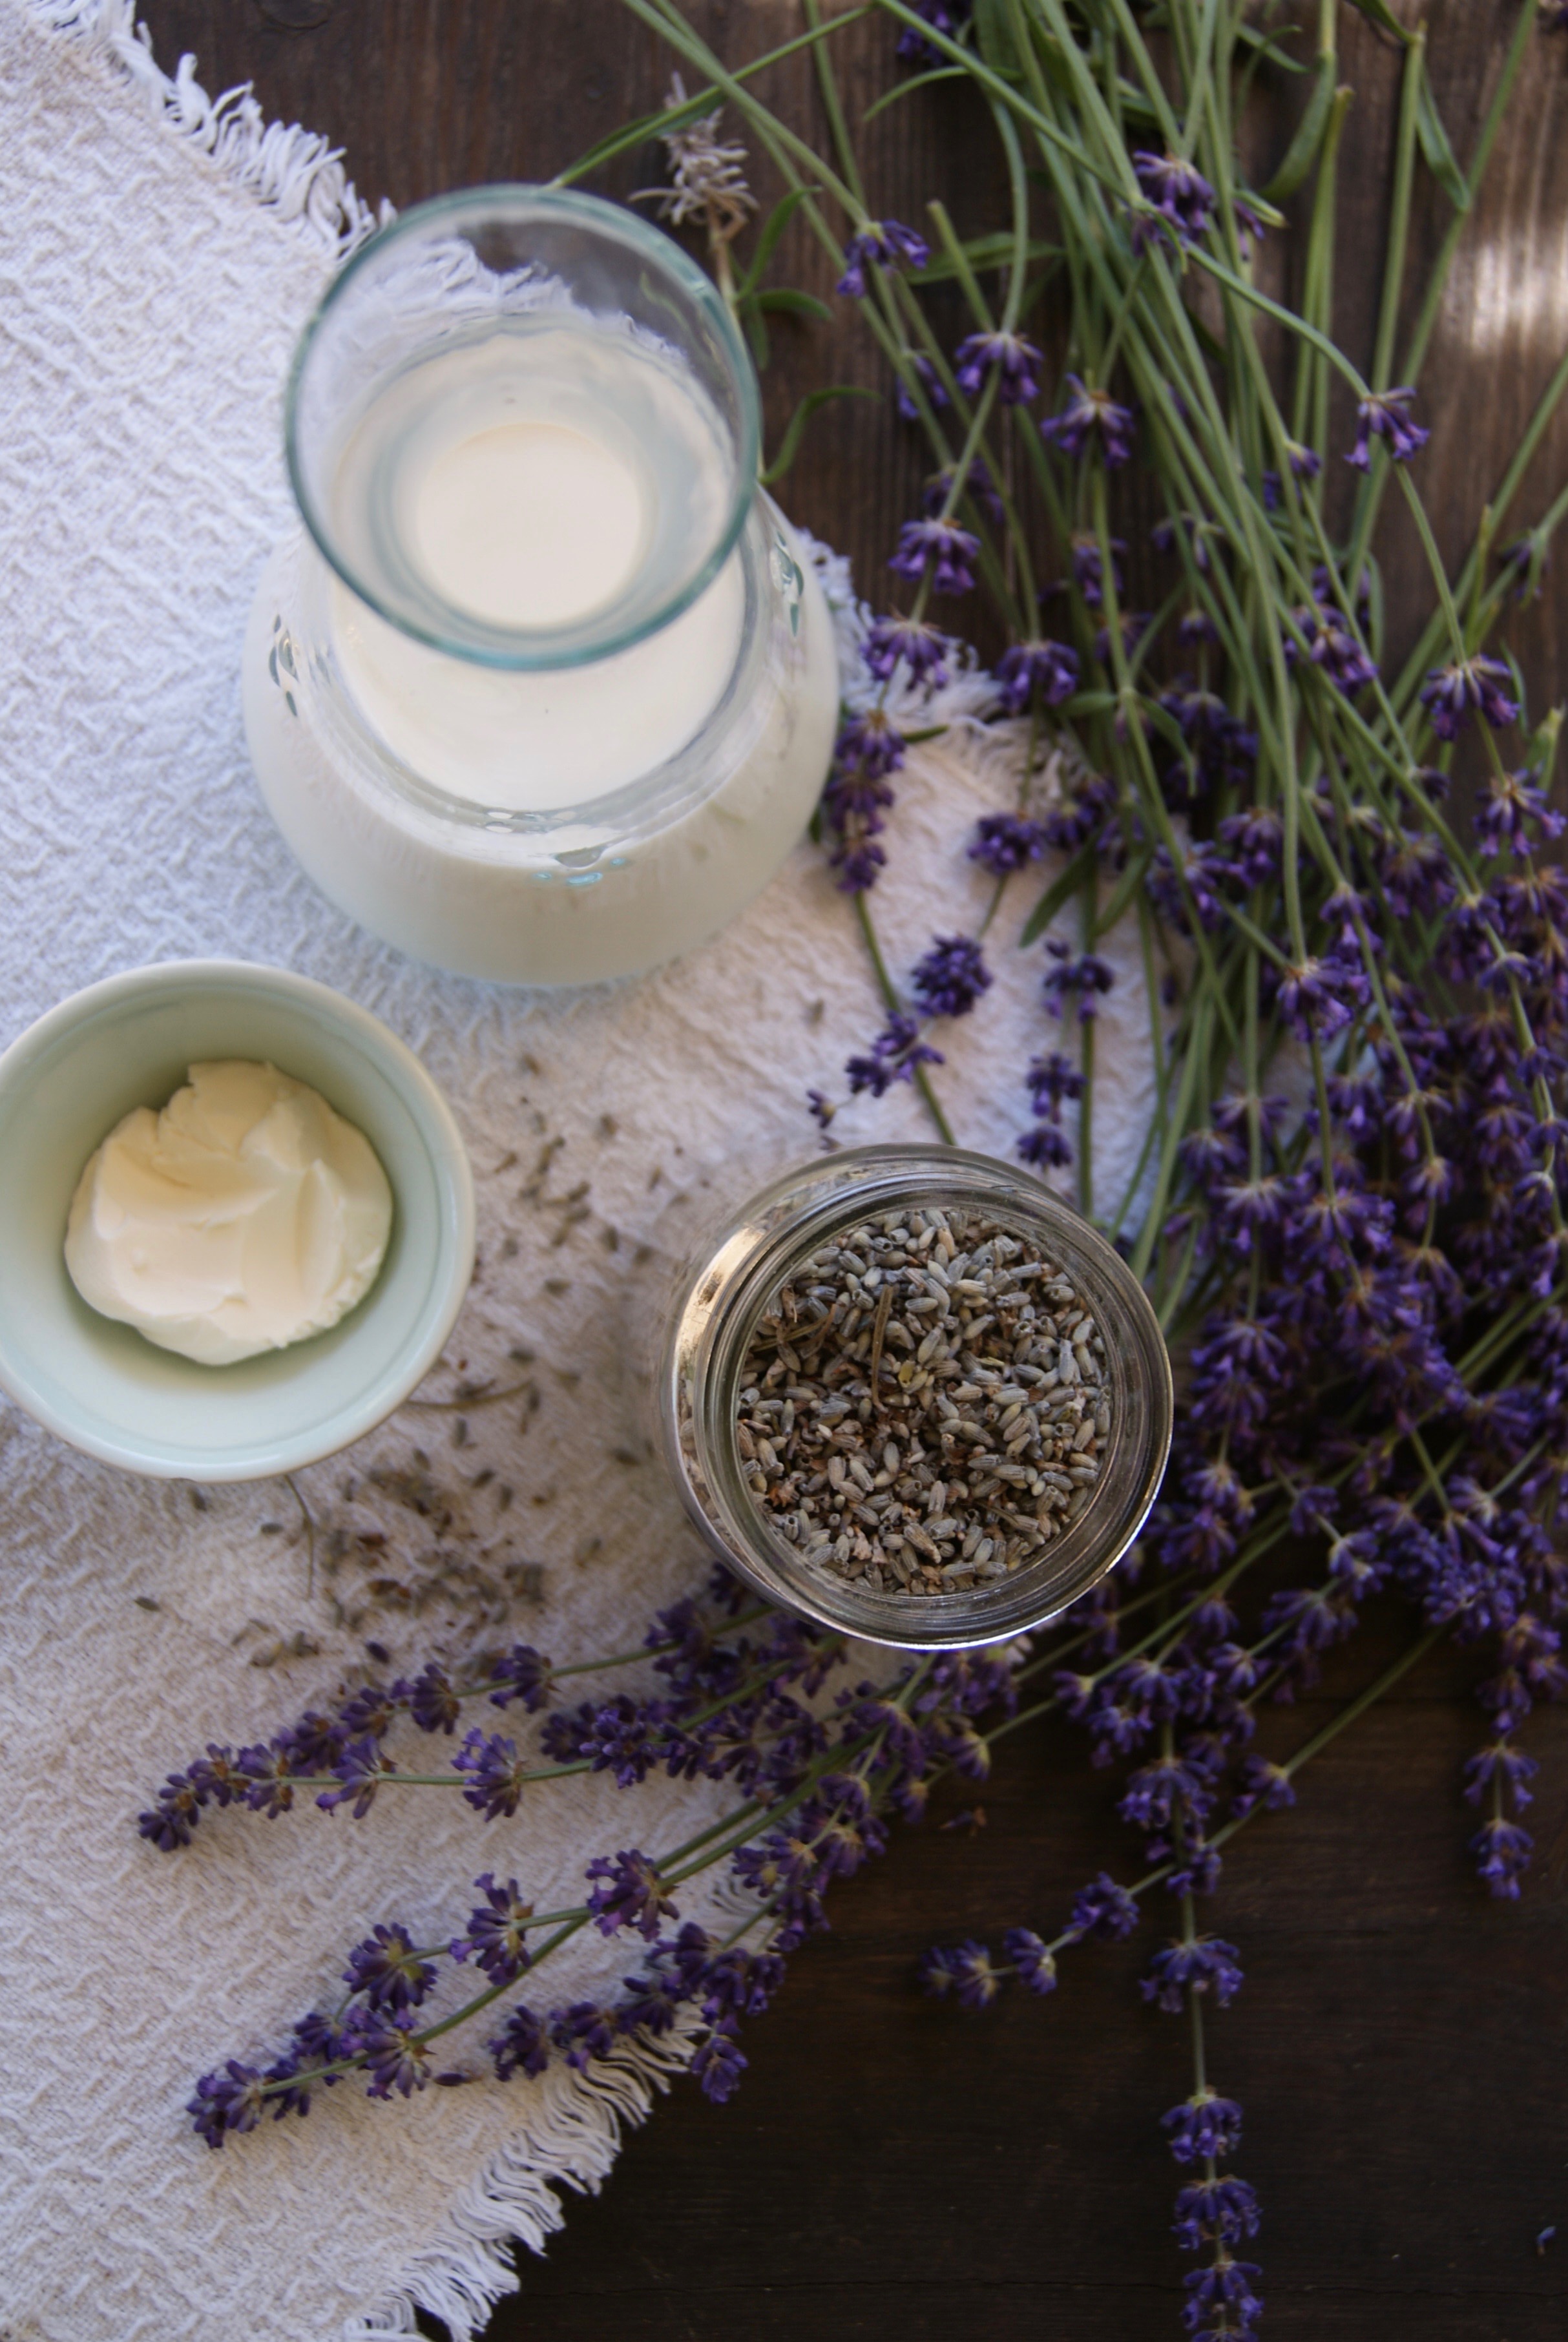
1 cup heavy whipping cream

1 1/2 to 2 tablespoon culinary lavender (depends on how strong you want the flavor)

1-2 tablespoons of sugar (optional)

Cornmeal Crust:

1 cup all-purpose flour, plus more for dusting

1/4 cup finely ground cornmeal

1 tablespoon plus 1 1/2 teaspoons sugar

1/2 teaspoon coarse salt

1 stick plus 2 tablespoons cold unsalted butter, cut into small pieces

1 large egg yolk

2 tablespoons ice water

Gluten Free Crust:

1 1/2 cups gluten free flour (we suggest Trader Joe's or Bob's Red Mill)

2 tablespoons sugar

1 pinch salt

7 tablespoons cold butter (sliced into pieces)

1-3 tablespoons cold water to bind

Filling:

2 tablespoons sugar

1/4 vanilla bean, seeds scraped

1 to 2 cups fresh wild or regular blueberries or huckleberries

Directions

  1. Cream: Place the cream and lavender in a sauce pan on the stove. Bring just to a boil (as if you were making tea) and remove from heat and cover. Let the cream and lavender "steep" till cool. Once cooled refrigerate.

  2. Two options Cornmeal or Gluten Free Crust

    1. Cornmeal: Combine sugar, cornmeal, flour, and salt in a food processor. Once mixed evenly add butter and pulse till the texture looks like coarse crumbs. Then add the yolk and ice water, pulse again till mixture is dough like. Knead dough until it is smooth. Then shape into a disk and wrap with plastic wrap and refrigerate at least 30 minutes. After 30 minutes or more take dough out and let it warm to room temperature. Roll it out with a little flour to around 1/8 inch thick. Then transfer to tart pan. Pressing dough to the sides and stab the dough with a fork along the bottom. Put back in the refrigerator for another 30 minutes.

    2. Gluten Free: Combine the flour, sugar, salt, and butter in a food processor. Pulse till the texture looks like coarse crumbs. Add a little bit of water while pulsing until the dough combines and looks like pebbles. Then shape into a disk and wrap with plastic wrap and refrigerate at least 30 minutes. Roll it out with a little flour to around 1/8 inch thick. Then transfer to tart pan. Pressing dough to the sides and stab the dough with a fork along the bottom. Put back in the refrigerator for another 30 minutes.

  3. Two options Cornmeal or Gluten Free Crust

    1. Cornmeal: Preheat oven to 350 degrees. Once you have waited 30 minutes, take the tart pan out of the fridge and place tart pan on baking sheet. Bake till golden brown, make sure to watch the bottom of the tart, sometimes it puffs up (press it down if it puffs up). It should bake around 25 minutes. Remove from oven and let cool.

    2. Gluten Free: Preheat the oven to 400 degrees. Once you have waited 30 minutes, take the tart pan out of the fridge and place tart pan on baking sheet. Bake for 20-30 minutes until the edges are starting to golden. Remove from oven and let cool. 

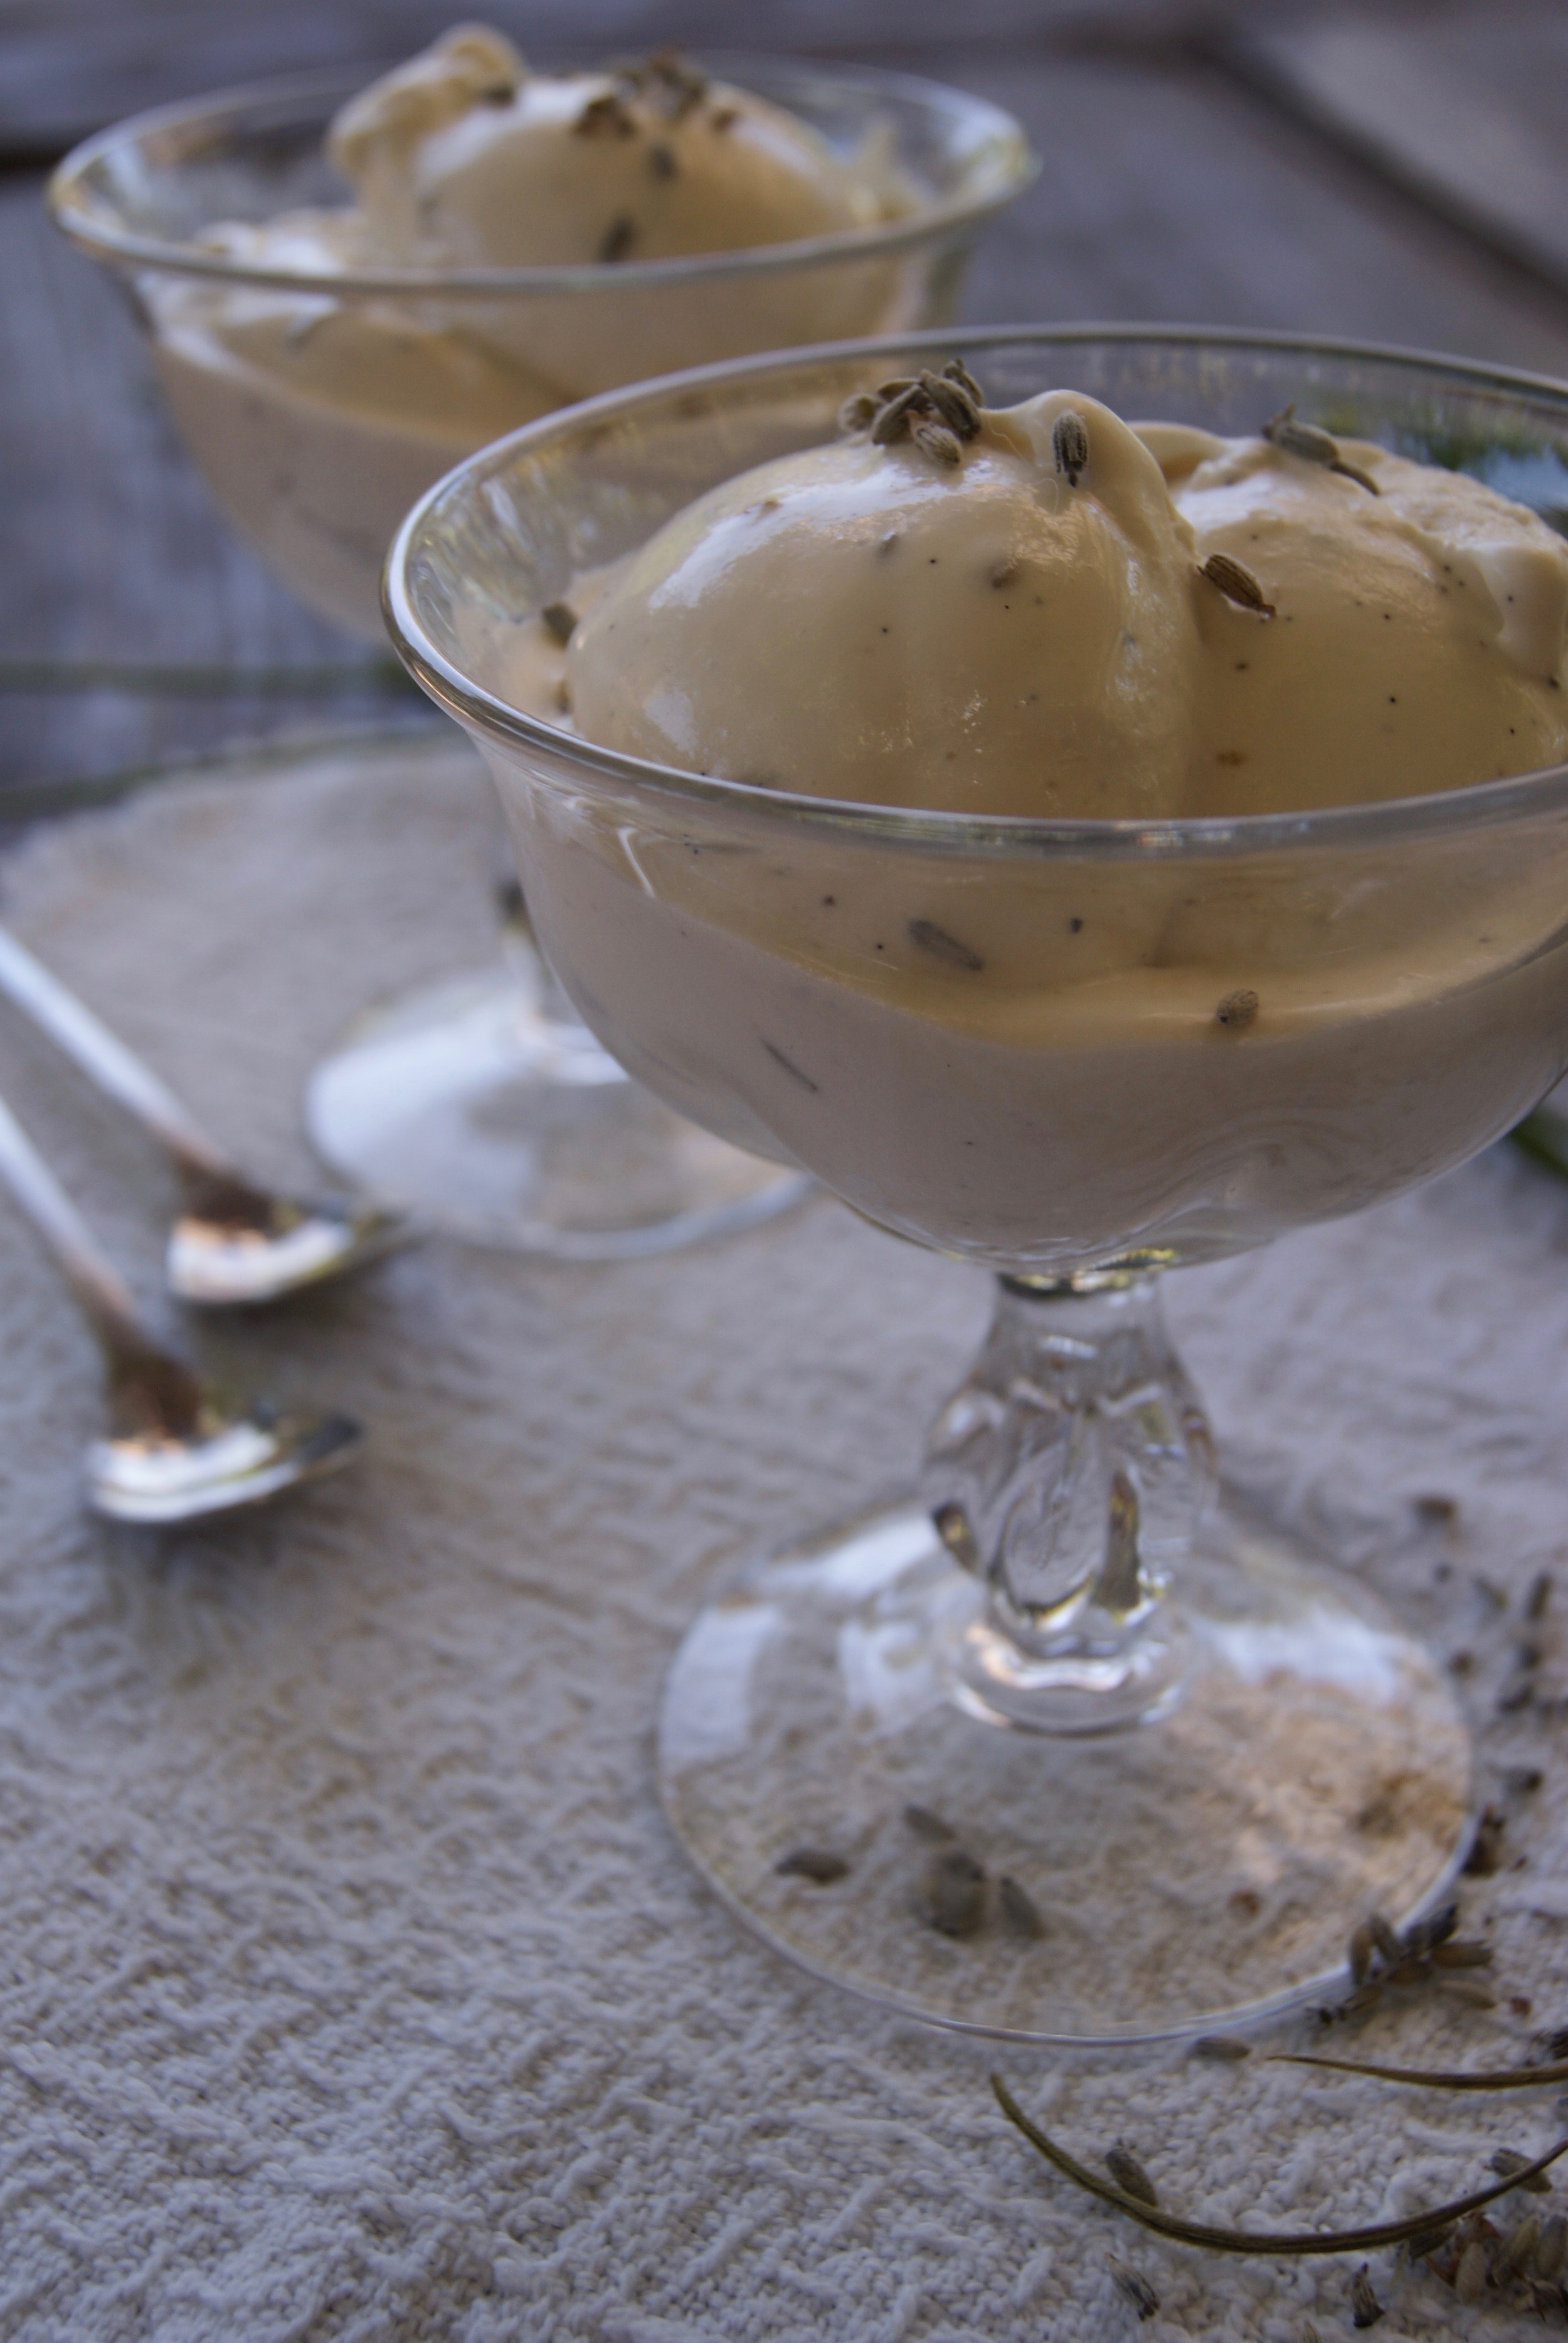
  4. Filling: Wait to do this until right before serving. Remove the cream/lavender from the fridge and use a mesh strainer to separate the lavender from the cream into a mixing bowl. Once sifted you should have lavender infused cream. Add sugar, and vanilla bean seeds to cream. Mix on medium till peaks start to appear. Pour onto cool tart crust, spread evenly. Top with berries and sprinkle a pinch or two dried lavender on top and serve.

Variations: If you choose to use small tart tins, decrease the time for baking the tart shells significantly! They should only take about 10-15 minutes max to bake. Keep an eye on them and never leave the kitchen while baking tart shells. 

Enjoy!

Lavender Vanilla Bean Ice Cream

Lavender is one of our favorite flowers. We love the way it looks, we love how it smells, and we LOVE to eat anything with lavender. As kids, one of our favorite restaurants, Corkscrew Cafe in Carmel Valley, used to serve up the most delicious lavender ice cream for dessert. It was eventually taken off the menu (if you hear us, PLEASE bring it back!), but we never forgot the deliciously floral flavor of this dessert. Lavender is in full bloom in Carmel Valley right now, so we were reminded of our long lost favorite dessert and decided to try to make it ourselves! If we do say so, we think this even more delicious than the original. We added vanilla bean to complement the lavender, and we believe it is just perfect! The ice cream base is adapted from Jeni's Splendid Ice Cream recipe book. Eve went to undergrad in Ohio, where she first tasted flavors like roasted strawberry buttermilk and goat cheese and cherry ice cream. Jeni's ice cream base is unbelievably creamy. You won't be able to eat just one scoop!

xxx Ivy & Eve

We use the Cuisinart Classic Ice Cream Maker for our ice cream adventures. The machine is super easy, and there is no need for ice and salt like the old machines!

Makes one quart of ice cream.

Ingredients 

  • 2 cups whole milk

  • 1 tbsp plus 1 tsp cornstarch

  • 3 tbsp cream cheese, softened

  • 1/8 tsp fine sea salt

  • 1 1/4 cups heavy cream

  • 2/3 cup sugar

  • 2 tbsp light corn syrup

  • 1/2 vanilla bean

  • 2 heaping tbsp culinary lavender

Directions

  1. Combine 1 3/4 cup milk (minus 2 tbsp), 2/3 cup cream, 2 tbsp lavender, and 1/2 vanilla bean sliced open, into a saucepan. Bring to a boil over medium-high heat. remove from heat and let the mixture steep until the desired flavor. (you can steep the lavender in a cheesecloth or strain after this step if you want a smoother texture. We like the lavender left in)

  2. While waiting, mix the remaining 2 tablespoons milk with the cornstarch in a small bowl to make a smooth slurry.

  3. Then whisk the cream cheese and salt into the slurry until smooth.

  4. Fill a large bowl with ice water.

  5. Combine the lavender vanilla bean milk mixture with sugar and corn syrup in a 4-quart saucepan and bring it to a boil again for 4 minutes. Remove from the heat and gradually whisk in the cornstarch/cream cheese slurry. Bring the mixture back to a boil over medium-high heat and cook, stirring with a heatproof spatula, until slightly thickened, about 1 minute. Remove from the heat.

  6. Pour the mixture into a 1-gallon resealable plastic freezer bag and submerge the sealed bag in the ice bath. Let stand, adding more ice as necessary, until cold, about 30 minutes.

  7. Pour the ice cream base into the ice cream machine canister and process according to your ice cream maker's directions.

  8. Pack the ice cream into a storage container. Place the ice cream in the freezer until firm, at least 4 hours.

  9. Bon Appétit!

Raspberries Romanoff

Ever since we can remember, our Dad has been whipping up Raspberries Romanoff for dessert. We loved it when our Dad made this because it looked and sounded so fancy! Now that we are older, we are surprised how easy it is to make this delicious dessert!

xxx Ivy & Eve 

Serves two. 

Ingredients

  • 1/2 cup whipping cream

  • 1/2 cup (about 3 scoops) vanilla ice cream

  • 1 six-ounce carton of Raspberries

  • 1 tablespoon powdered sugar

  • 1 tablespoon Grand Marnier 

Directions

  1. Chill a mixing bowl in the freezer for at least 10 minutes. 

  2. Pour whipping cream into the chilled bowl and mix on high until it begins to thicken. 

  3. Add the sugar and mix till the cream starts creating peaks. 

  4. Gradually add the ice cream in small scoops. Mix until the ice cream is incorporated but still has chunks of ice cream (you want a bit of texture to your topping). 

  5. Finally, add the Grand Marnier and fold into the mixture. 

  6. Place half the raspberries into two serving glasses and the whipped topping on top. 

  7. Add a few raspberries and mint on top for garnish. 

  8. Enjoy!

TIP: If you like your dessert to have a bit more kick, add some more Grand Marnier! You can also mix it up and try it with strawberries, blueberries, or blackberries! 


The Mighty Cherry Margarita

In the spirit of Cinco de Mayo, we wanted to share one of our favorite margarita recipes! These cherry margaritas combine Ivy's need for sweetness and Eve's preference for fresh flavors. We like to make these when cherries are in season, and we can buy them at our local farmers market, but we have also used thawed frozen cherries with equally tasty results. These margs are perfect for warm summer days by the pool or at your next backyard bbq. ¡Salud!

xxx Ivy & Eve

Makes one cocktail.

Ingredients

  • 12 fresh sweet cherries, pitted

  • 1/4 cup tequila

  • 2 tbsp. fresh lime juice

  • 2 tbsp. blue agave syrup

  • 1 tbsp. Triple Sec

  • Sparkling water (optional)

  • 1 lime slice, for garnish

Directions

  1. Place cherries in a cocktail shaker (or whatever you have on hand) and muddle them with a muddler or a wooden spoon until they are mashed and juicy. 

  2. Add tequila, Triple Sec, lime juice, agave syrup, and ice.

  3. Cover cocktail shaker tightly and shake well. 

  4. Pour and filter into a glass of ice. 

  5. ¡Salud!

TIP: If you would like to add a bit of bubble to your marg (or you like a more mellow cocktail), add a splash or two of sparkling water (or bubbly, we won't tell!)