bake

Icebox Pumpkin Pie

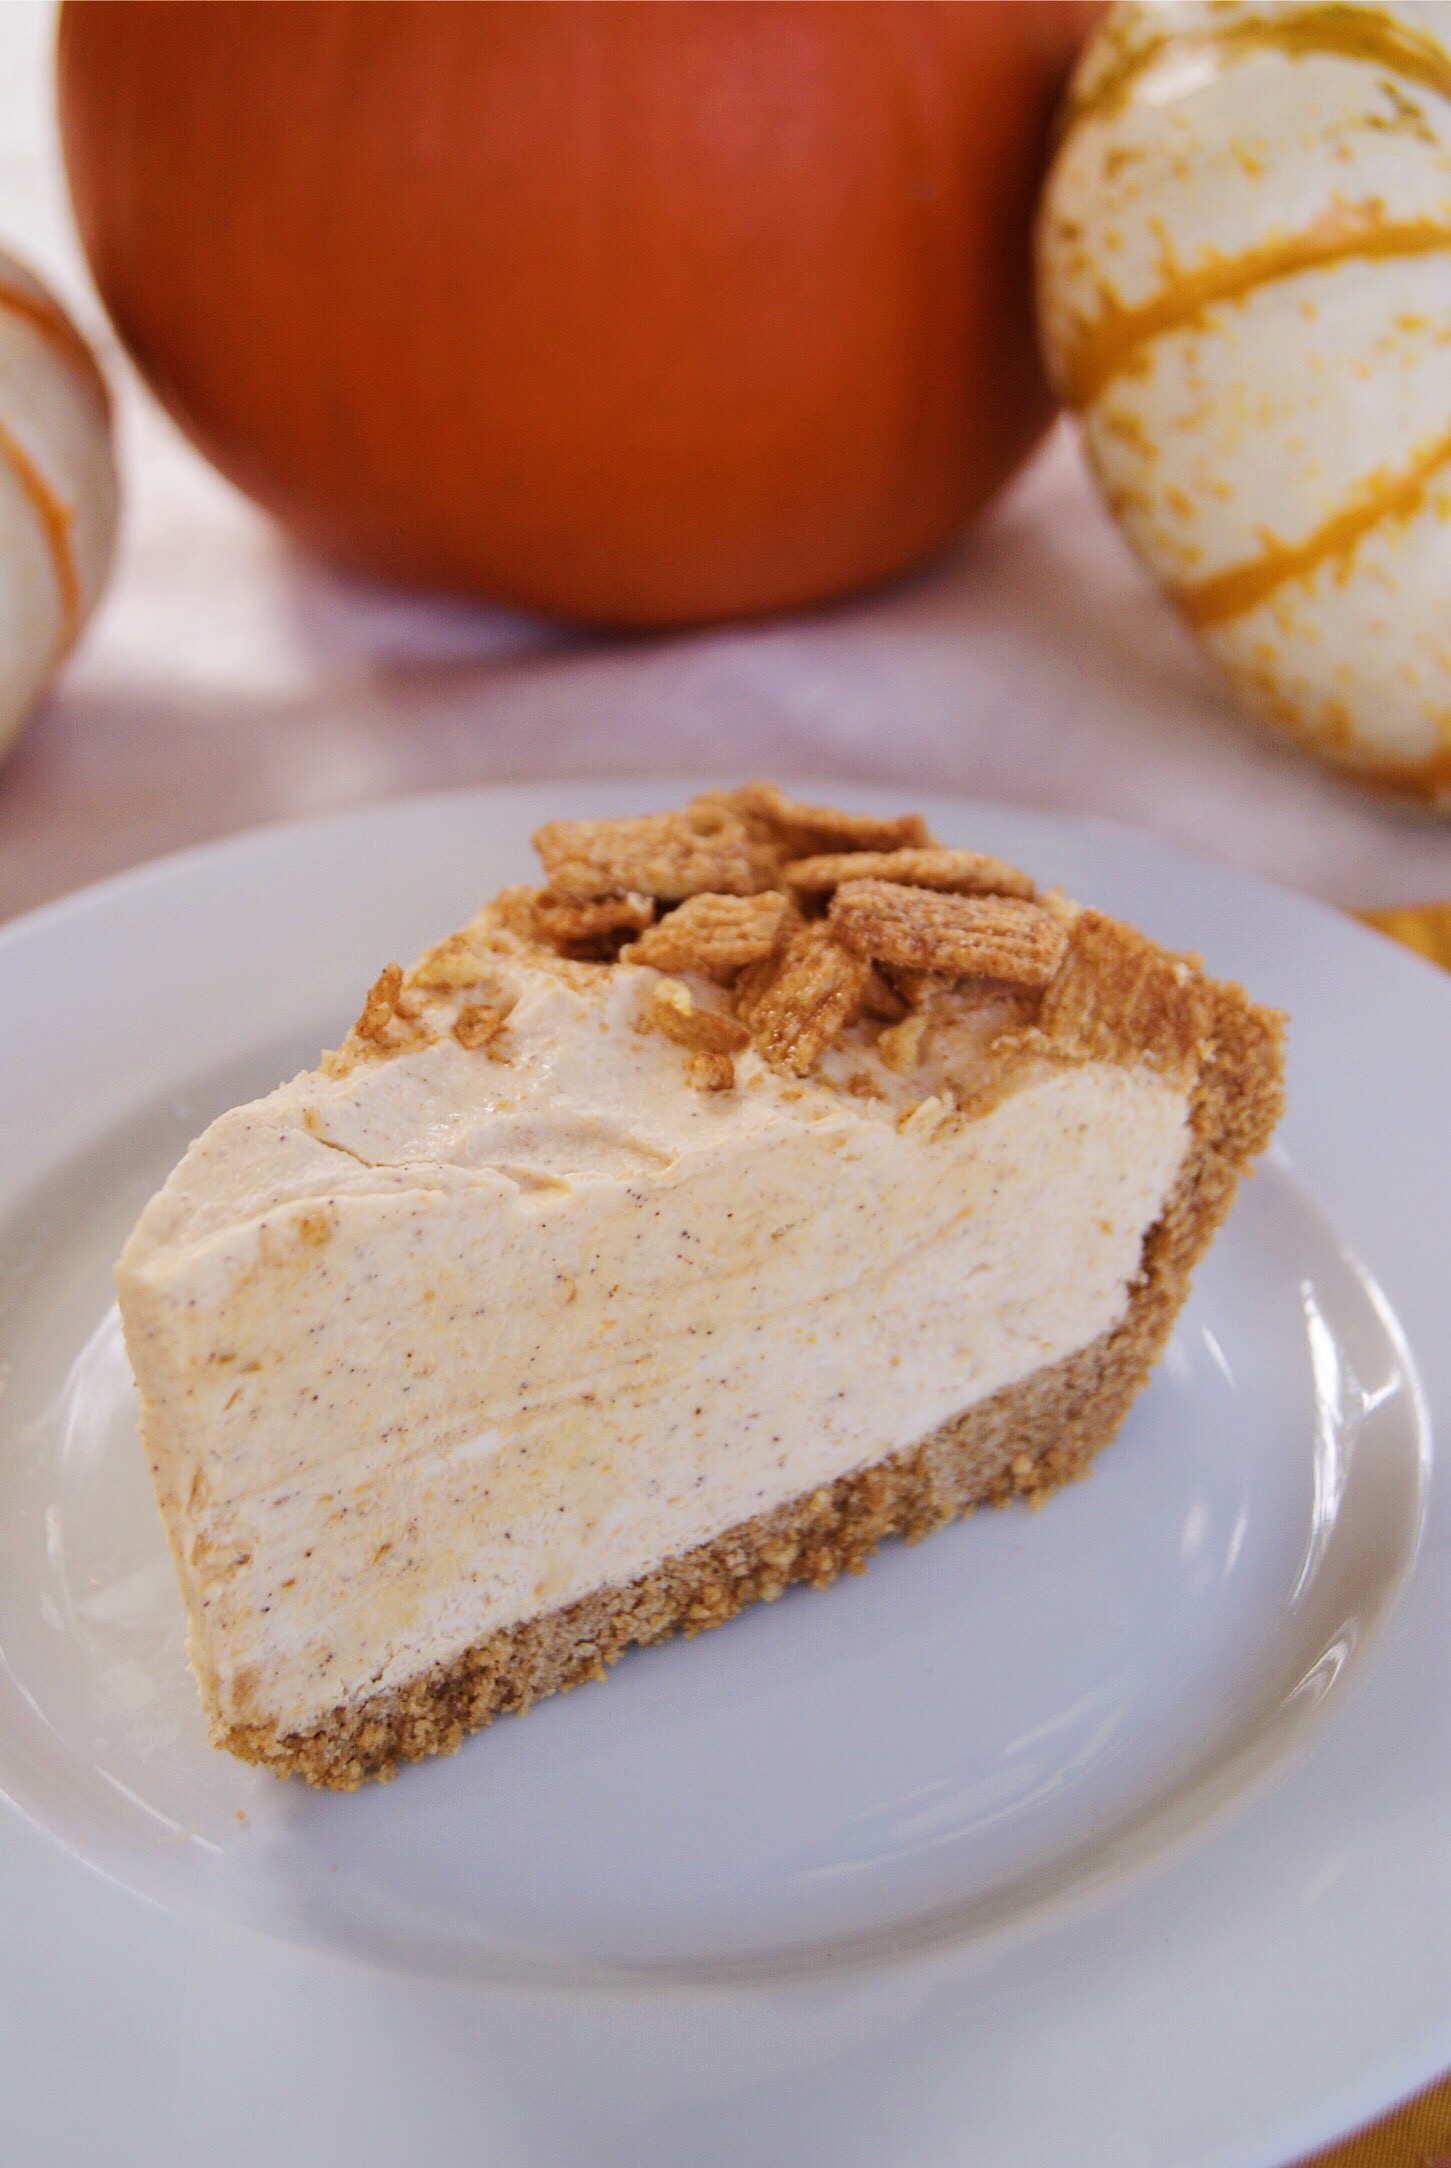
As much as we love autumn, for us Californians, fall weather really doesn't begin until pretty late in the season. On the Central Coast, we still enjoy weekends by the pool and lots of warm sunshine until late October. We wanted to make a pumpkin pie a few weekends ago, but it was so hot out that we didn't want to turn the oven on! We loved our Magically Delicious Pie so much that we decided to make a pumpkin version. We chose to use Cinnamon Toast Crunch for the base, which works wonderfully with the pumpkin filling. We like to serve ours pretty frozen, but if you want more of a soft and fluffy texture, just take the pie out a little longer than we suggest. This is a perfect potluck dish because since you freeze it until serving, you can keep it in the freezer until you leave and let it defrost on the way!

We are sure this recipe is soon to be a new favorite!

xxx Ivy & Eve


Makes one pie with 12 small slices.

Ingredients:

  • 1 box Cinnamon Toast Crunch

  • 8 tablespoons melted butter

  • 2 cups heavy cream

  • 1/4 cup powdered sugar

  • One 7 oz. jar of marshmallow fluff (about 1 1/2 cups)

  • 8 oz. cream cheese, softened

  • 3/4 cup canned pumpkin

  • 1 1/2 tsp pumpkin pie spice

Directions:

  1. Preheat the oven to 400F degrees. 

  2. Melt the butter in a small bowl.

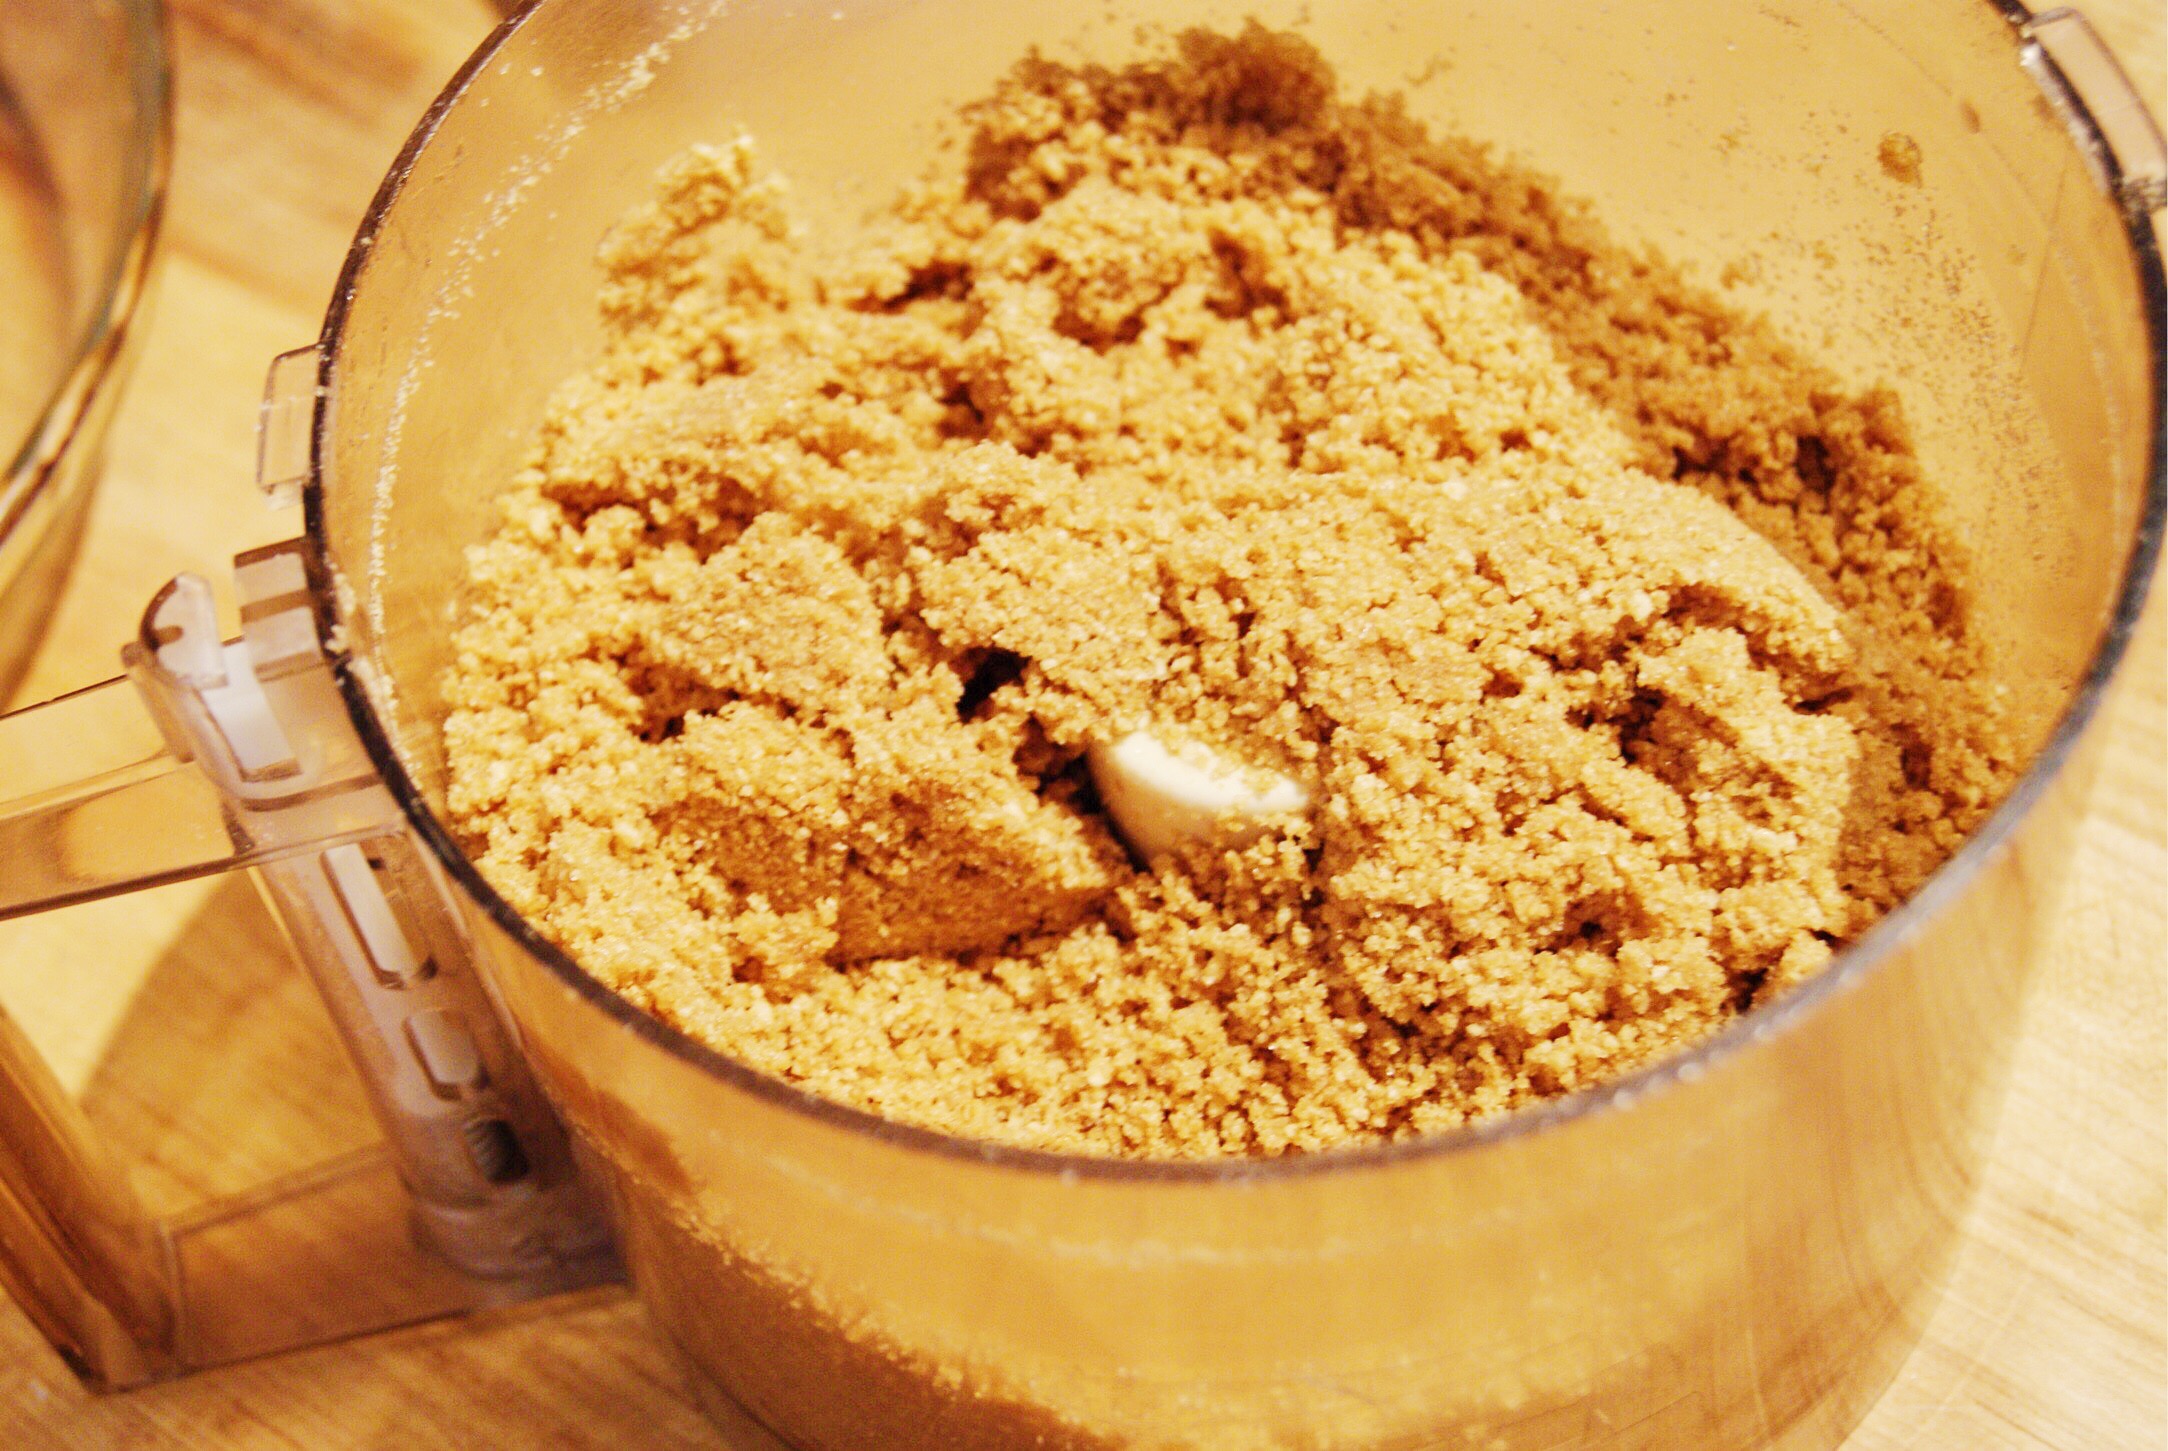
  3. Add 6 cups of the cereal to the food processor. Pulse until you get fine crumbs. Pour in the melted butter and pulse until all the crumbs are moistened.

  4. Pour the crumbs into a 9-inch pie pan and press mixture on the bottom and around the sides to form the pie crust.

  5. Place the crust in the oven and bake for 5-7 minutes until it is slightly golden. Then place the crust in the freezer to cool while you prepare the filling.

  6.  Whip the heavy cream in a mixer until it starts to thicken and then add powdered sugar. Whip until stiff peaks form. Place the whipped cream in the refrigerator while you make the other mixture.

  7. Beat the softened cream cheese and marshmallow fluff with an electric mixer until light and fluffy (about 5 minutes). Add the pumpkin and pumpkin spice then mix until incorporated. Fold in the whipped cream. 

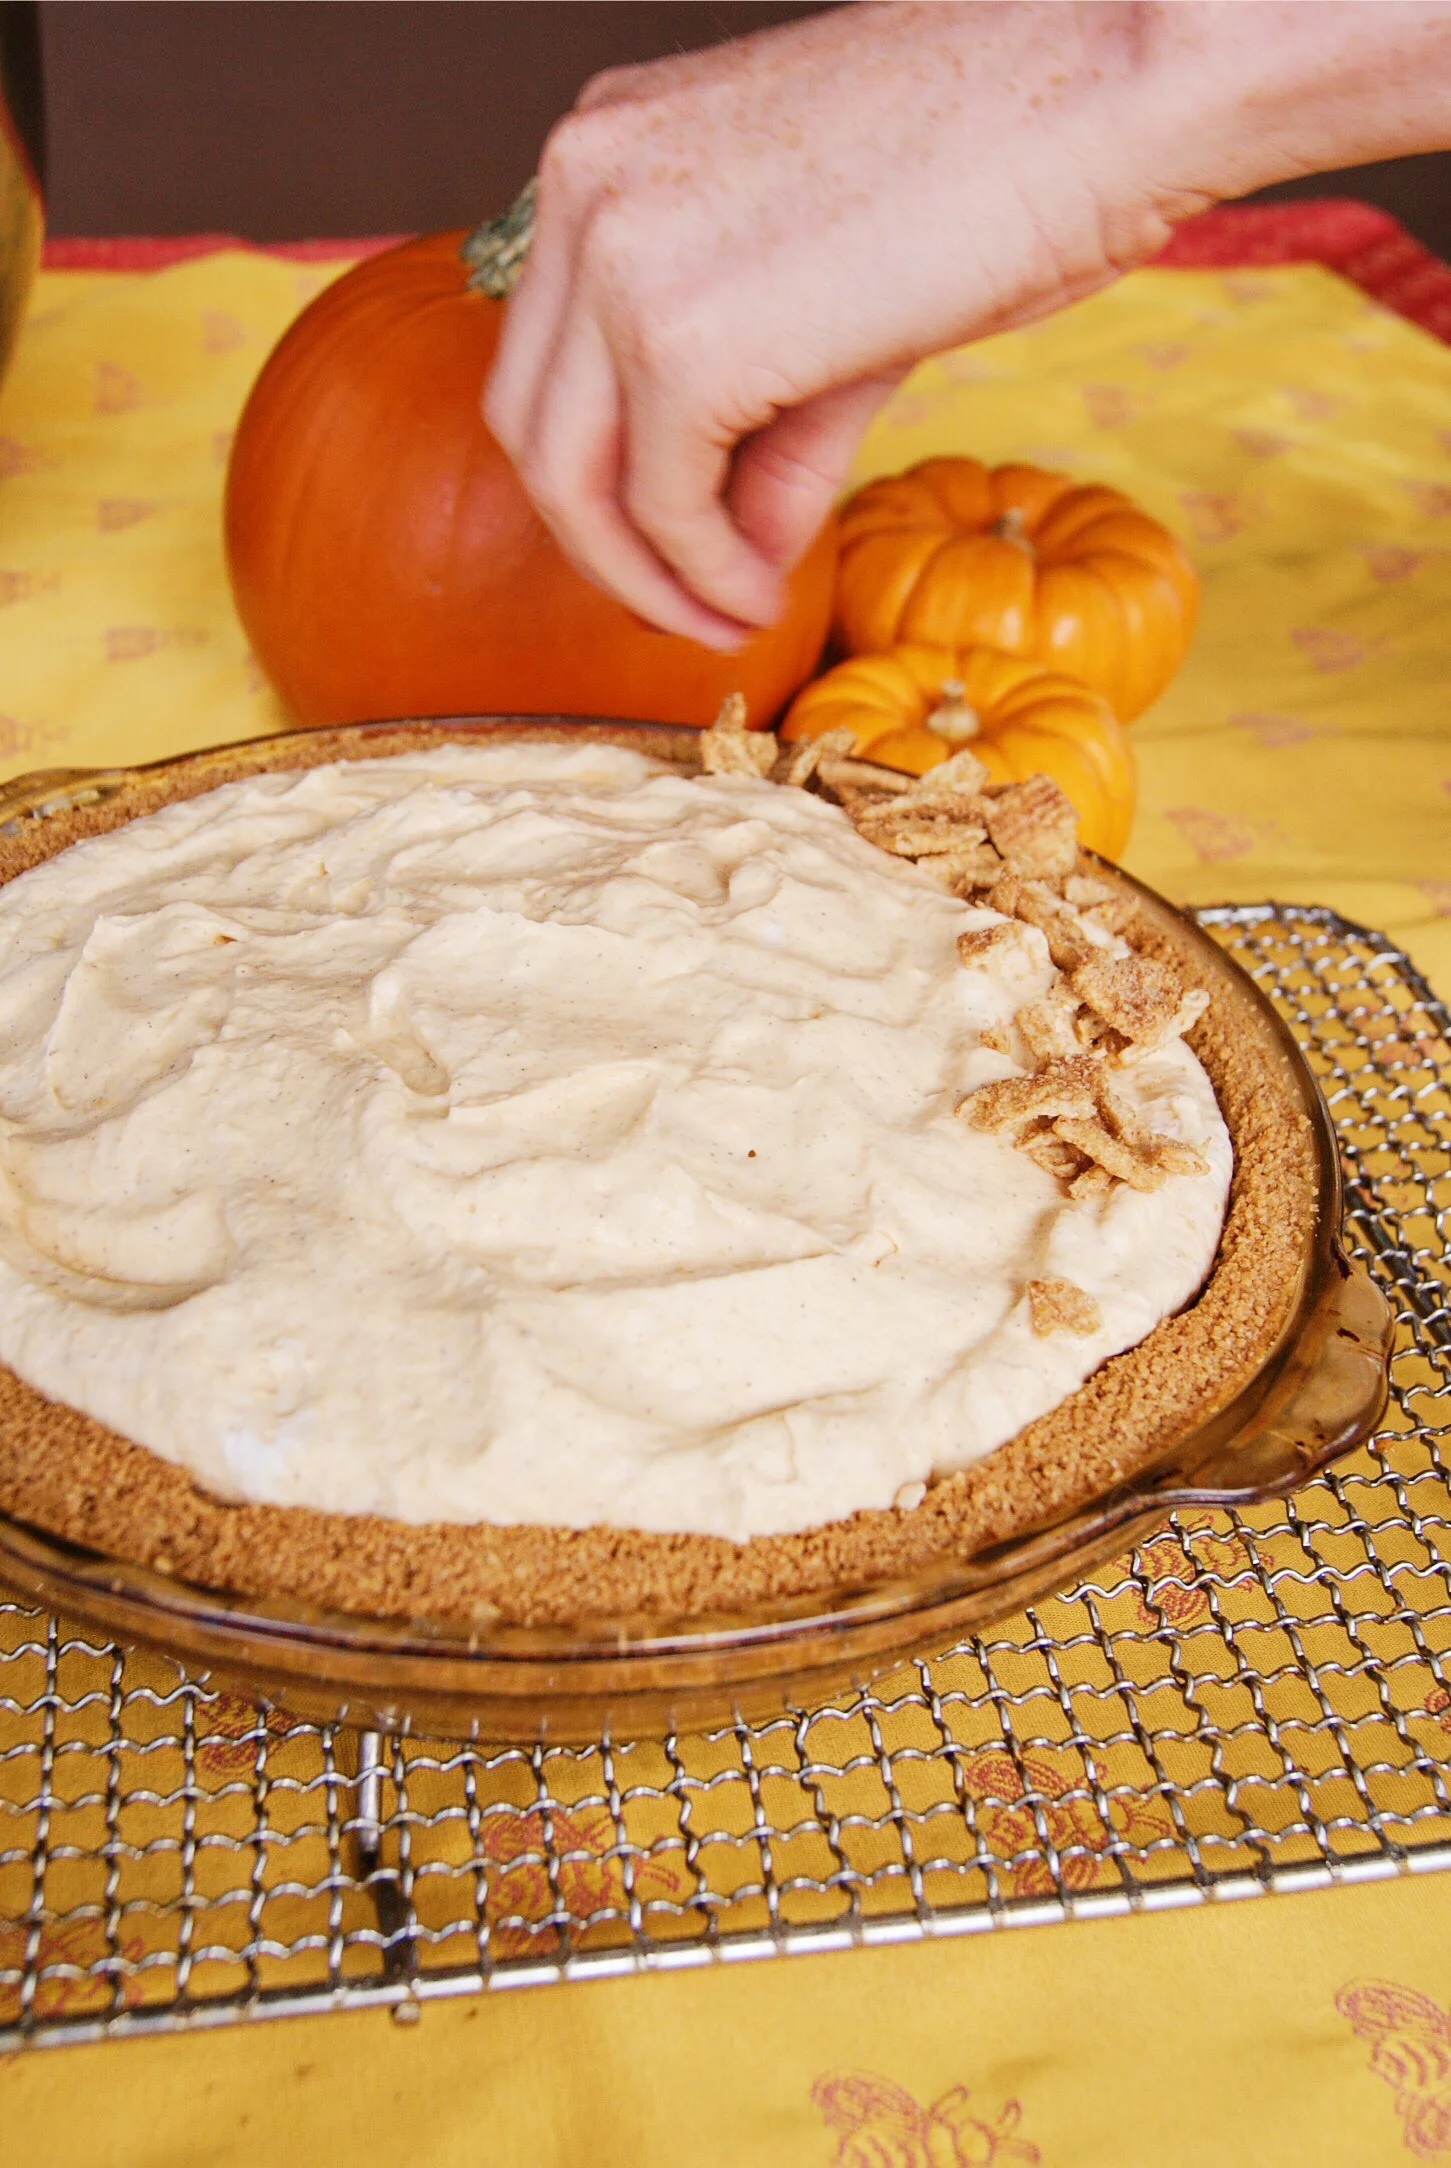
  8. Pour the mix into the chilled pie crust and smooth with a spatula.

  9. Lightly crush 1/2 cup of Cinnamon Toast Crunch in a Ziploc baggie and sprinkle on the edges of the pie filling.

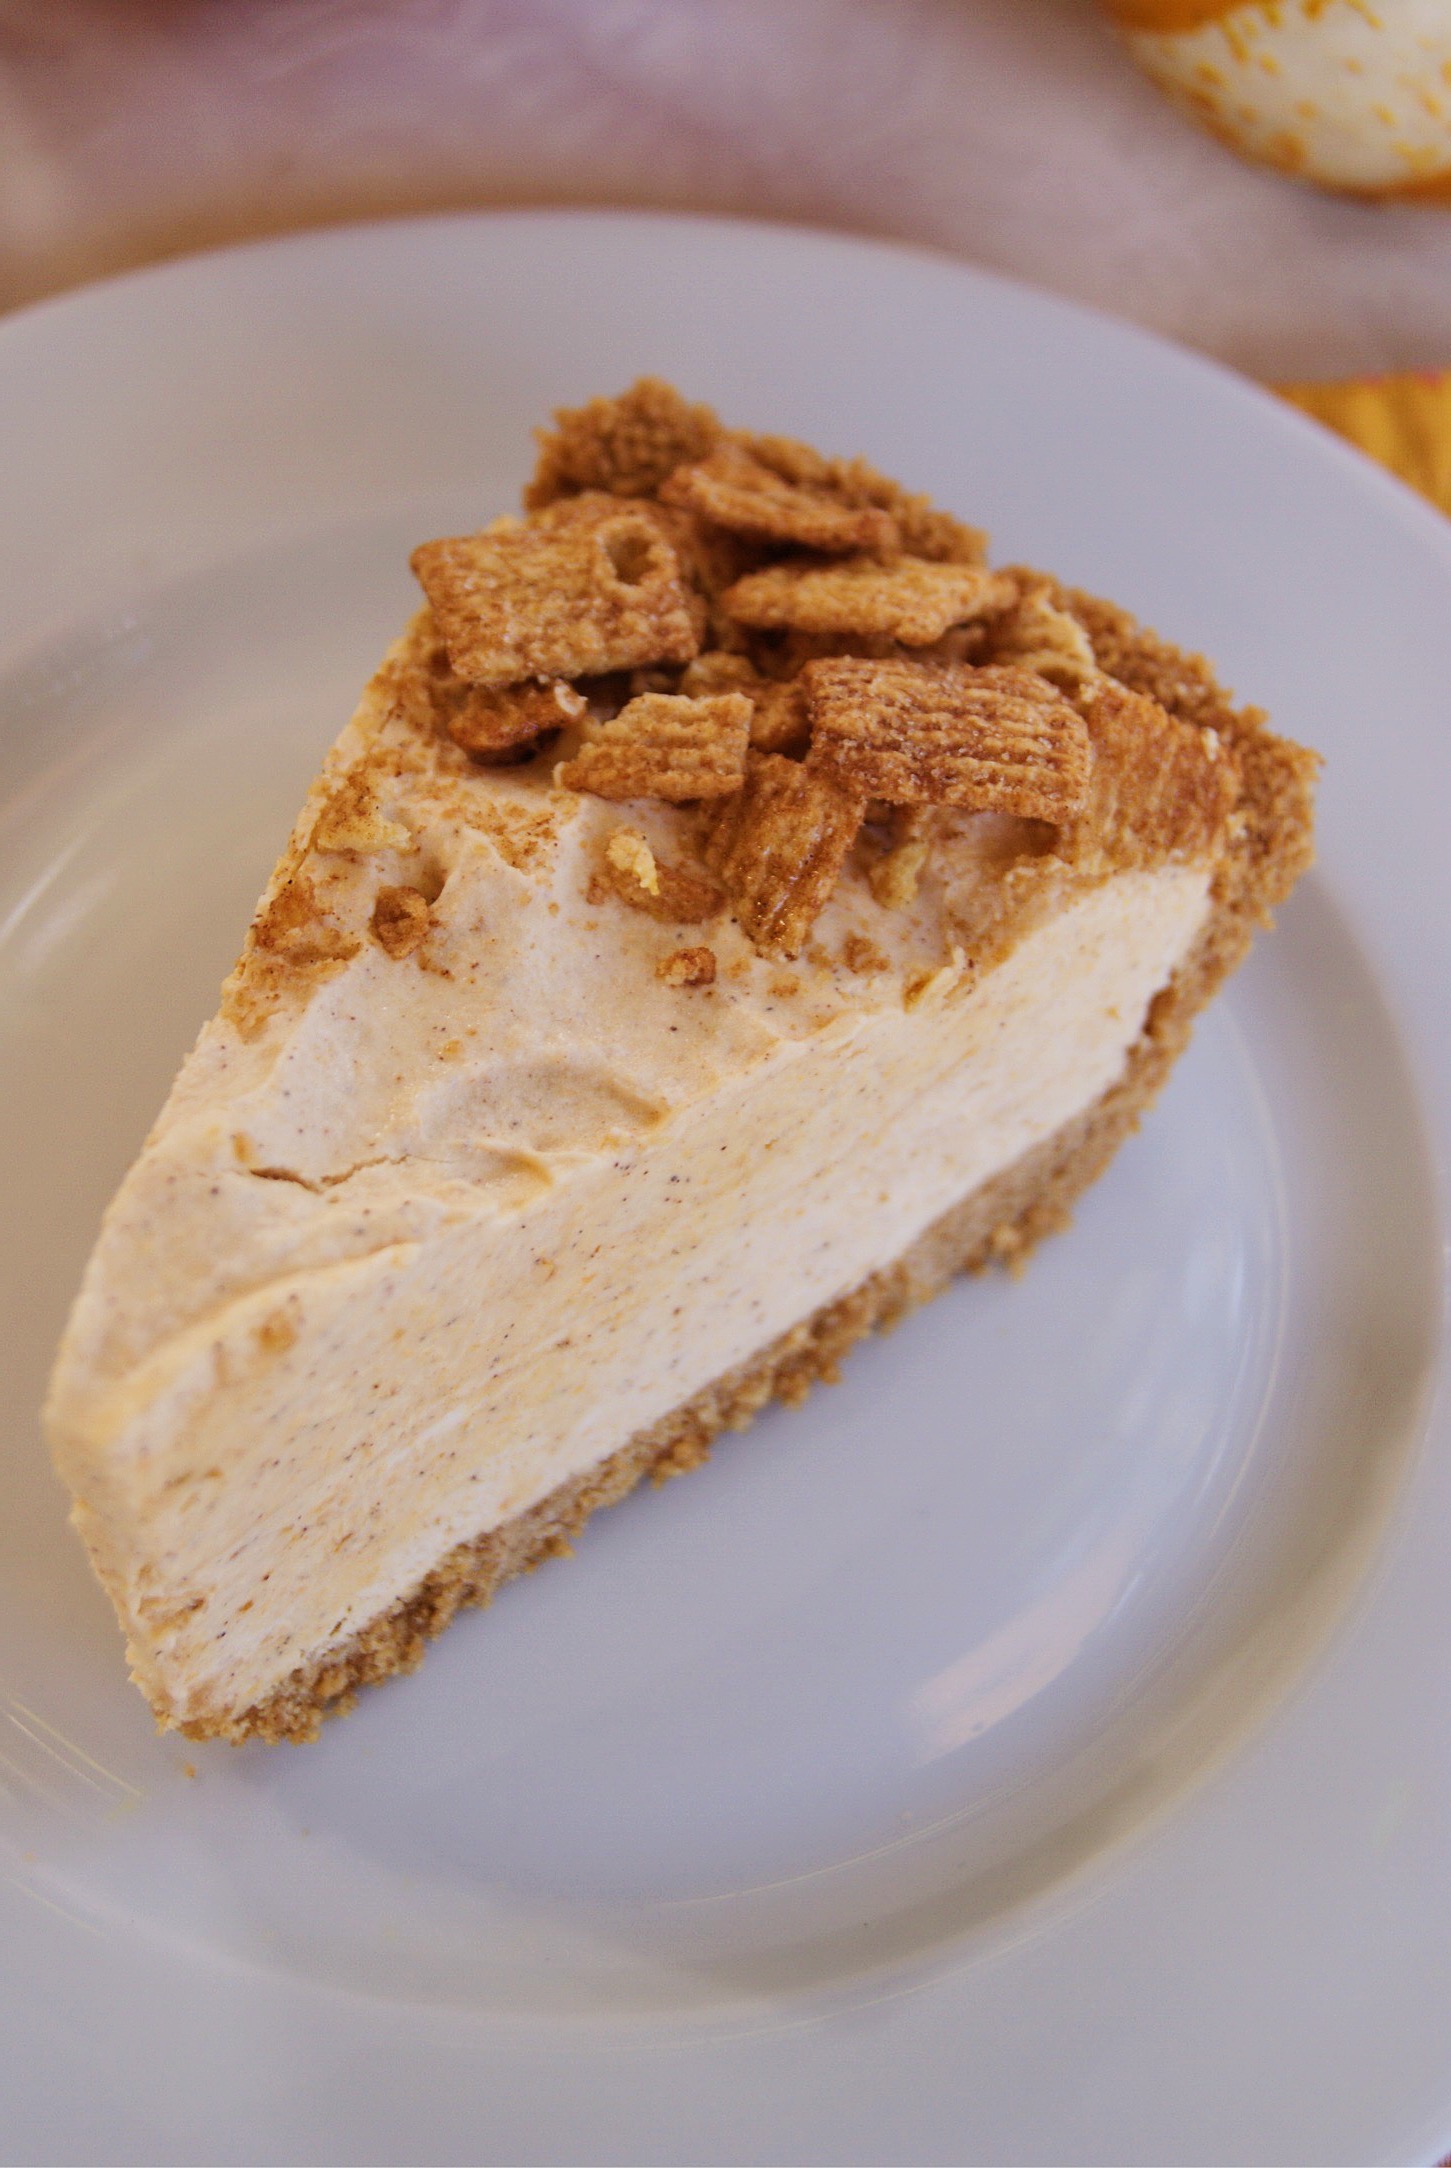
  10.  Freeze for at least 3 hours. When it is time to serve, take it out of the freezer and slightly let soften for 10 minutes.

  11. Slice and serve! 

IMG_0199.jpg

Pumpkin Chocolate Chip Cookies

Fall is one of our favorite seasons because we love comfy sweaters, the leaves changing color, and most of all...pumpkin recipes! There are so many different pumpkin recipes we love to make this time of year and we cannot wait to share some with you. Up first is the BEST pumpkin chocolate chip cookies. With the added pumpkin puree they stay more moist then your average chocolate chip cookie. These are seriously delicious and the flavor is exactly of how we imagine autumn to taste. You may want to make 2 batches as they disappear before your eyes!

Warning: We are not responsible for any cookie addictions this post may create!

xxx Ivy & Eve

Ingredients:

  • 15 oz. pumpkin puree
  • 1 egg
  • 1/2 cup vegetable oil
  • 1 cup sugar
  • 2 cups flour
  • 2 tsp baking powder
  • 1/2 tbsp ground cinnamon
  • 1/2 tsp salt
  • 1 tsp baking soda
  • 1 tsp milk
  • 1 tbsp vanilla extract
  • 16 oz. semi-sweet chocolate chips

Directions:

  1. Preheat oven to 350 F.
  2. Combine pumpkin, vegetable oil, egg, and sugar in a mixing bowl. In a separate bowl mix together the flour, cinnamon, baking powder, and salt.
  3. Dissolve the baking soda into the milk. Mix this into the bowl of wet ingredients.
  4. Add the dry mixture to the wet mixture.
  5. Add the vanilla and chocolate chips. Mix well.
  6. Drop heaping spoonfuls of the dough onto a cookie sheet lined with parchment paper.
  7. Bake for 8-12 minutes (depending on the size it may be more, we make ours BIG).
  8. Remove from oven, let cool on baking sheet for 3 minutes.
  9. Place on cooling rack.

Enjoy!

Biscuit Roses de Reims- Cookies You Dip in Champagne!

During our recent trip to Reims (see full post here), the champagne capital of the world, we passed Maison Fossier, whose windows were filled with adorable tins and bags filled with rectangular pink biscuits. Naturally, we had to go inside the shop to see what these little pink biscuits were all about. Walking in, we were immediately surrounded by the warmth and delicate sweet scent of sugar and vanilla. Best of all, there was PINK everywhere! We sampled one of these pink beauties, and with one bite, we were in love! They have the texture of an un-soaked ladyfinger and are subtly sweet with a touch of vanillaβ€”a perfect accompaniment for champagne.

These biscuits were invented in the 1690s by bakers in Reims, who wanted to make something that could be made using the heat from their ovens between baking batches of bread. The shop, Maison Fossier, has been making Biscuit Roses de Reims since it opened in 1756 and now can be found throughout France and around the world. These biscuits were even served during the Coronation of Louis XVI at Reims, and Maison Fossier became the biscuit maker for the royal family.

You are supposed to serve these biscuits with champagne (preferably champagne from Reims), and they are made to be dipped into the champagne to bring out the subtle flavors of the cookies. Of course, you don't have to sell us on anything that involves champagne, so we bought a few tins as gifts and a bag for us to enjoy on our trip. Once we were home, we missed having these cute and crunchy biscuits and decided to make them ourselves. We found the original recipe on the official website for France, so we decided not to alter it much because if it is on the official website for France, it must be good.

xxx Ivy & Eve

Adapted from the recipe on France.fr.

Makes about 45 cookies.

Ingredients

  • 4 large eggs at room temperature (separate the yolks from the whites)

  • 1 tsp vanilla extract

  • 1 cup sugar

  • 1 1/2 cups flour

  • 1/3 cup cornstarch

  • 1 tsp baking powder

  • 6-8 drops of red food coloring (depending on how pink you want them)

  • Powdered (confectioner's) sugar for dusting the cookies

  • Pastry bag with a 1/4-inch smooth tip

Directions

  1. Preheat the oven to 275Β°F. Mix the yolks, sugar, and vanilla in a bowl using a hand blender with a whisk attachment, on increasing speed over 5-6 minutes. Beat in 2 of the egg whites for another 2 minutes. Beat in the remaining 2 egg whites and the food coloring for an additional 5 minutes until the mixture begins to form stiff peaks.

  2. Sift the flour, cornstarch, and baking powder into the bowl, folding in gently with a spatula. You want a final result that is smooth and uniform in color. Scrape it into the pastry bag.

  3. Cover a baking sheet with parchment paper and spray with non-stick baking spray. Squeeze out strips of the mixture that are 1/4-inch wide (about as wide as your finger) and about 3 inches long and 1/4-1/2 inches apart. Sprinkle with powdered sugar and bake for 10-15 minutes, until a toothpick comes out clean. (You don't want the biscuits to start browning though, or else they won't be pink!) Take the biscuits out, sprinkle them with more powdered sugar, and place them back in the oven for another 10-15 minutes.

  4. When you take them out, quickly cut the biscuits' edges so that you have even rectangles. Do this before they cool, or else they become rather difficult to cut. If they cool before you finish, you can place them back in the oven for a few minutes to soften. If once they cool, they aren't completely crunchy, you can always but them back in the oven at 200Β°F and dry them out for about 20 minutes.

  5. Serve with champagne, dip, and enjoy!

Our dog Pearl and cat Fatty Pants loved them too!

Our dog Pearl and cat Fatty Pants loved them too!