yummy

The Perfect Cream Tea (Clotted Cream & Scone Recipe)

There are few things in this world Ivy loves more than a good cream tea. She even has a framed print on her wall (see below) that says, "I love you more than cream tea and scones"...and most days she doesn't know if that's a true statement! Can she truly love anything more than cream tea and scones?

Cream tea is really simple. Cream tea consists of clotted cream, scones, a bit of jam, and hot tea. Both the scones and the clotted cream take relatively no effort (but they do require a bit of planning). It's the perfect way to enjoy your tea-time without the expense and overindulgence of traditional afternoon tea. We really enjoy ordering cream tea when we visit England.

For quite some years, we went about life here in the U.S. without cream tea and only survived by planning our future visits to England. But times changed, and our hunger for cream tea went savage. We needed cream tea and we needed it NOW! So we decided to try and make it ourselves. Now that we have learned how to make cream tea we don't know why we went so many years without!
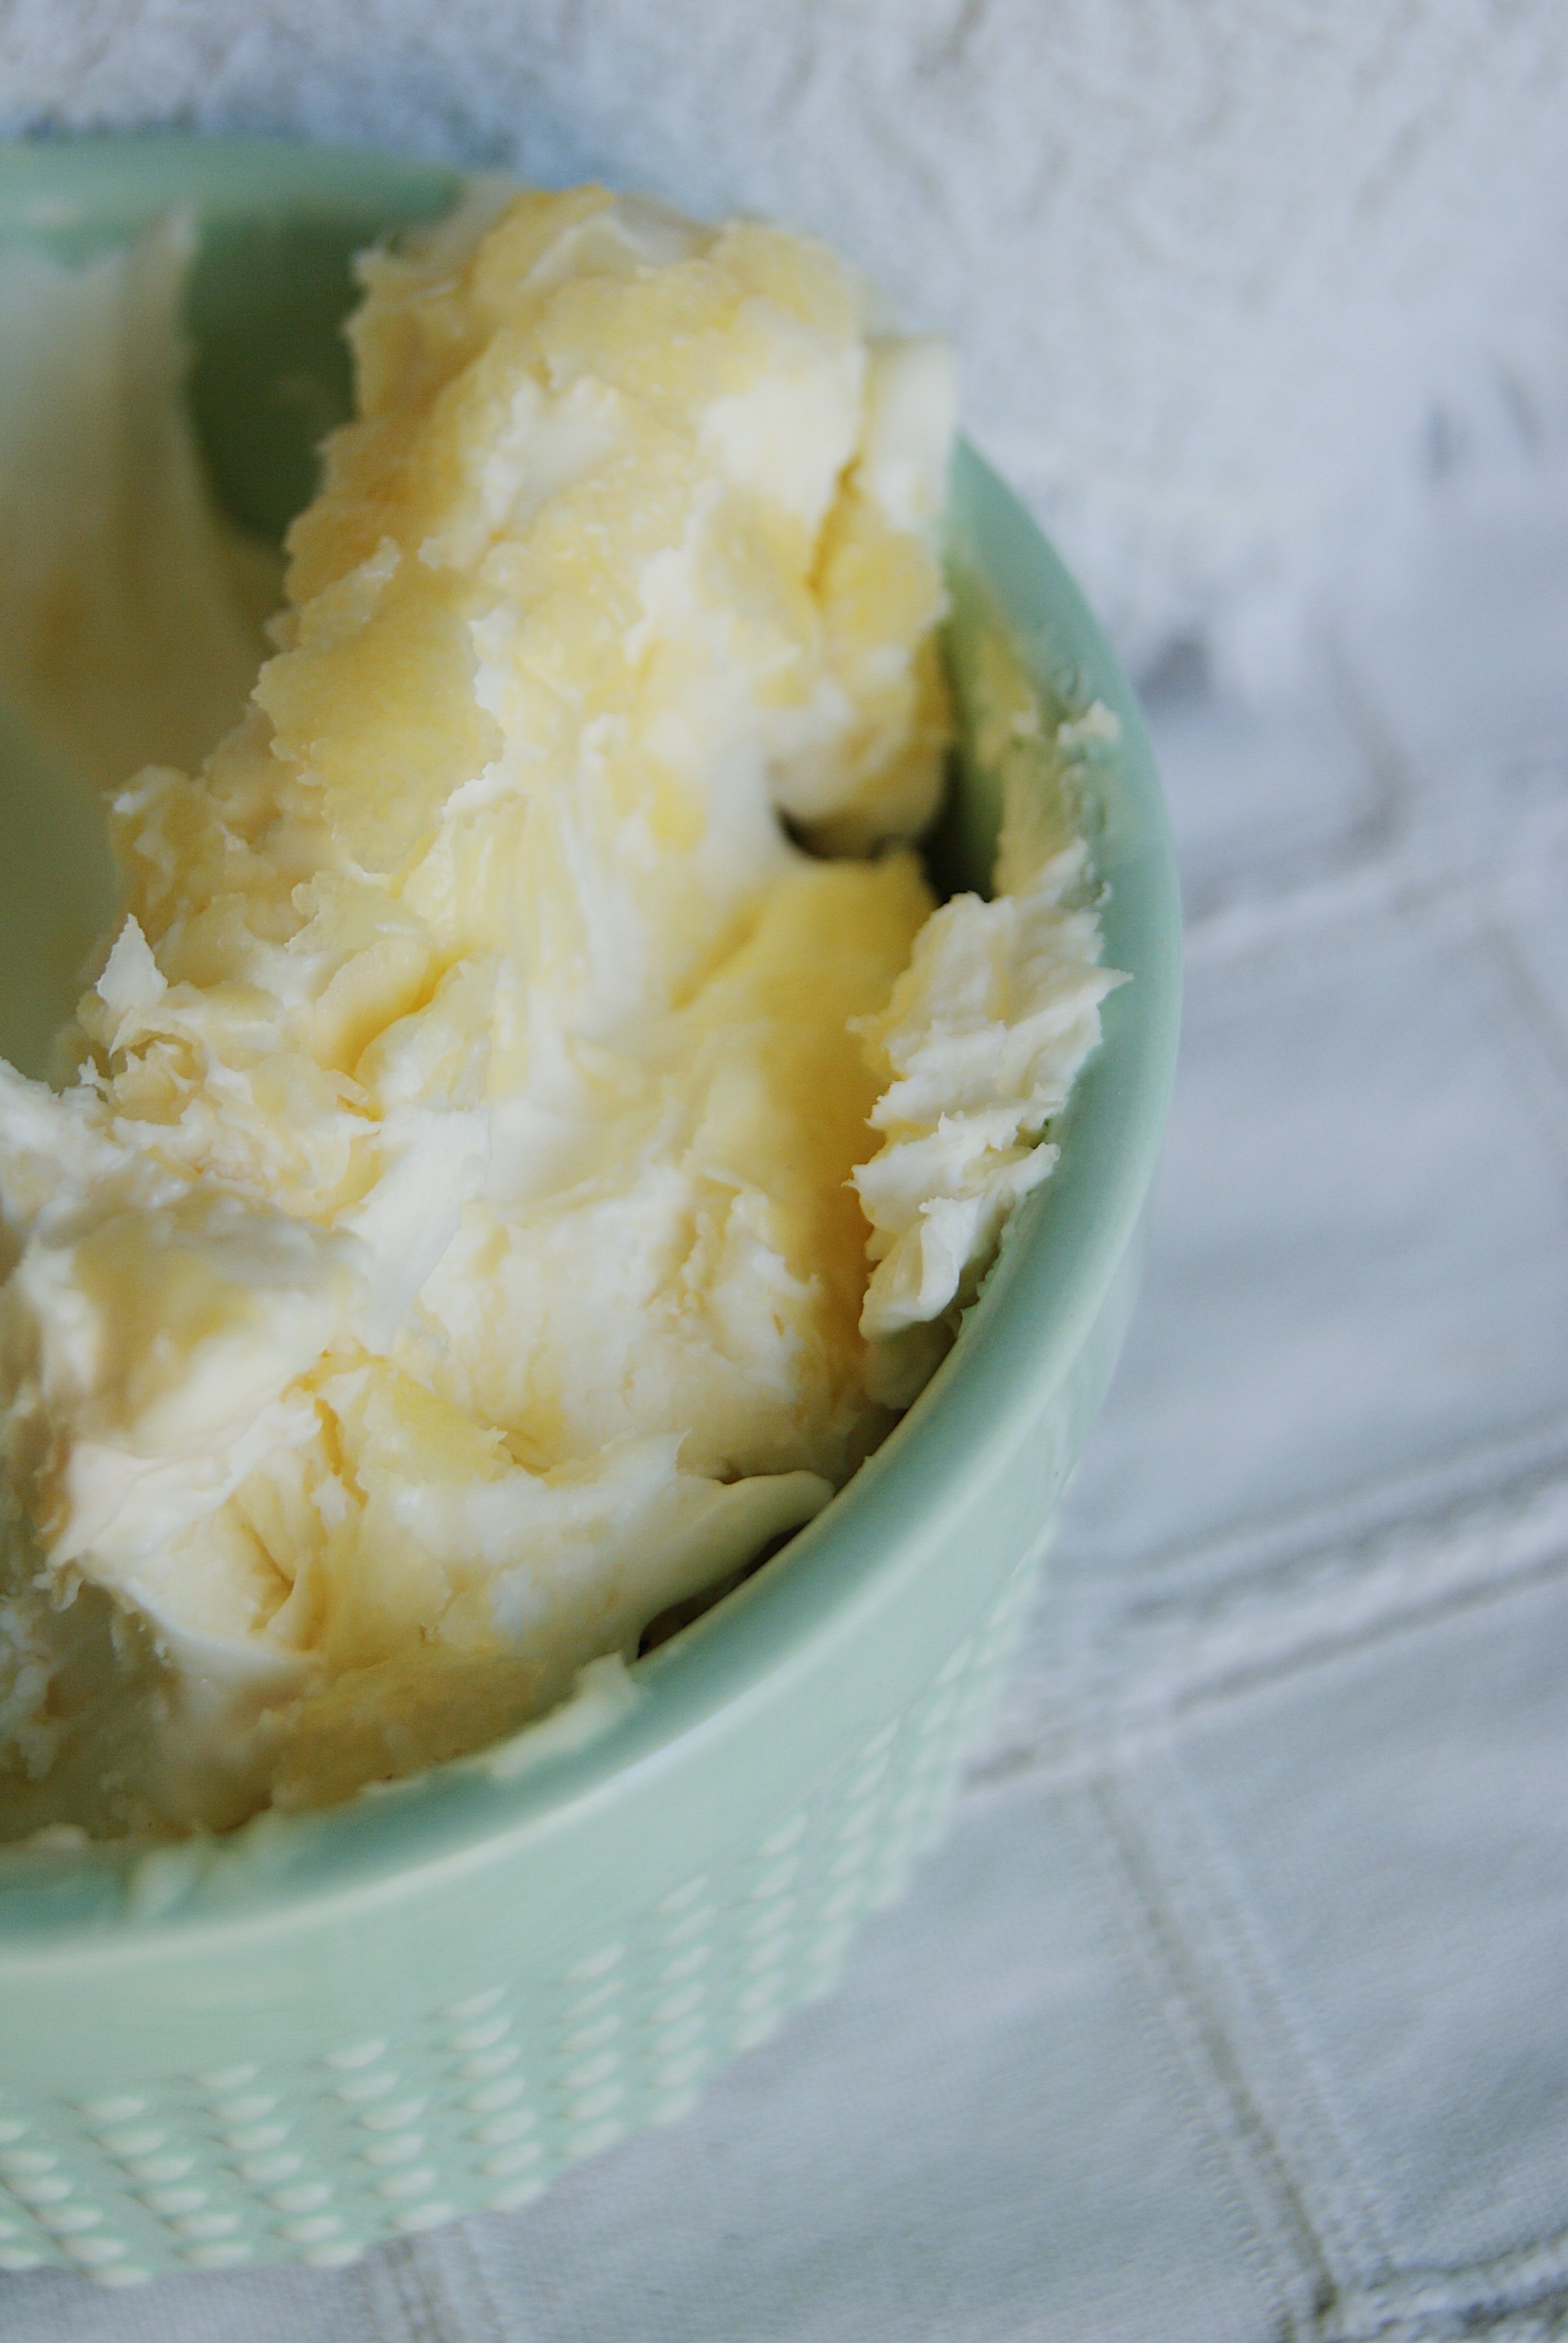
Clotted Cream

Ingredients:

  • 1-quart heavy whipping cream (not ultrapasteurized, but it can be pasteurized)
  • A low baking dish (best to be long and wide so the cream is about an 1 1/2 thick when poured in)

Directions:

Clotted cream is crazy simple. All you have to do is turn your oven to the lowest setting we set ours to 150F. Then you pour the cream into the baking dish and put it in the oven for 12 hours (we put ours in at night so in the morning we can take it out). After 12 hours remove the dish from the oven and let it cool. Cover with plastic wrap and place in refrigerator. We leave ours in the pan until the following morning when we plan to have our cream tea. When you are ready to serve, skim the thick creamy top off of the watery bottom (looks like skim milk) and place the clotted cream in a bowl or jar. This only keeps for a few days so eat up! Keep refrigerated. 

Vanilla Bean Scones

Ingredients:

  • 2 1/2 cups self-rising flour
  • 1 tbsp caster sugar
  • 1-ounce butter, chopped
  • 3/4 cup milk
  • 1/2 cup water
  • 1 vanilla bean (optional)

Directions:

  1. Preheat oven to 425F. 
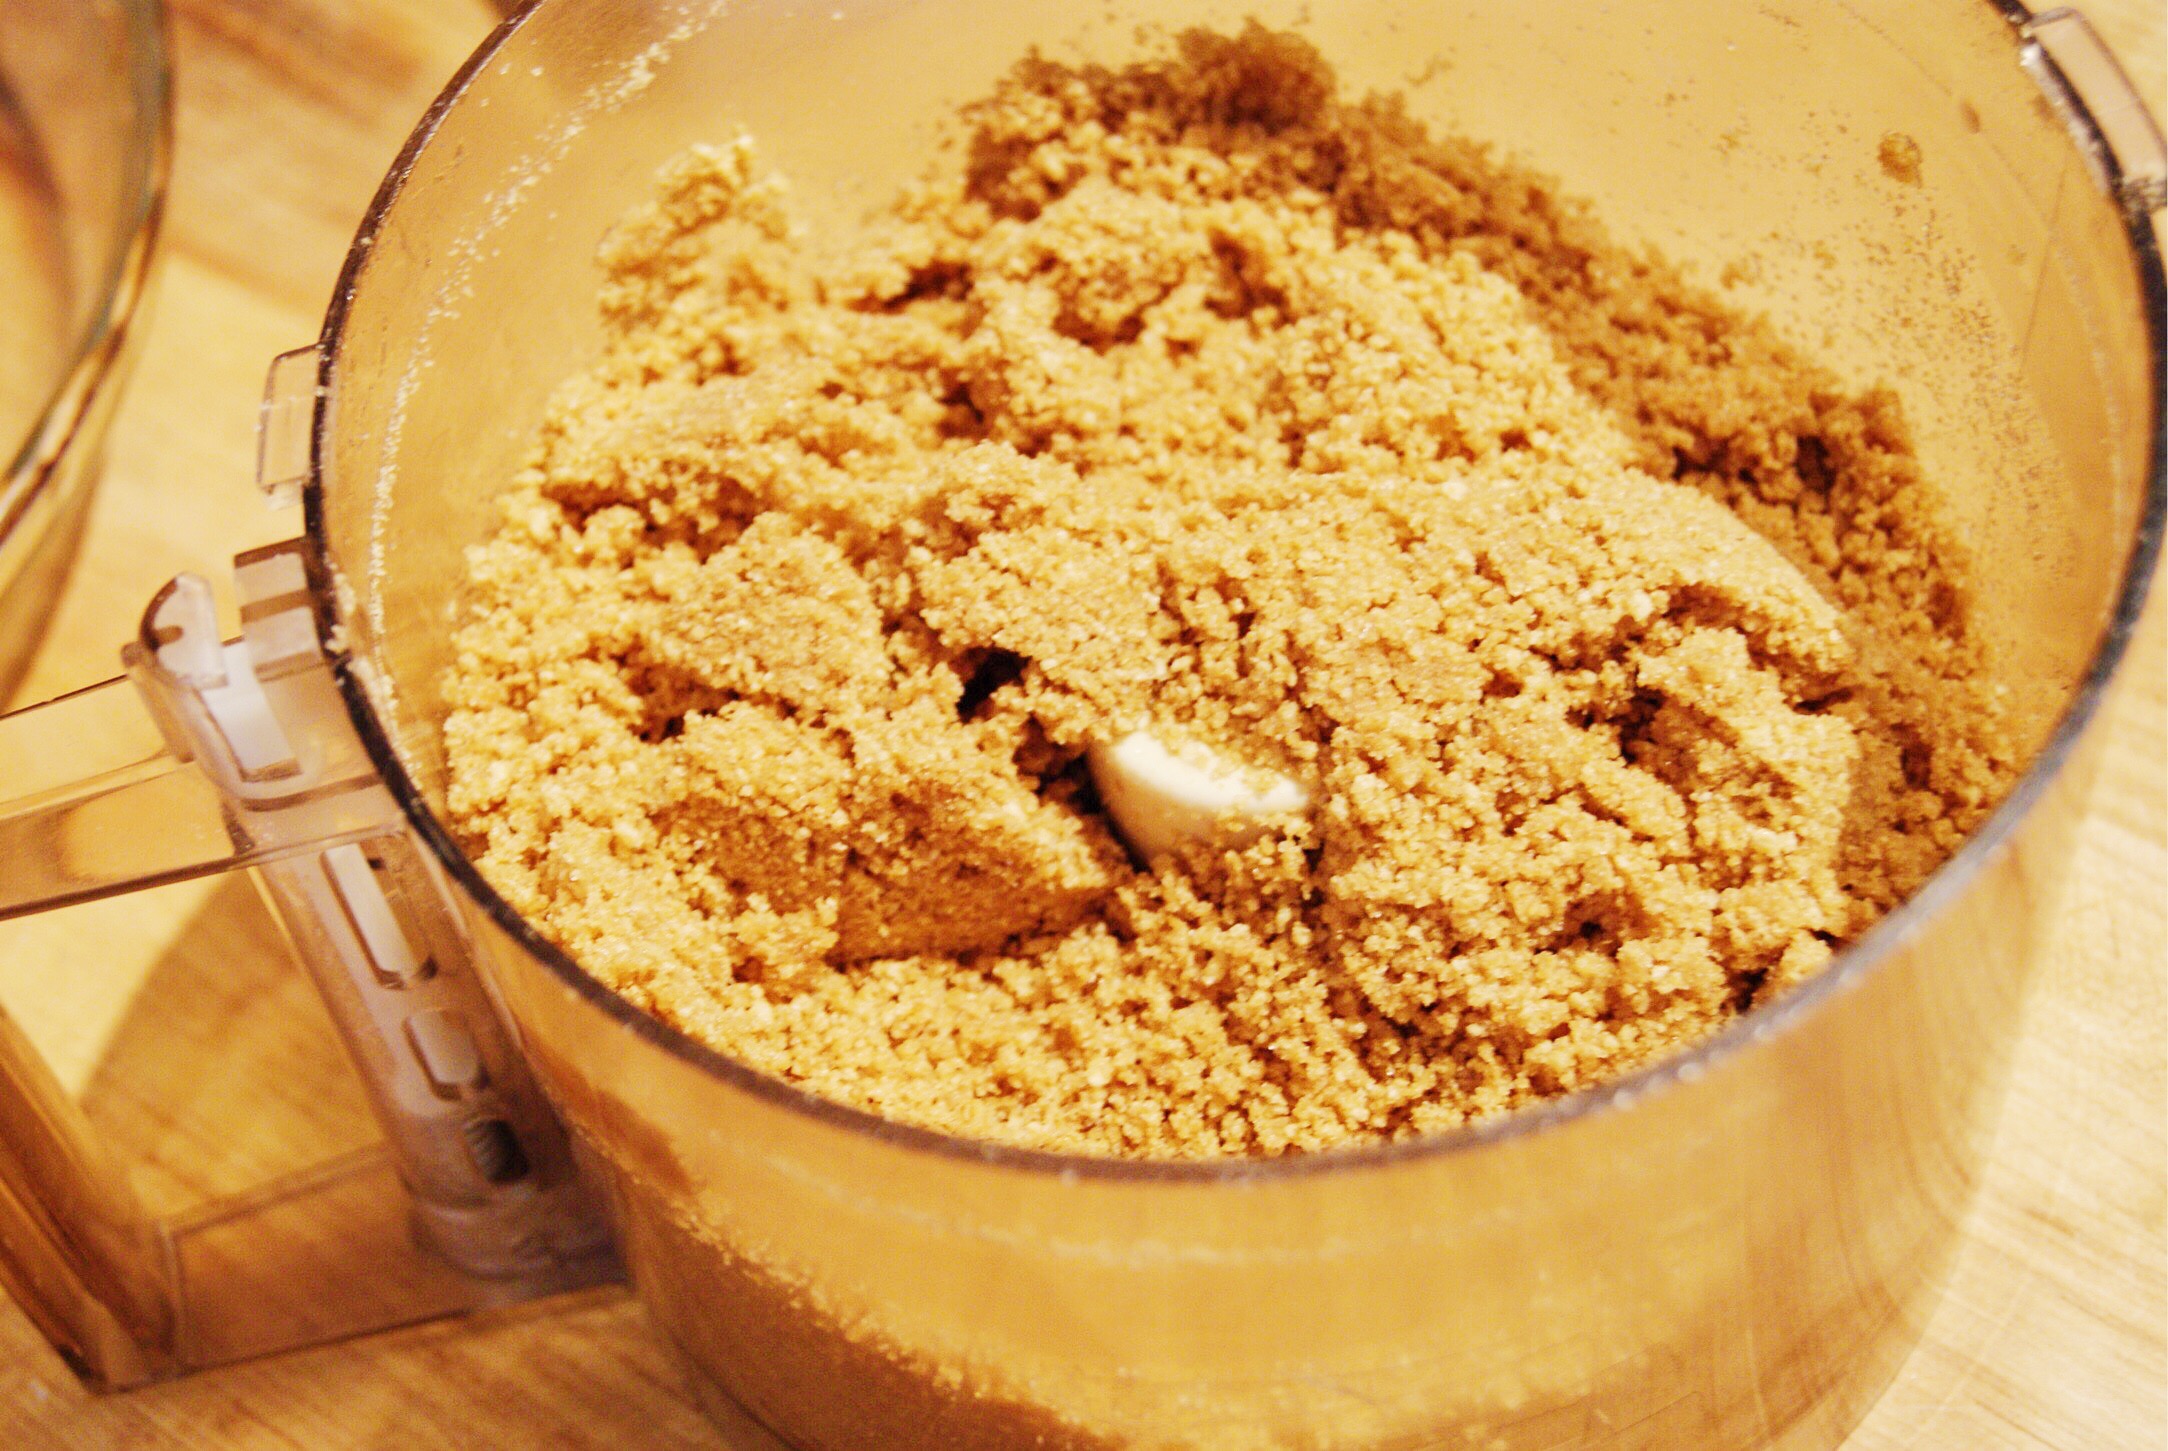
  2. Combine flour and sugar in a bowl. Using your fingers rub in butter until it is lightly mixed.
  3.  In a separate bowl add milk and water and scrape vanilla bean seeds into the mixture. Discard the bean shell. Add milk mixture to flour mixture.
  4. Using a butter knife, mix to create a soft, sticky dough. Flour surface and knead dough until smooth.
  5. Roll out gently to 1 1/2 inch thick. Cut out circles with cookie cutter or the top of a plastic cup.
  6. Place on ungreased baking sheet. Lightly brush milk on the tops of the scones and sprinkle with sugar. 
  7. Bake for 12-15 minutes, or until tops of scones start to turn golden.
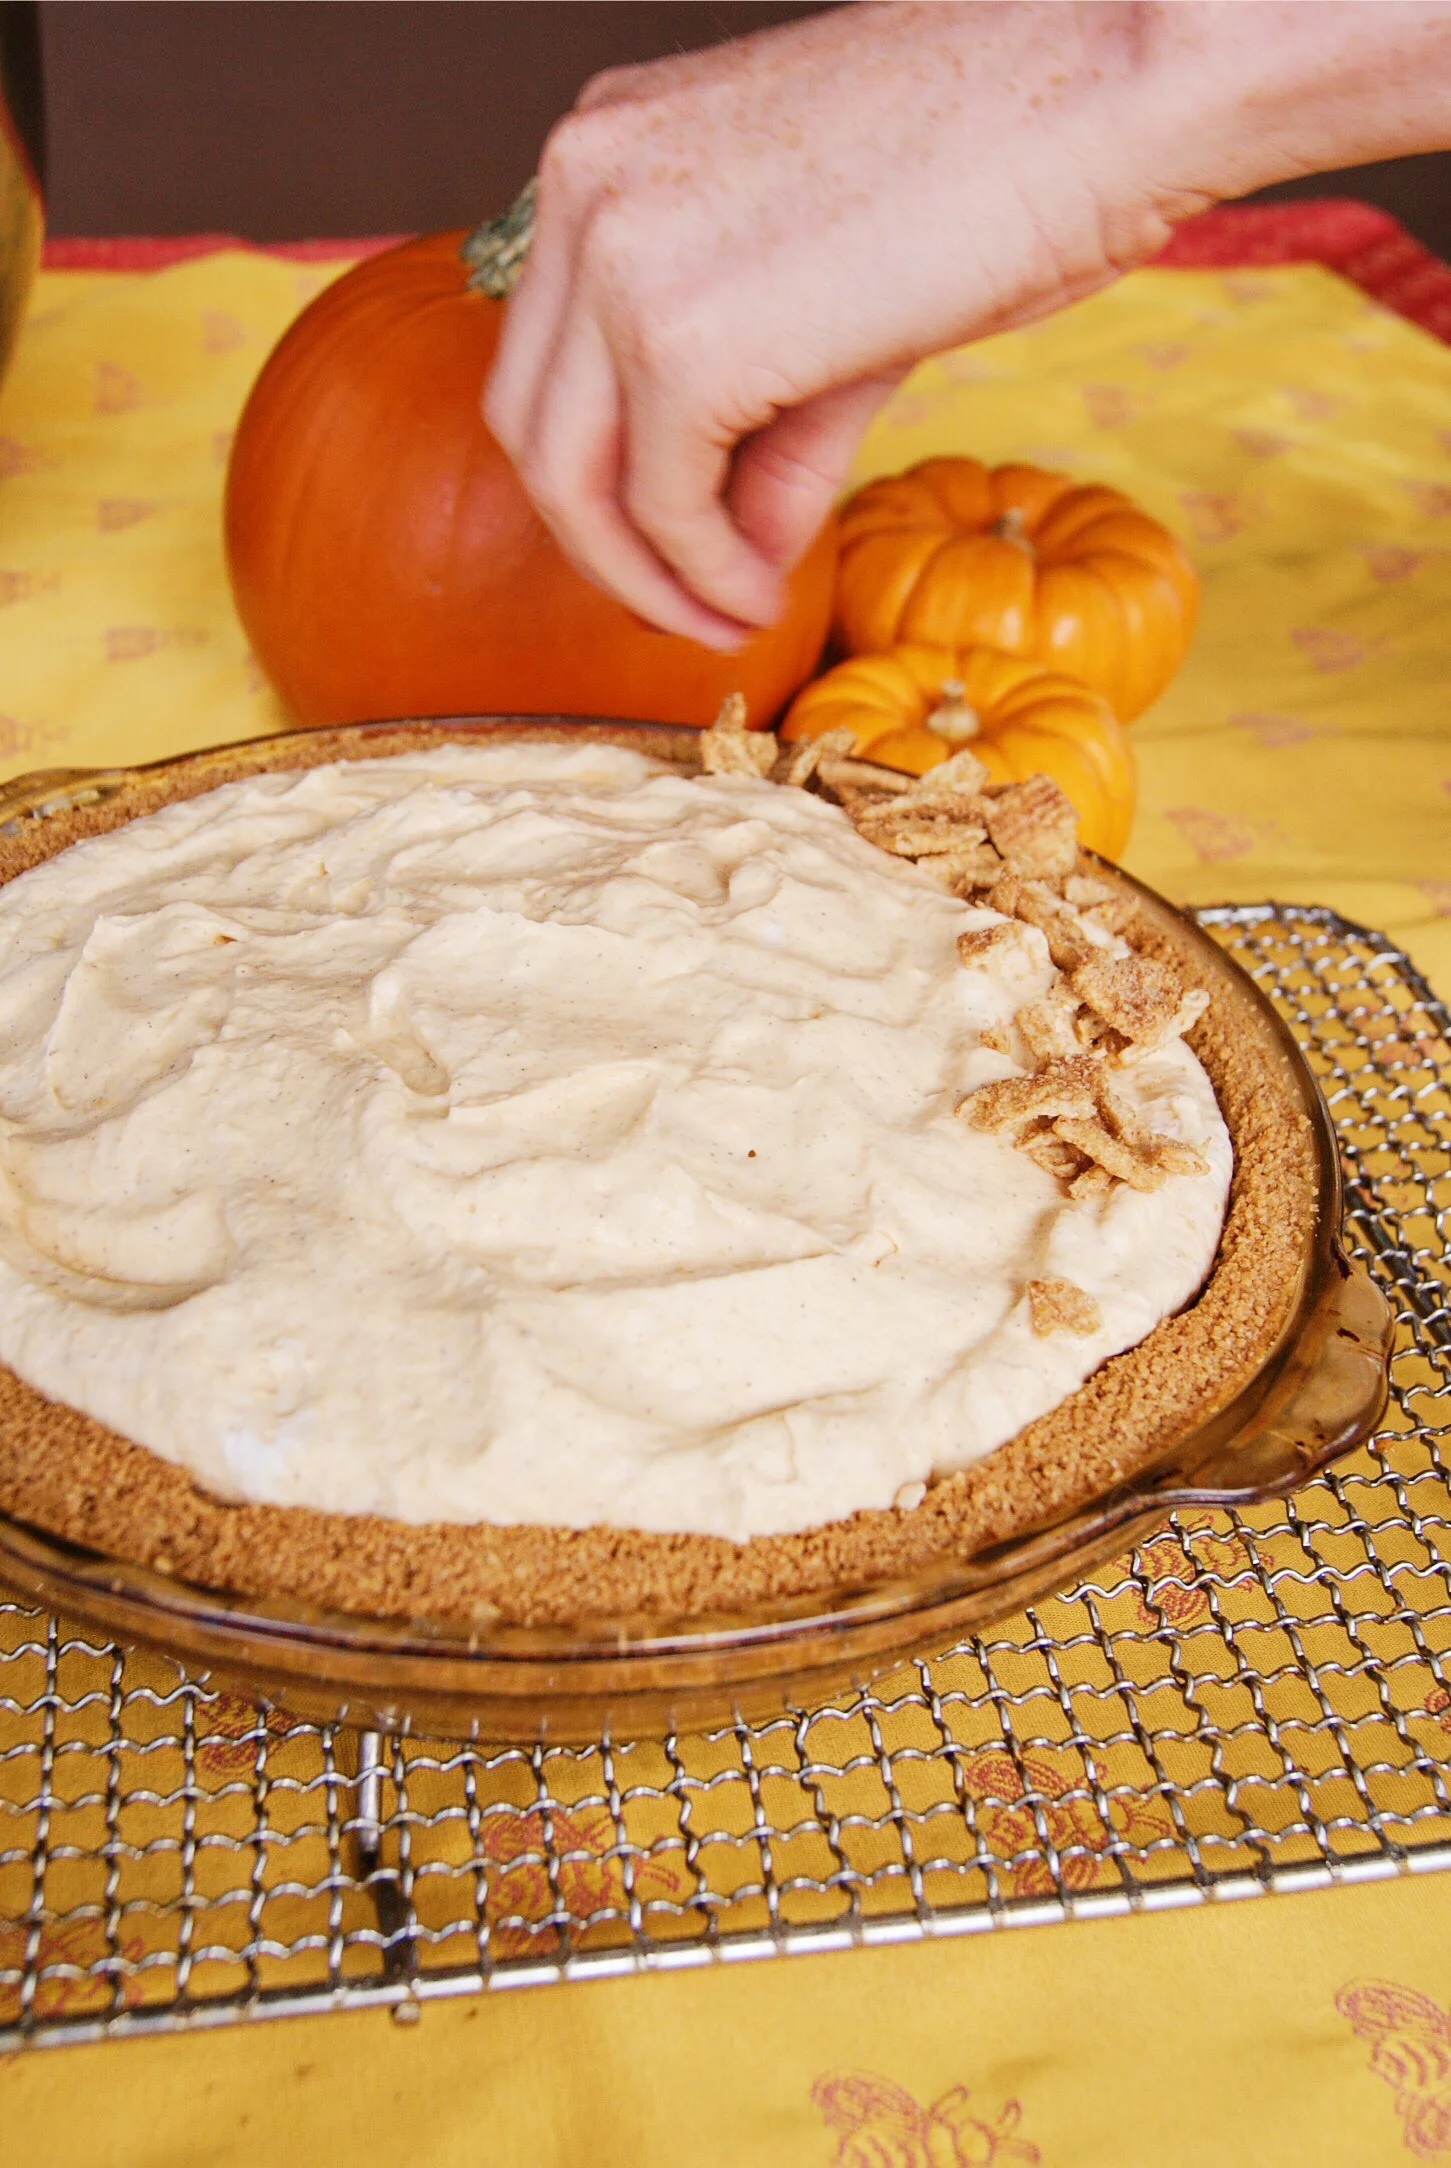
  8. Serve scones with clotted cream, jam, and a pot of tea.

Enjoy!

xxx Ivy & Eve

                              hopskipjumppaper.com 

                              hopskipjumppaper.com 

Homemade Scottish Cream

It's that time of year when even our coffee needs a pick me up!

On Eve's last adventure to Scotland, she discovered Arran Gold Scottish cream liquor. This liquid gold was like Bailey's but thicker, fresher tasting, and not so sickly sweet. We decided to try making some homemade Scottish cream since we can't find it in the states. It is essentially the same thing as Irish cream (AKA Baileys) but with Scottish whisky instead of Irish-made whiskey. You can change up the ratios to suit your tastes. We like ours creamy, boozy, and not too sweet. Best of all, it only takes 5 minutes to make! This makes a perfect holiday party gift - or - great with coffee anytime!

xxx Ivy & Eve

Ingredients:

  • 1 cup heavy whipping cream

  • 1 can sweetened condensed milk (14 oz.)

  • 1 cup Scotch whisky (any whisky will work we used Glenmorangie 10-year for its rich and smooth flavor)

  • 1 tsp Special Dark Hershey's cocoa powder (or any unsweetened cocoa powder)

  • 1 tsp vanilla extract

Directions:

  1. In a large bowl, add the cocoa powder. Slowly whisk in a few tablespoons of cream, forming a paste. Then, slowly incorporate the rest of the cream making sure no clumps form.

  2. Whisk in the sweetened condensed milk, then the whisky, and vanilla extract.

  3. Add more cream or whisky, depending on your tastes, a tablespoon at a time.

  4. Pour into jars or bottles. (we used cute glass milk bottles from Target!)

  5. Serve on ice, add to coffee, or mix it in a festive cocktail!

  6. Enjoy!

Icebox Pumpkin Pie

As much as we love autumn, for us Californians, fall weather really doesn't begin until pretty late in the season. On the Central Coast, we still enjoy weekends by the pool and lots of warm sunshine until late October. We wanted to make a pumpkin pie a few weekends ago, but it was so hot out that we didn't want to turn the oven on! We loved our Magically Delicious Pie so much that we decided to make a pumpkin version. We chose to use Cinnamon Toast Crunch for the base, which works wonderfully with the pumpkin filling. We like to serve ours pretty frozen, but if you want more of a soft and fluffy texture, just take the pie out a little longer than we suggest. This is a perfect potluck dish because since you freeze it until serving, you can keep it in the freezer until you leave and let it defrost on the way!

We are sure this recipe is soon to be a new favorite!

xxx Ivy & Eve


Makes one pie with 12 small slices.

Ingredients:

  • 1 box Cinnamon Toast Crunch

  • 8 tablespoons melted butter

  • 2 cups heavy cream

  • 1/4 cup powdered sugar

  • One 7 oz. jar of marshmallow fluff (about 1 1/2 cups)

  • 8 oz. cream cheese, softened

  • 3/4 cup canned pumpkin

  • 1 1/2 tsp pumpkin pie spice

Directions:

  1. Preheat the oven to 400F degrees. 

  2. Melt the butter in a small bowl.

  3. Add 6 cups of the cereal to the food processor. Pulse until you get fine crumbs. Pour in the melted butter and pulse until all the crumbs are moistened.

  4. Pour the crumbs into a 9-inch pie pan and press mixture on the bottom and around the sides to form the pie crust.

  5. Place the crust in the oven and bake for 5-7 minutes until it is slightly golden. Then place the crust in the freezer to cool while you prepare the filling.

  6.  Whip the heavy cream in a mixer until it starts to thicken and then add powdered sugar. Whip until stiff peaks form. Place the whipped cream in the refrigerator while you make the other mixture.

  7. Beat the softened cream cheese and marshmallow fluff with an electric mixer until light and fluffy (about 5 minutes). Add the pumpkin and pumpkin spice then mix until incorporated. Fold in the whipped cream. 

  8. Pour the mix into the chilled pie crust and smooth with a spatula.

  9. Lightly crush 1/2 cup of Cinnamon Toast Crunch in a Ziploc baggie and sprinkle on the edges of the pie filling.

  10.  Freeze for at least 3 hours. When it is time to serve, take it out of the freezer and slightly let soften for 10 minutes.

  11. Slice and serve! 

IMG_0199.jpg

Pumpkin Palooza at Trader Joe's

Pumpkin season is in full swing and nobody does it better than Trader Joe's. They have a whole section including over 60 different items made with pumpkin. They call this area "Pumpkin Palooza"! We decided to go to our local Trader Joe's market and try out as many pumpkin goodies as we could. Here's only a fraction of what they carry. Hurry to your local store to test them out yourself!

xxx Ivy & Eve

Not technically pumpkin but SO delicious!

Not technically pumpkin but SO delicious!

Autumn Harvest Pizza

This autumn, we are taking full advantage of all the delicious produce we can find at our local farmers market. This pizza combines the warm comfort of pureed butternut squash, creaminess of the cheese, the saltiness of the prosciutto, the sweetness of fresh pears, and for a bit of added freshness, it is topped with arugula and pomegranate seeds. The crust has the added subtleness of sage, which goes perfectly with the autumn flavors.

We usually would pair pizza with red wine, but since this pizza has no tomato sauce and lots of creamy cheese, white wine is the way to go! We paired this tasty pizza with Louis Jadot Pouilly-FuissΓ©. Pouilly-FuissΓ© is a vineyard appellation in southern Burgundy that produces mainly white wines. This wine is made from chardonnay grapes and has delicious citrus, peach, and crisp apple notes. The subtle oak really rounds out this white wine, making it very versatile. We would also pair it with chicken, fish, and creamy cheeses.

xxx Ivy & Eve

Makes four individual-sized pizzas.

Ingredients

Pizza Dough

  • 4 cups flour

  • 2 tsp salt

  • 2 tsp dried crushed sage

  • 1/8th tsp pepper

  • 1 2/3 cups warm water

  • 1 packet dry yeast (1/4 oz. or 7 grams)

Toppings

  • Butternut squash

  • Goat cheese

  • Mozzarella, grated

  • Prosciutto, torn into small pieces

  • Pear, thinly sliced

  • Pomegranate seeds

  • Arugula

Directions

For the Dough

  1. Dissolve the yeast in the warm water.

  2. Combine all dry ingredients in a large bowl or mixer and make a well in the center.

  3. Add the yeast and water and mix well.

  4. Knead until the dough is silky and elastic (If you have it, use a standing mixer with a dough hook attachment).

  5. Cover the bowl with a tea towel and set in a warm place for 30 minutes to rise.

  6. Divide the dough into 4 balls and place on a large baking sheet lined with parchment. Place the balls 3 inches apart and rub the tops with a little olive oil.

  7. Cover with plastic wrap and refrigerate overnight (if you're in a rush, skip this step and let rise for another hour).

  8. When you are ready to make the pizzas, take out the dough at least 1 hour before baking.

For the Toppings

  1. Preheat the oven to 400F degrees.

  2. Peel and cube the butternut squash. Toss with 1 tbsp olive oil and roast for 30 minutes, or until tender.

  3. Place the roasted squash in a blender or food processor and puree. Add 1 tbsp of water if the puree is too thick.

  4. Preheat the oven to 500F degrees (525F if your oven gets that hot).

  5. Generously sprinkle pizza sheet or upside-down cookie sheet with cornmeal.

  6. Using floured hands, take 1 ball of dough and stretch into an 8-10 inch circle on the cornmeal surface (re-flouring when needed).

  7. Spread the butternut puree on the dough like you would pizza sauce.

  8. Top with grated mozzarella, prosciutto, dollops of goat cheese, and pear slices.

  9. Bake for 7-9 minutes until the crust is golden and toppings are melted and bubbling.

  10. Top with 1/2 arugula and 1/4 cup pomegranate seeds.

  11. Repeat with the remaining 3 balls of dough.

  12. Slice and enjoy with a glass of Louis Jadot Pouilly-FuissΓ©!

Pumpkin Chocolate Chip Cookies

Fall is one of our favorite seasons because we love comfy sweaters, the leaves changing color, and most of all...pumpkin recipes! There are so many different pumpkin recipes we love to make this time of year and we cannot wait to share some with you. Up first is the BEST pumpkin chocolate chip cookies. With the added pumpkin puree they stay more moist then your average chocolate chip cookie. These are seriously delicious and the flavor is exactly of how we imagine autumn to taste. You may want to make 2 batches as they disappear before your eyes!

Warning: We are not responsible for any cookie addictions this post may create!

xxx Ivy & Eve

Ingredients:

  • 15 oz. pumpkin puree
  • 1 egg
  • 1/2 cup vegetable oil
  • 1 cup sugar
  • 2 cups flour
  • 2 tsp baking powder
  • 1/2 tbsp ground cinnamon
  • 1/2 tsp salt
  • 1 tsp baking soda
  • 1 tsp milk
  • 1 tbsp vanilla extract
  • 16 oz. semi-sweet chocolate chips

Directions:

  1. Preheat oven to 350 F.
  2. Combine pumpkin, vegetable oil, egg, and sugar in a mixing bowl. In a separate bowl mix together the flour, cinnamon, baking powder, and salt.
  3. Dissolve the baking soda into the milk. Mix this into the bowl of wet ingredients.
  4. Add the dry mixture to the wet mixture.
  5. Add the vanilla and chocolate chips. Mix well.
  6. Drop heaping spoonfuls of the dough onto a cookie sheet lined with parchment paper.
  7. Bake for 8-12 minutes (depending on the size it may be more, we make ours BIG).
  8. Remove from oven, let cool on baking sheet for 3 minutes.
  9. Place on cooling rack.

Enjoy!

Blueberry-Lavender Tart

Between the two of us, Eve has always been the baker. Ivy would always help Eve bake cupcakes and tarts but would never try to make something entirely on her own. However, once Eve was away at college Ivy had no one to bake sweets for her, so she had to take matters into her own hands. Ivy saw a recipe in Martha Stewart Living for mini blueberry-lavender cornmeal tarts. Not only did the photos look delicious, but it combined basically everything she loves...blueberries, lavender, and cream! Ivy decided to try and make the tart in a big tart pan instead of little mini pans to limit her chances of burning them (remember Ivy was not a skilled baker compared to Eve). The tart was pretty simple and it turned out perfect the first time! We recently tried it with gluten free crust to accommodate some of our friends diet restrictions and it tasted great! We have listed both the cornmeal and gluten free crust recipes below. Ever since, this recipe has been one of our go-to tarts to make for summer parties because it is light but still hits the sweet spot. 

xxx Ivy & Eve

Recipe adapted from Martha Stewart Living

Ingredients

Cream:

1 cup heavy whipping cream

1 1/2 to 2 tablespoon culinary lavender (depends on how strong you want the flavor)

1-2 tablespoons of sugar (optional)

Cornmeal Crust:

1 cup all-purpose flour, plus more for dusting

1/4 cup finely ground cornmeal

1 tablespoon plus 1 1/2 teaspoons sugar

1/2 teaspoon coarse salt

1 stick plus 2 tablespoons cold unsalted butter, cut into small pieces

1 large egg yolk

2 tablespoons ice water

Gluten Free Crust:

1 1/2 cups gluten free flour (we suggest Trader Joe's or Bob's Red Mill)

2 tablespoons sugar

1 pinch salt

7 tablespoons cold butter (sliced into pieces)

1-3 tablespoons cold water to bind

Filling:

2 tablespoons sugar

1/4 vanilla bean, seeds scraped

1 to 2 cups fresh wild or regular blueberries or huckleberries

Directions

  1. Cream: Place the cream and lavender in a sauce pan on the stove. Bring just to a boil (as if you were making tea) and remove from heat and cover. Let the cream and lavender "steep" till cool. Once cooled refrigerate.

  2. Two options Cornmeal or Gluten Free Crust

    1. Cornmeal: Combine sugar, cornmeal, flour, and salt in a food processor. Once mixed evenly add butter and pulse till the texture looks like coarse crumbs. Then add the yolk and ice water, pulse again till mixture is dough like. Knead dough until it is smooth. Then shape into a disk and wrap with plastic wrap and refrigerate at least 30 minutes. After 30 minutes or more take dough out and let it warm to room temperature. Roll it out with a little flour to around 1/8 inch thick. Then transfer to tart pan. Pressing dough to the sides and stab the dough with a fork along the bottom. Put back in the refrigerator for another 30 minutes.

    2. Gluten Free: Combine the flour, sugar, salt, and butter in a food processor. Pulse till the texture looks like coarse crumbs. Add a little bit of water while pulsing until the dough combines and looks like pebbles. Then shape into a disk and wrap with plastic wrap and refrigerate at least 30 minutes. Roll it out with a little flour to around 1/8 inch thick. Then transfer to tart pan. Pressing dough to the sides and stab the dough with a fork along the bottom. Put back in the refrigerator for another 30 minutes.

  3. Two options Cornmeal or Gluten Free Crust

    1. Cornmeal: Preheat oven to 350 degrees. Once you have waited 30 minutes, take the tart pan out of the fridge and place tart pan on baking sheet. Bake till golden brown, make sure to watch the bottom of the tart, sometimes it puffs up (press it down if it puffs up). It should bake around 25 minutes. Remove from oven and let cool.

    2. Gluten Free: Preheat the oven to 400 degrees. Once you have waited 30 minutes, take the tart pan out of the fridge and place tart pan on baking sheet. Bake for 20-30 minutes until the edges are starting to golden. Remove from oven and let cool. 

  4. Filling: Wait to do this until right before serving. Remove the cream/lavender from the fridge and use a mesh strainer to separate the lavender from the cream into a mixing bowl. Once sifted you should have lavender infused cream. Add sugar, and vanilla bean seeds to cream. Mix on medium till peaks start to appear. Pour onto cool tart crust, spread evenly. Top with berries and sprinkle a pinch or two dried lavender on top and serve.

Variations: If you choose to use small tart tins, decrease the time for baking the tart shells significantly! They should only take about 10-15 minutes max to bake. Keep an eye on them and never leave the kitchen while baking tart shells. 

Enjoy!

Magically Delicious Pie

DSC00280.jpg

As children, we spent part of our summer vacations on Lake Erie in Ohio visiting our Grandma C and many aunts uncles and cousins. Those weeks were the highlight of summer, spending the hot and humid days swimming in the lake, walking down the street to buy candy at the corner shop, and convincing the adults to drive us to our favorite drive-in restaurant, White Turkey, AT LEAST once a day. Another perk of being at Grandma's was that she always had sugary sweet cereals and treats in her house during our visits. All the cousins would come down stairs each morning and pour a bowl of their favorite cereal and plan the adventures to be had that day. Our personal favorite was a big bowl of Lucky Charms (We affectionately called them Monkey Germs lol). This pie is a frozen take on our beloved cereal. This recipe transports us back to Grandmas house by the lake. We can almost feel the warm breeze drifting off the lakeshore and hear the distant rumble of a coming thunderstorm. 

xxx Ivy & Eve

Adapted from The Slow Roasted Italian.

Makes one pie with 12 small slices.

Ingredients:

  • 1 box Lucky Charms Cereal

  • 8 tablespoons melted butter

  • One 7 oz. jar of marshmallow fluff (about 1 1/2 cups)

  • 8 oz. cream cheese, softened

  • 2 cups heavy cream

  • 1/4 cup powdered sugar

Directions:

  1. Preheat the oven to 400 degrees. 

  2. Separate the cereal and the marshmallows into two separate bowls.

  3. Melt the butter in a small bowl.

  4. Add 4 cups of the cereal to the bowl of a food processor. Pulse until your mixture is crumbs. Pour in the melted butter and pulse until all the crumbs are moistened.

  5. Pour the crumbs into a 9 inch pie pan and press mixture on the bottom and around the sides to form the pie crust.

  6. Place the crust in the oven and bake for 5-7 minutes until it is slightly golden. Then place the crust in the freezer to cool while you prepare the filling.

  7.  Whip the heavy cream with a mixer until you can starts to thicken and then add powdered sugar. Whip until stiff peaks form. Place the whipped cream in the refrigerator while you make the other mixture.

  8. Beat the cream cheese and marshmallow fluff with an electric mixer until light and fluffy (about 5 minutes). Fold in 1/2 of the whipped cream and a 1/2 cup of the Lucky Charms marshmallows. Pour the mix into the chilled pie crust and smooth with a spatula. Pour remaining whipped cream over top and sprinkle the remaining marshmallows around the edge of the pie. Freeze for at least 3 hours. When it is time to serve, take it out of the freezer and let soften for 10 minutes.

  9. Slice and serve!