sweets

Biscuit Roses de Reims- Cookies You Dip in Champagne!

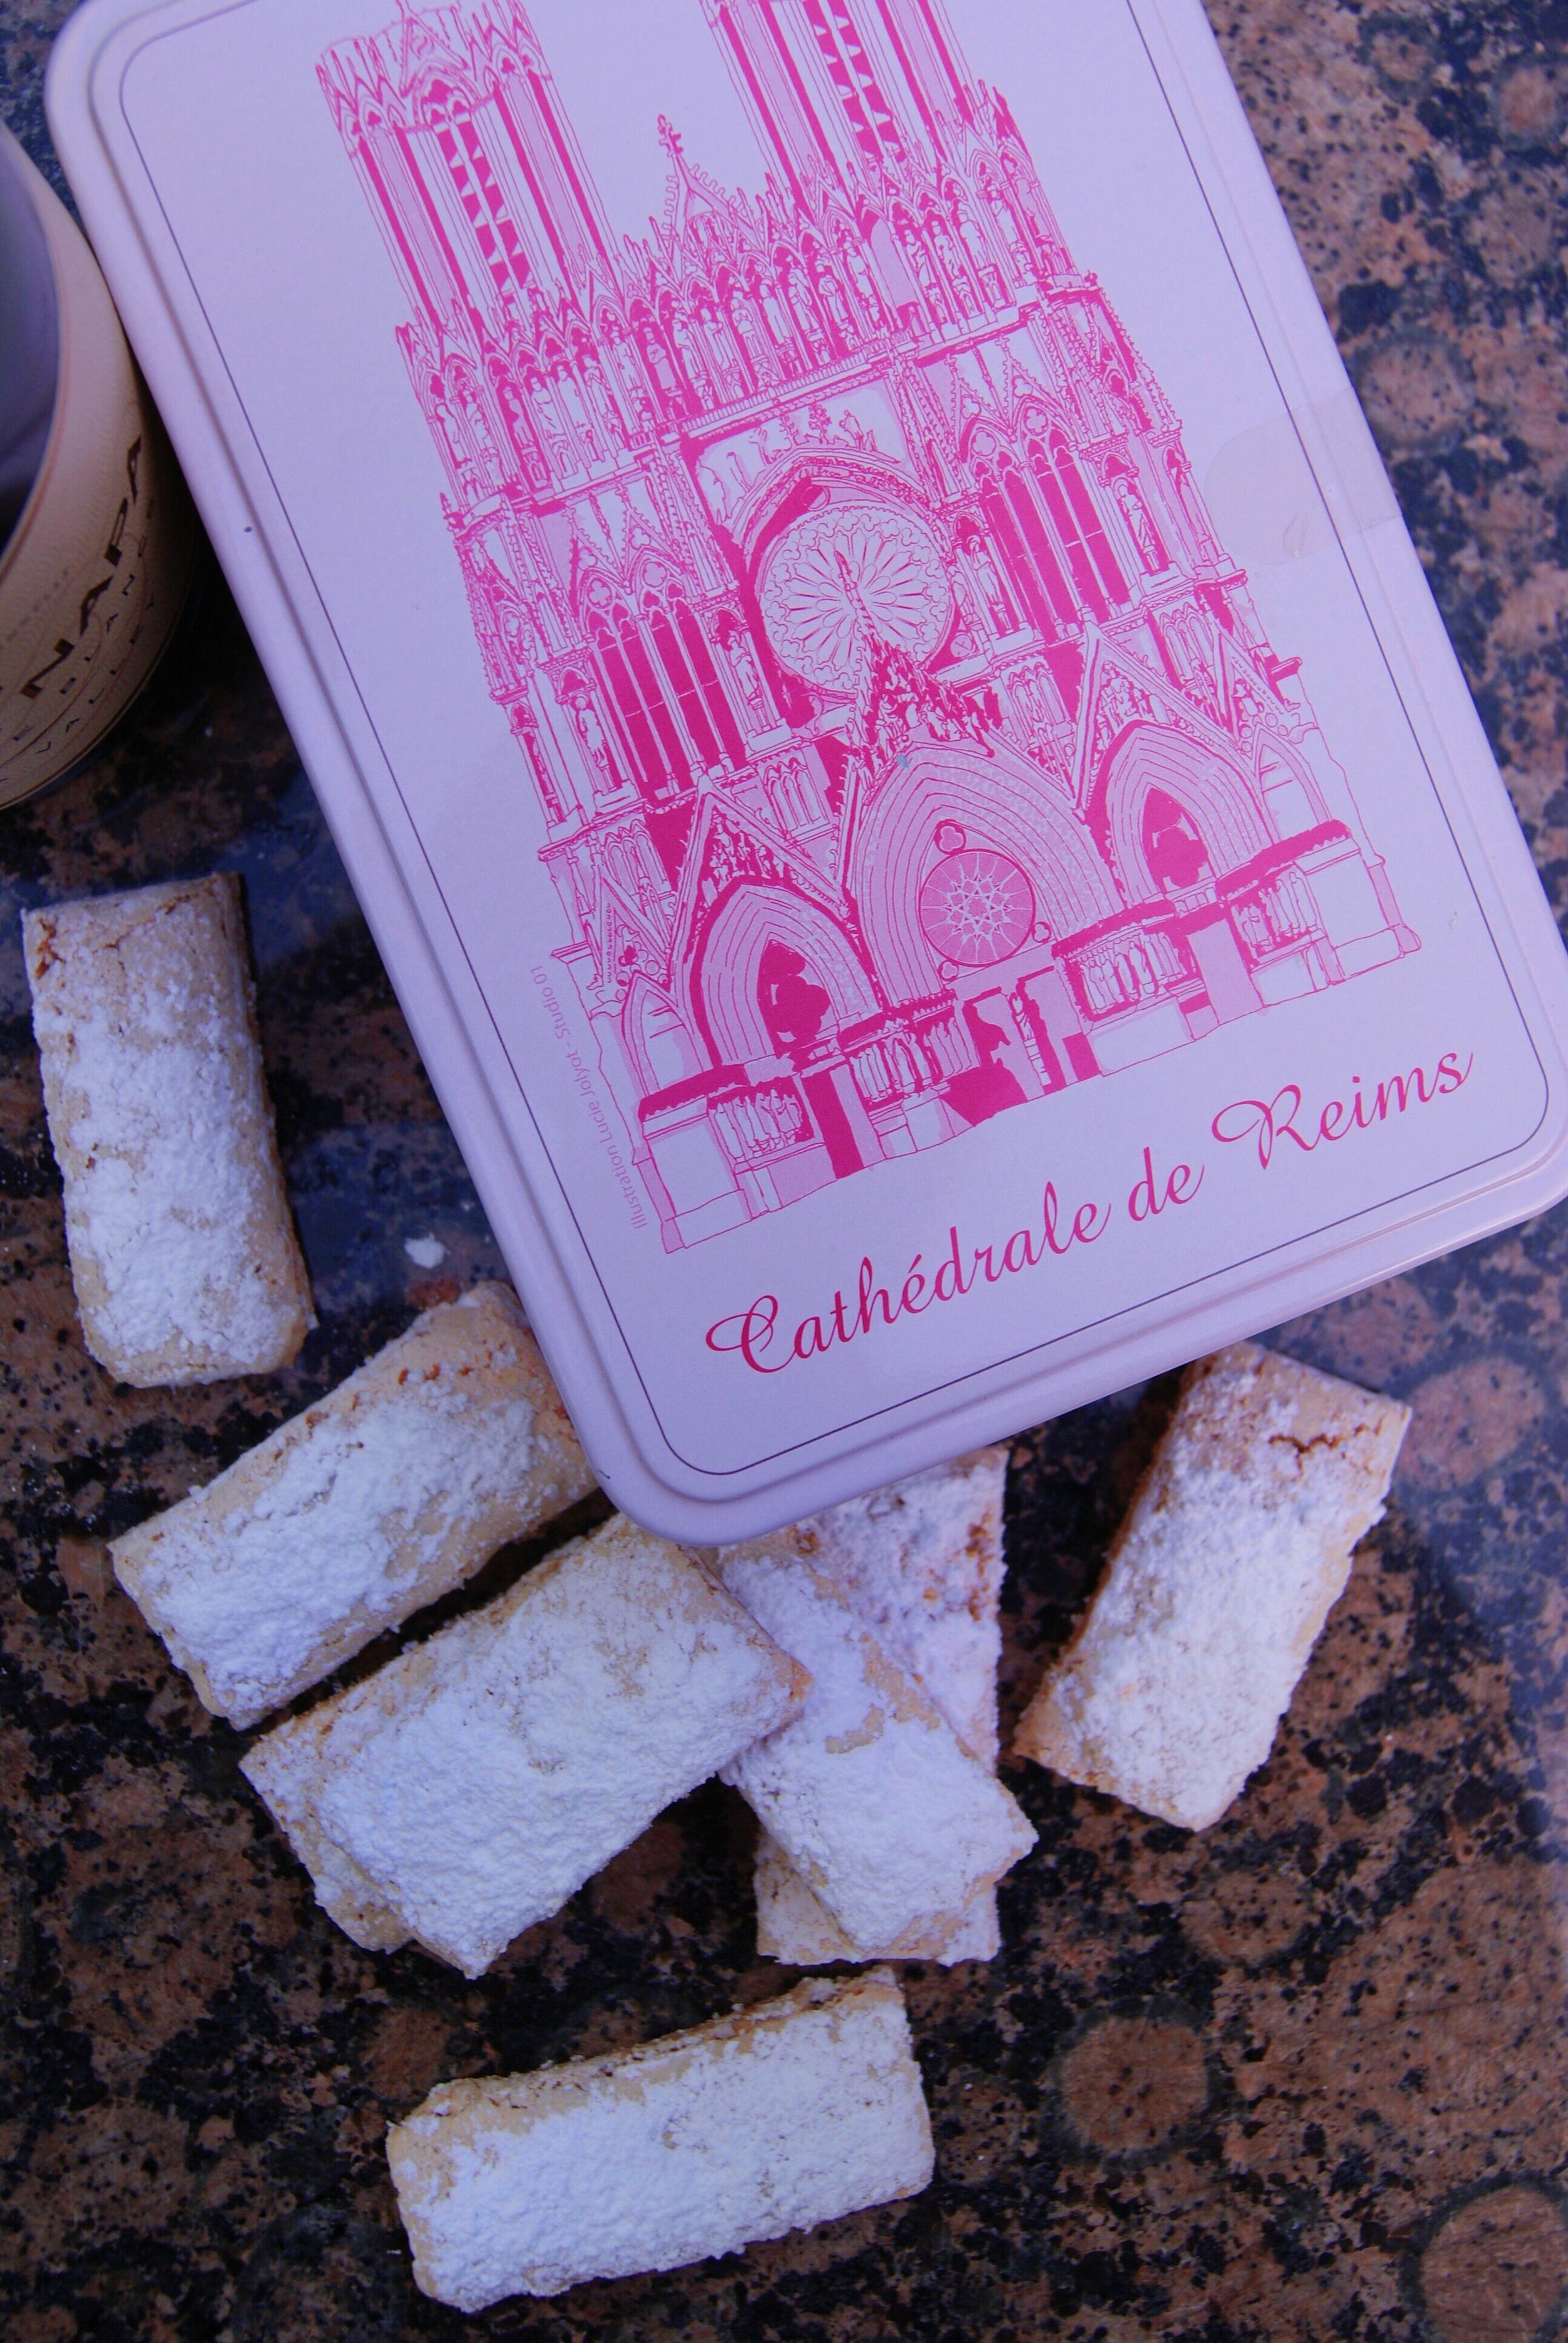
During our recent trip to Reims (see full post here), the champagne capital of the world, we passed Maison Fossier, whose windows were filled with adorable tins and bags filled with rectangular pink biscuits. Naturally, we had to go inside the shop to see what these little pink biscuits were all about. Walking in, we were immediately surrounded by the warmth and delicate sweet scent of sugar and vanilla. Best of all, there was PINK everywhere! We sampled one of these pink beauties, and with one bite, we were in love! They have the texture of an un-soaked ladyfinger and are subtly sweet with a touch of vanilla—a perfect accompaniment for champagne.

These biscuits were invented in the 1690s by bakers in Reims, who wanted to make something that could be made using the heat from their ovens between baking batches of bread. The shop, Maison Fossier, has been making Biscuit Roses de Reims since it opened in 1756 and now can be found throughout France and around the world. These biscuits were even served during the Coronation of Louis XVI at Reims, and Maison Fossier became the biscuit maker for the royal family.

You are supposed to serve these biscuits with champagne (preferably champagne from Reims), and they are made to be dipped into the champagne to bring out the subtle flavors of the cookies. Of course, you don't have to sell us on anything that involves champagne, so we bought a few tins as gifts and a bag for us to enjoy on our trip. Once we were home, we missed having these cute and crunchy biscuits and decided to make them ourselves. We found the original recipe on the official website for France, so we decided not to alter it much because if it is on the official website for France, it must be good.

xxx Ivy & Eve

Adapted from the recipe on France.fr.

Makes about 45 cookies.

Ingredients

  • 4 large eggs at room temperature (separate the yolks from the whites)

  • 1 tsp vanilla extract

  • 1 cup sugar

  • 1 1/2 cups flour

  • 1/3 cup cornstarch

  • 1 tsp baking powder

  • 6-8 drops of red food coloring (depending on how pink you want them)

  • Powdered (confectioner's) sugar for dusting the cookies

  • Pastry bag with a 1/4-inch smooth tip
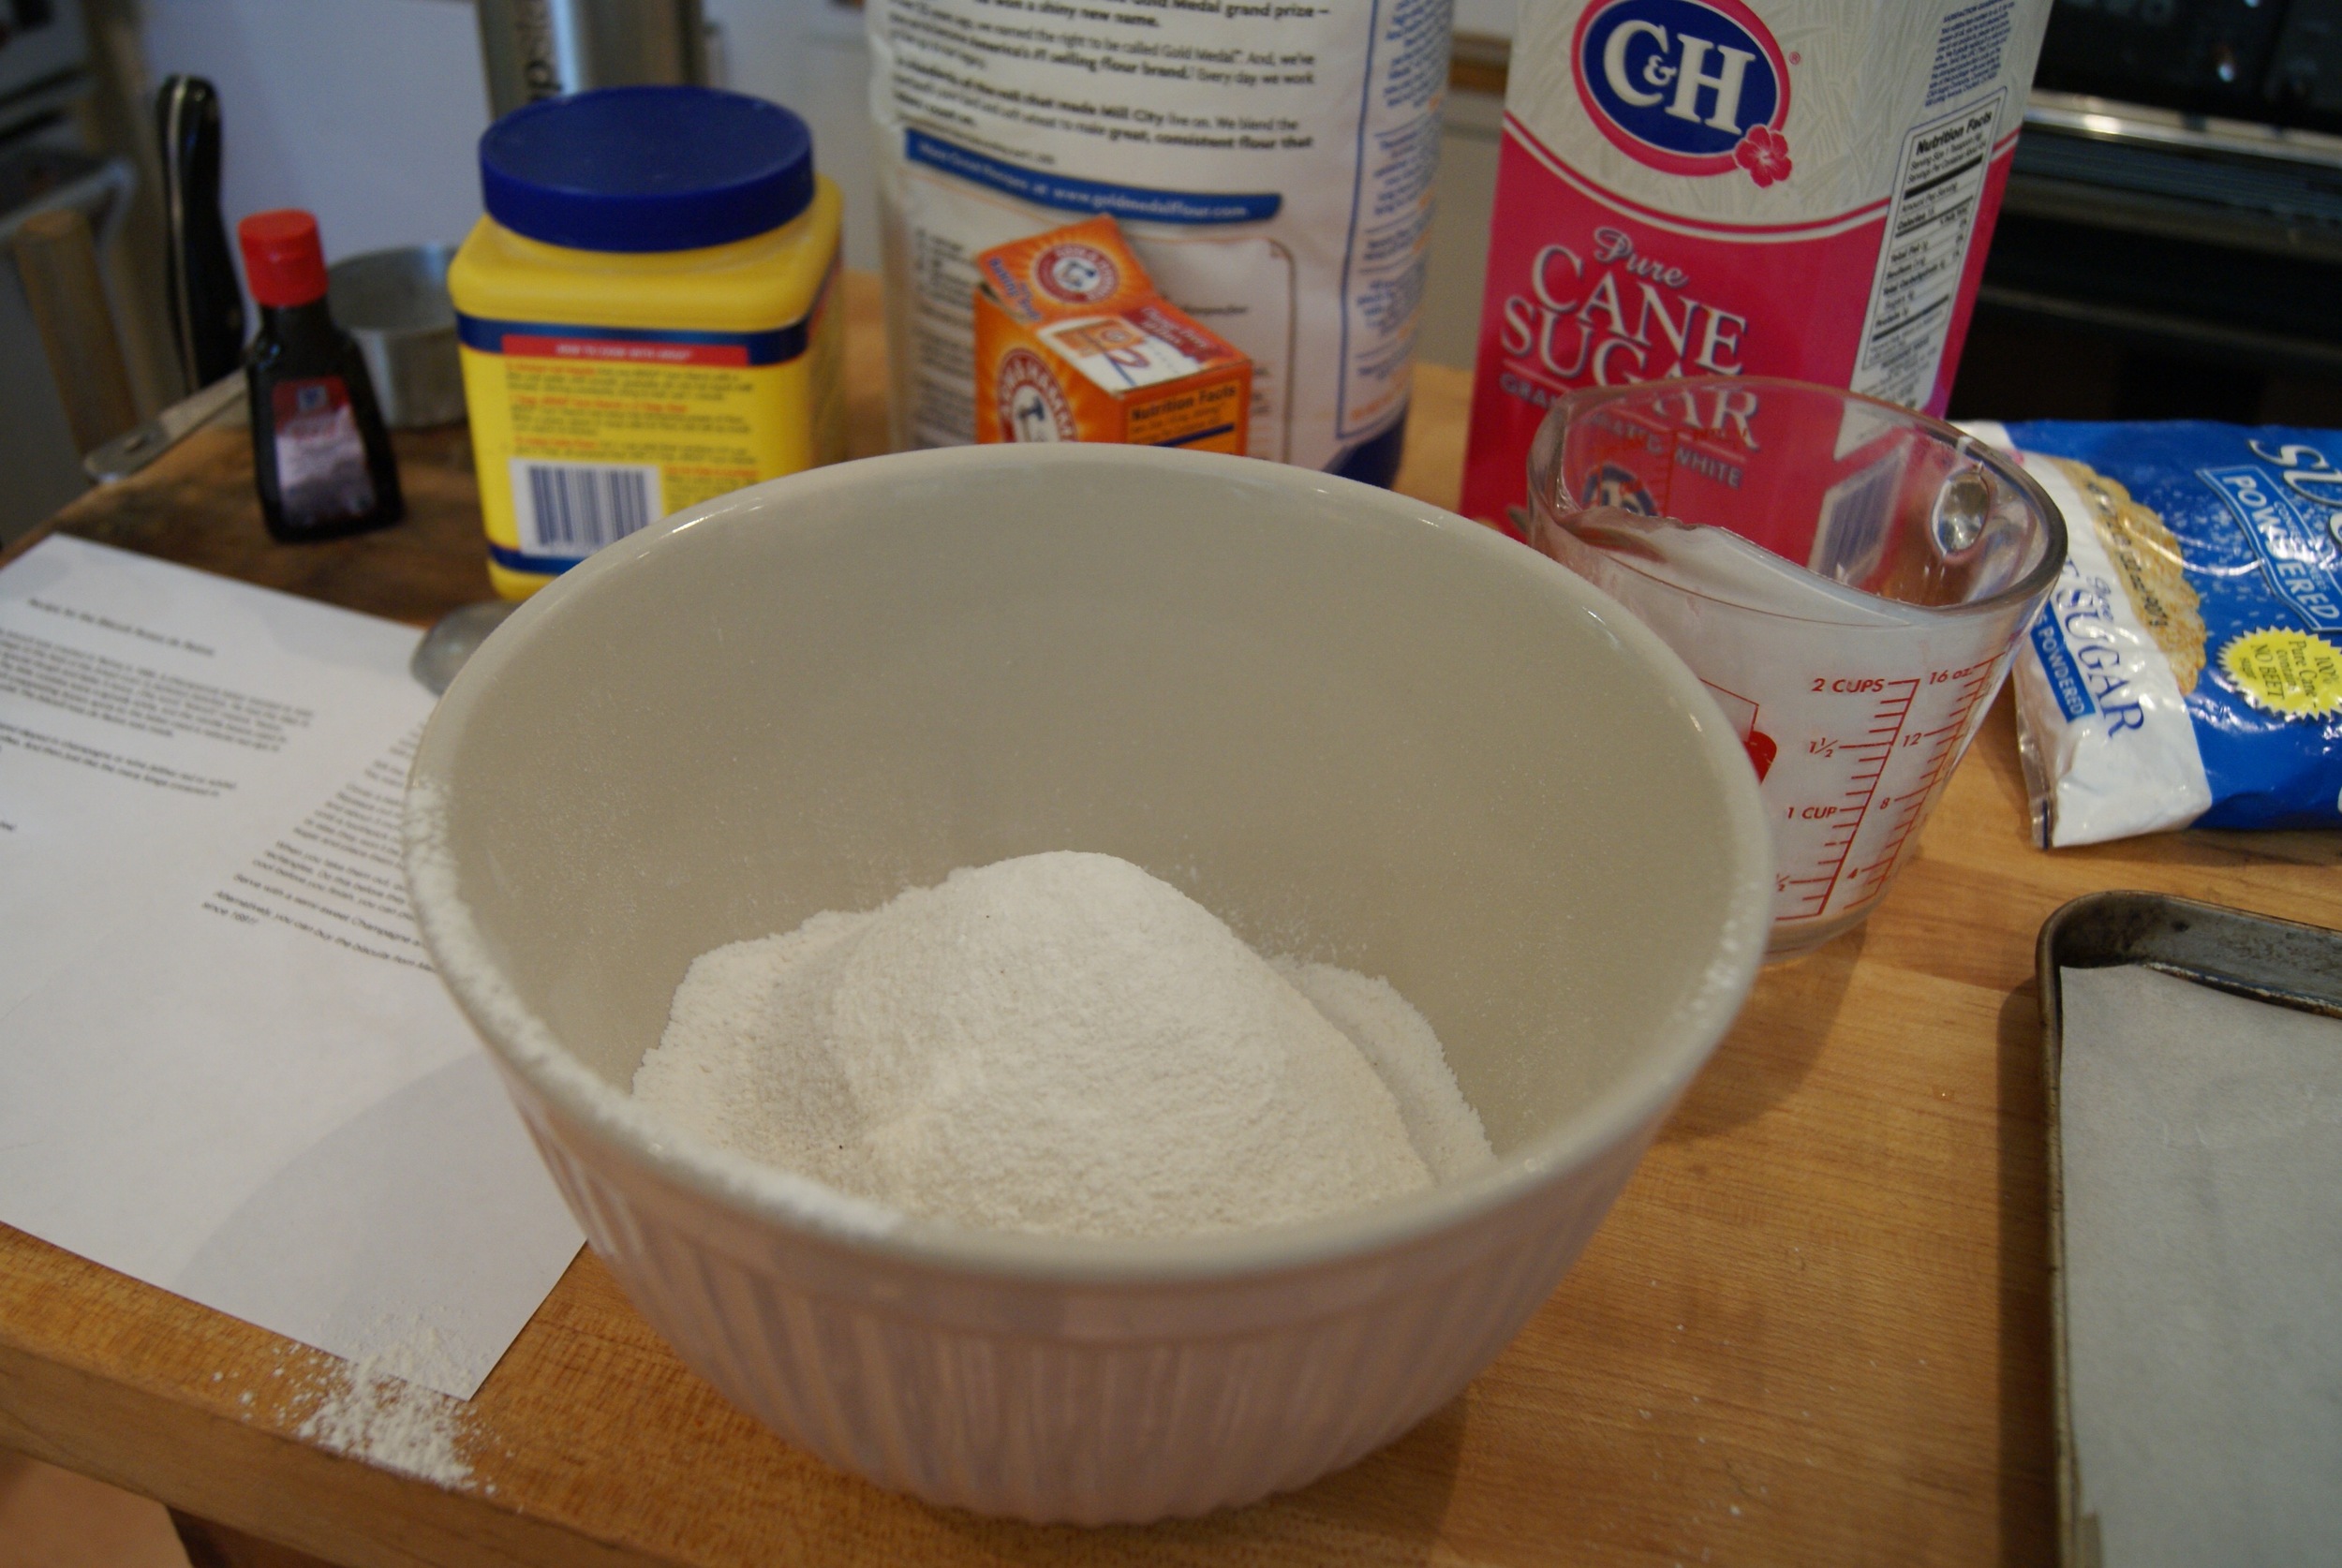
Directions

  1. Preheat the oven to 275°F. Mix the yolks, sugar, and vanilla in a bowl using a hand blender with a whisk attachment, on increasing speed over 5-6 minutes. Beat in 2 of the egg whites for another 2 minutes. Beat in the remaining 2 egg whites and the food coloring for an additional 5 minutes until the mixture begins to form stiff peaks.

  2. Sift the flour, cornstarch, and baking powder into the bowl, folding in gently with a spatula. You want a final result that is smooth and uniform in color. Scrape it into the pastry bag.

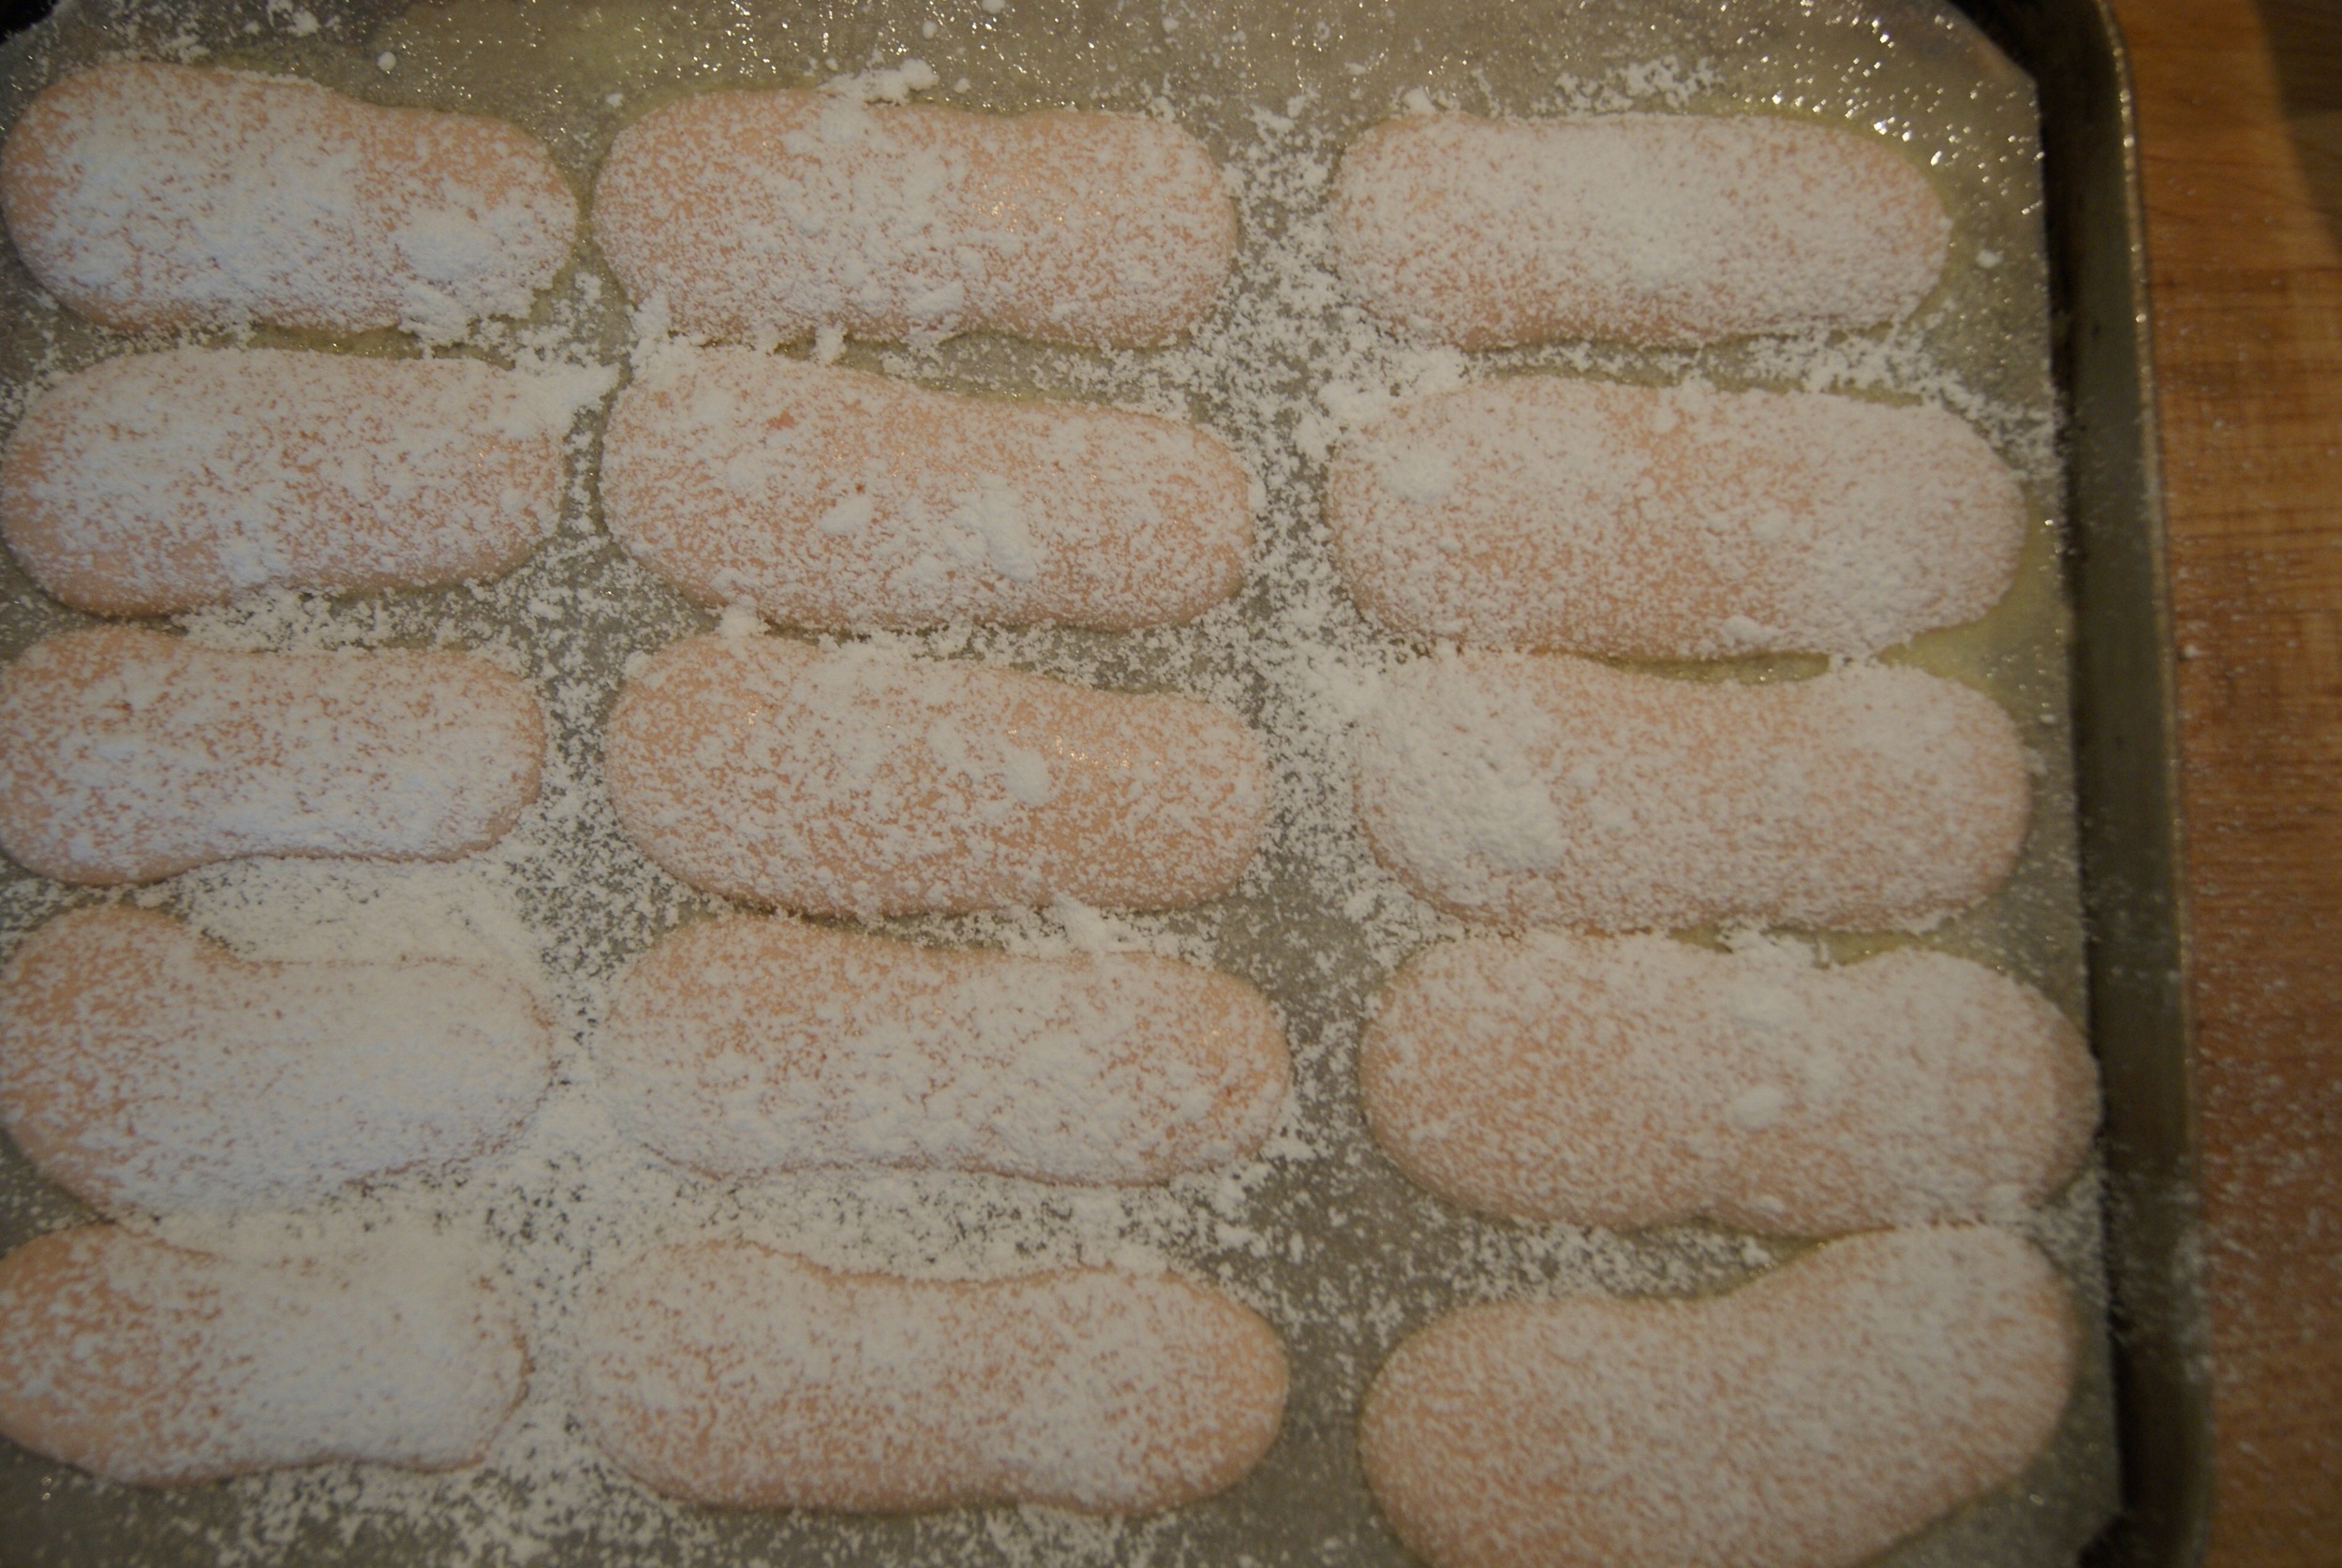
  3. Cover a baking sheet with parchment paper and spray with non-stick baking spray. Squeeze out strips of the mixture that are 1/4-inch wide (about as wide as your finger) and about 3 inches long and 1/4-1/2 inches apart. Sprinkle with powdered sugar and bake for 10-15 minutes, until a toothpick comes out clean. (You don't want the biscuits to start browning though, or else they won't be pink!) Take the biscuits out, sprinkle them with more powdered sugar, and place them back in the oven for another 10-15 minutes.

  4. When you take them out, quickly cut the biscuits' edges so that you have even rectangles. Do this before they cool, or else they become rather difficult to cut. If they cool before you finish, you can place them back in the oven for a few minutes to soften. If once they cool, they aren't completely crunchy, you can always but them back in the oven at 200°F and dry them out for about 20 minutes.

  5. Serve with champagne, dip, and enjoy!

Our dog Pearl and cat Fatty Pants loved them too!

Our dog Pearl and cat Fatty Pants loved them too!

Lavender Vanilla Bean Ice Cream

Lavender is one of our favorite flowers. We love the way it looks, we love how it smells, and we LOVE to eat anything with lavender. As kids, one of our favorite restaurants, Corkscrew Cafe in Carmel Valley, used to serve up the most delicious lavender ice cream for dessert. It was eventually taken off the menu (if you hear us, PLEASE bring it back!), but we never forgot the deliciously floral flavor of this dessert. Lavender is in full bloom in Carmel Valley right now, so we were reminded of our long lost favorite dessert and decided to try to make it ourselves! If we do say so, we think this even more delicious than the original. We added vanilla bean to complement the lavender, and we believe it is just perfect! The ice cream base is adapted from Jeni's Splendid Ice Cream recipe book. Eve went to undergrad in Ohio, where she first tasted flavors like roasted strawberry buttermilk and goat cheese and cherry ice cream. Jeni's ice cream base is unbelievably creamy. You won't be able to eat just one scoop!

xxx Ivy & Eve

We use the Cuisinart Classic Ice Cream Maker for our ice cream adventures. The machine is super easy, and there is no need for ice and salt like the old machines!

Makes one quart of ice cream.

Ingredients 

  • 2 cups whole milk

  • 1 tbsp plus 1 tsp cornstarch

  • 3 tbsp cream cheese, softened

  • 1/8 tsp fine sea salt

  • 1 1/4 cups heavy cream

  • 2/3 cup sugar

  • 2 tbsp light corn syrup

  • 1/2 vanilla bean

  • 2 heaping tbsp culinary lavender

Directions

  1. Combine 1 3/4 cup milk (minus 2 tbsp), 2/3 cup cream, 2 tbsp lavender, and 1/2 vanilla bean sliced open, into a saucepan. Bring to a boil over medium-high heat. remove from heat and let the mixture steep until the desired flavor. (you can steep the lavender in a cheesecloth or strain after this step if you want a smoother texture. We like the lavender left in)

  2. While waiting, mix the remaining 2 tablespoons milk with the cornstarch in a small bowl to make a smooth slurry.

  3. Then whisk the cream cheese and salt into the slurry until smooth.

  4. Fill a large bowl with ice water.

  5. Combine the lavender vanilla bean milk mixture with sugar and corn syrup in a 4-quart saucepan and bring it to a boil again for 4 minutes. Remove from the heat and gradually whisk in the cornstarch/cream cheese slurry. Bring the mixture back to a boil over medium-high heat and cook, stirring with a heatproof spatula, until slightly thickened, about 1 minute. Remove from the heat.

  6. Pour the mixture into a 1-gallon resealable plastic freezer bag and submerge the sealed bag in the ice bath. Let stand, adding more ice as necessary, until cold, about 30 minutes.

  7. Pour the ice cream base into the ice cream machine canister and process according to your ice cream maker's directions.

  8. Pack the ice cream into a storage container. Place the ice cream in the freezer until firm, at least 4 hours.

  9. Bon Appétit!

Chocolate Covered Strawberries for Mother's Day & Free Printable Card!

With Mother's Day just around the corner, Eve and I were toying with ideas of what to give our Mom this year. After some time thinking, we decided we would make her chocolate-covered strawberries. We always buy these yummy morsels when we spot them in cafes and chocolate shops but had never really attempted to make any ourselves. It was SO simple, not to mention affordable! We recommend pairing these with a bottle of bubbly, naturally. We also designed a cute card to go with them for your Mom, because she really is the sweetest! Download the full-size card (we made a mini one to fit better in the pictures) for FREE by subscribing HERE! If you already subscribe, don't worry. We will be sending it to you shortly. Cheers to all our sweet Mothers! 

xxx Ivy & Eve

Ingredients & Supplies

  • High-quality white & dark melting chocolate 

  • Strawberries

  • Sprinkles, Nuts, and anything you want to top them with (optional)

  • Baking sheet

  • Parchment paper

 Directions

  1. Place melting chocolate in a microwave-safe bowl (you can also melt on the stove if you have more time).

  2. Set the microwave to 30-second increments and stir until just melted.

  3. Place parchment paper on baking sheet

  4. Simply dip the strawberry in chocolate

  5. Top with sprinkles or whatever your heart desires

  6. Let cool and set in the refrigerator before serving (they are best eaten the day of or next day).

Your Mom will LOVE them, we promise!